Introduction
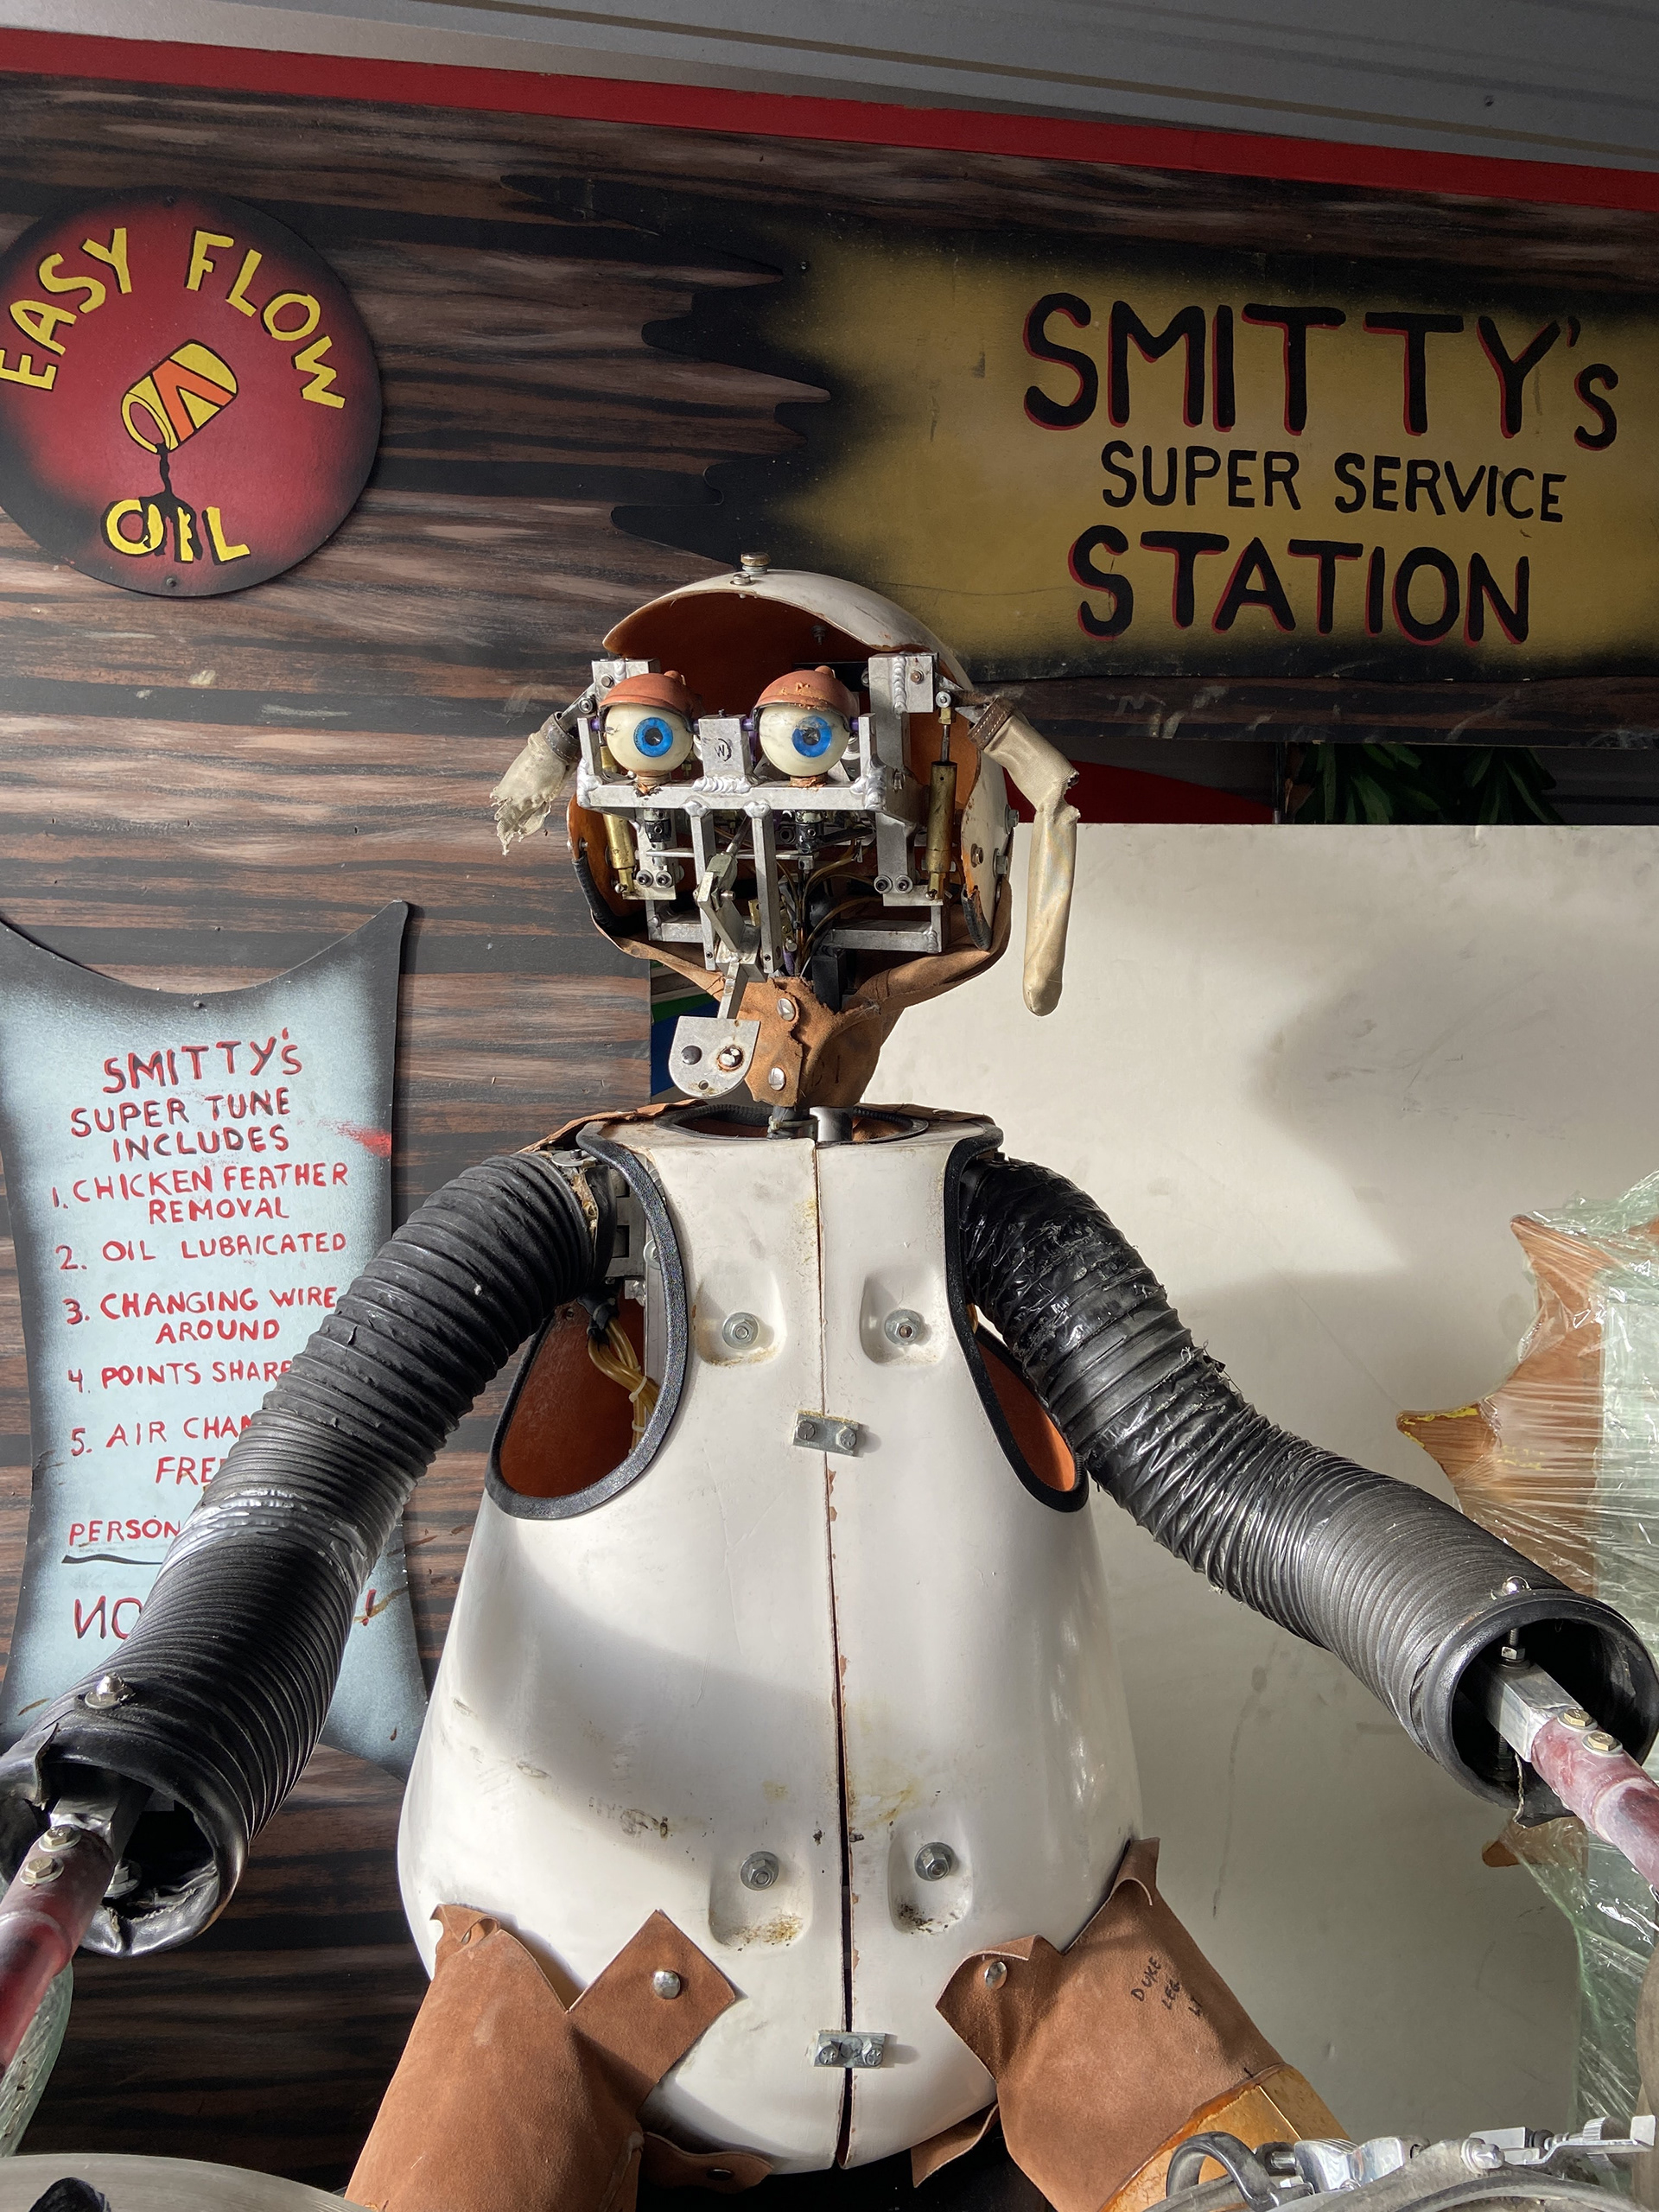
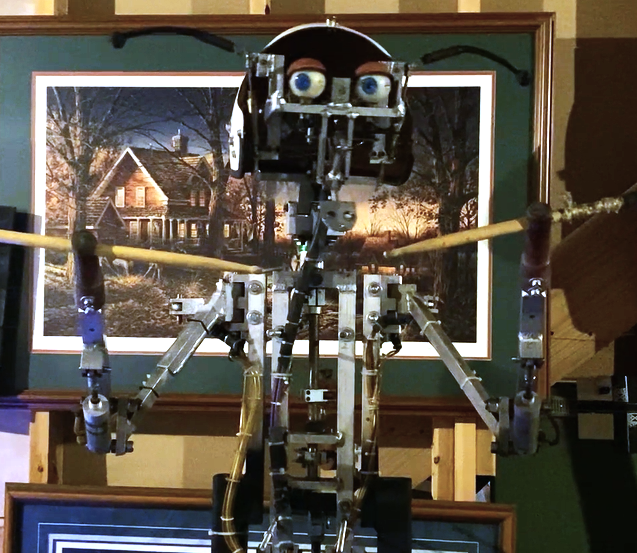
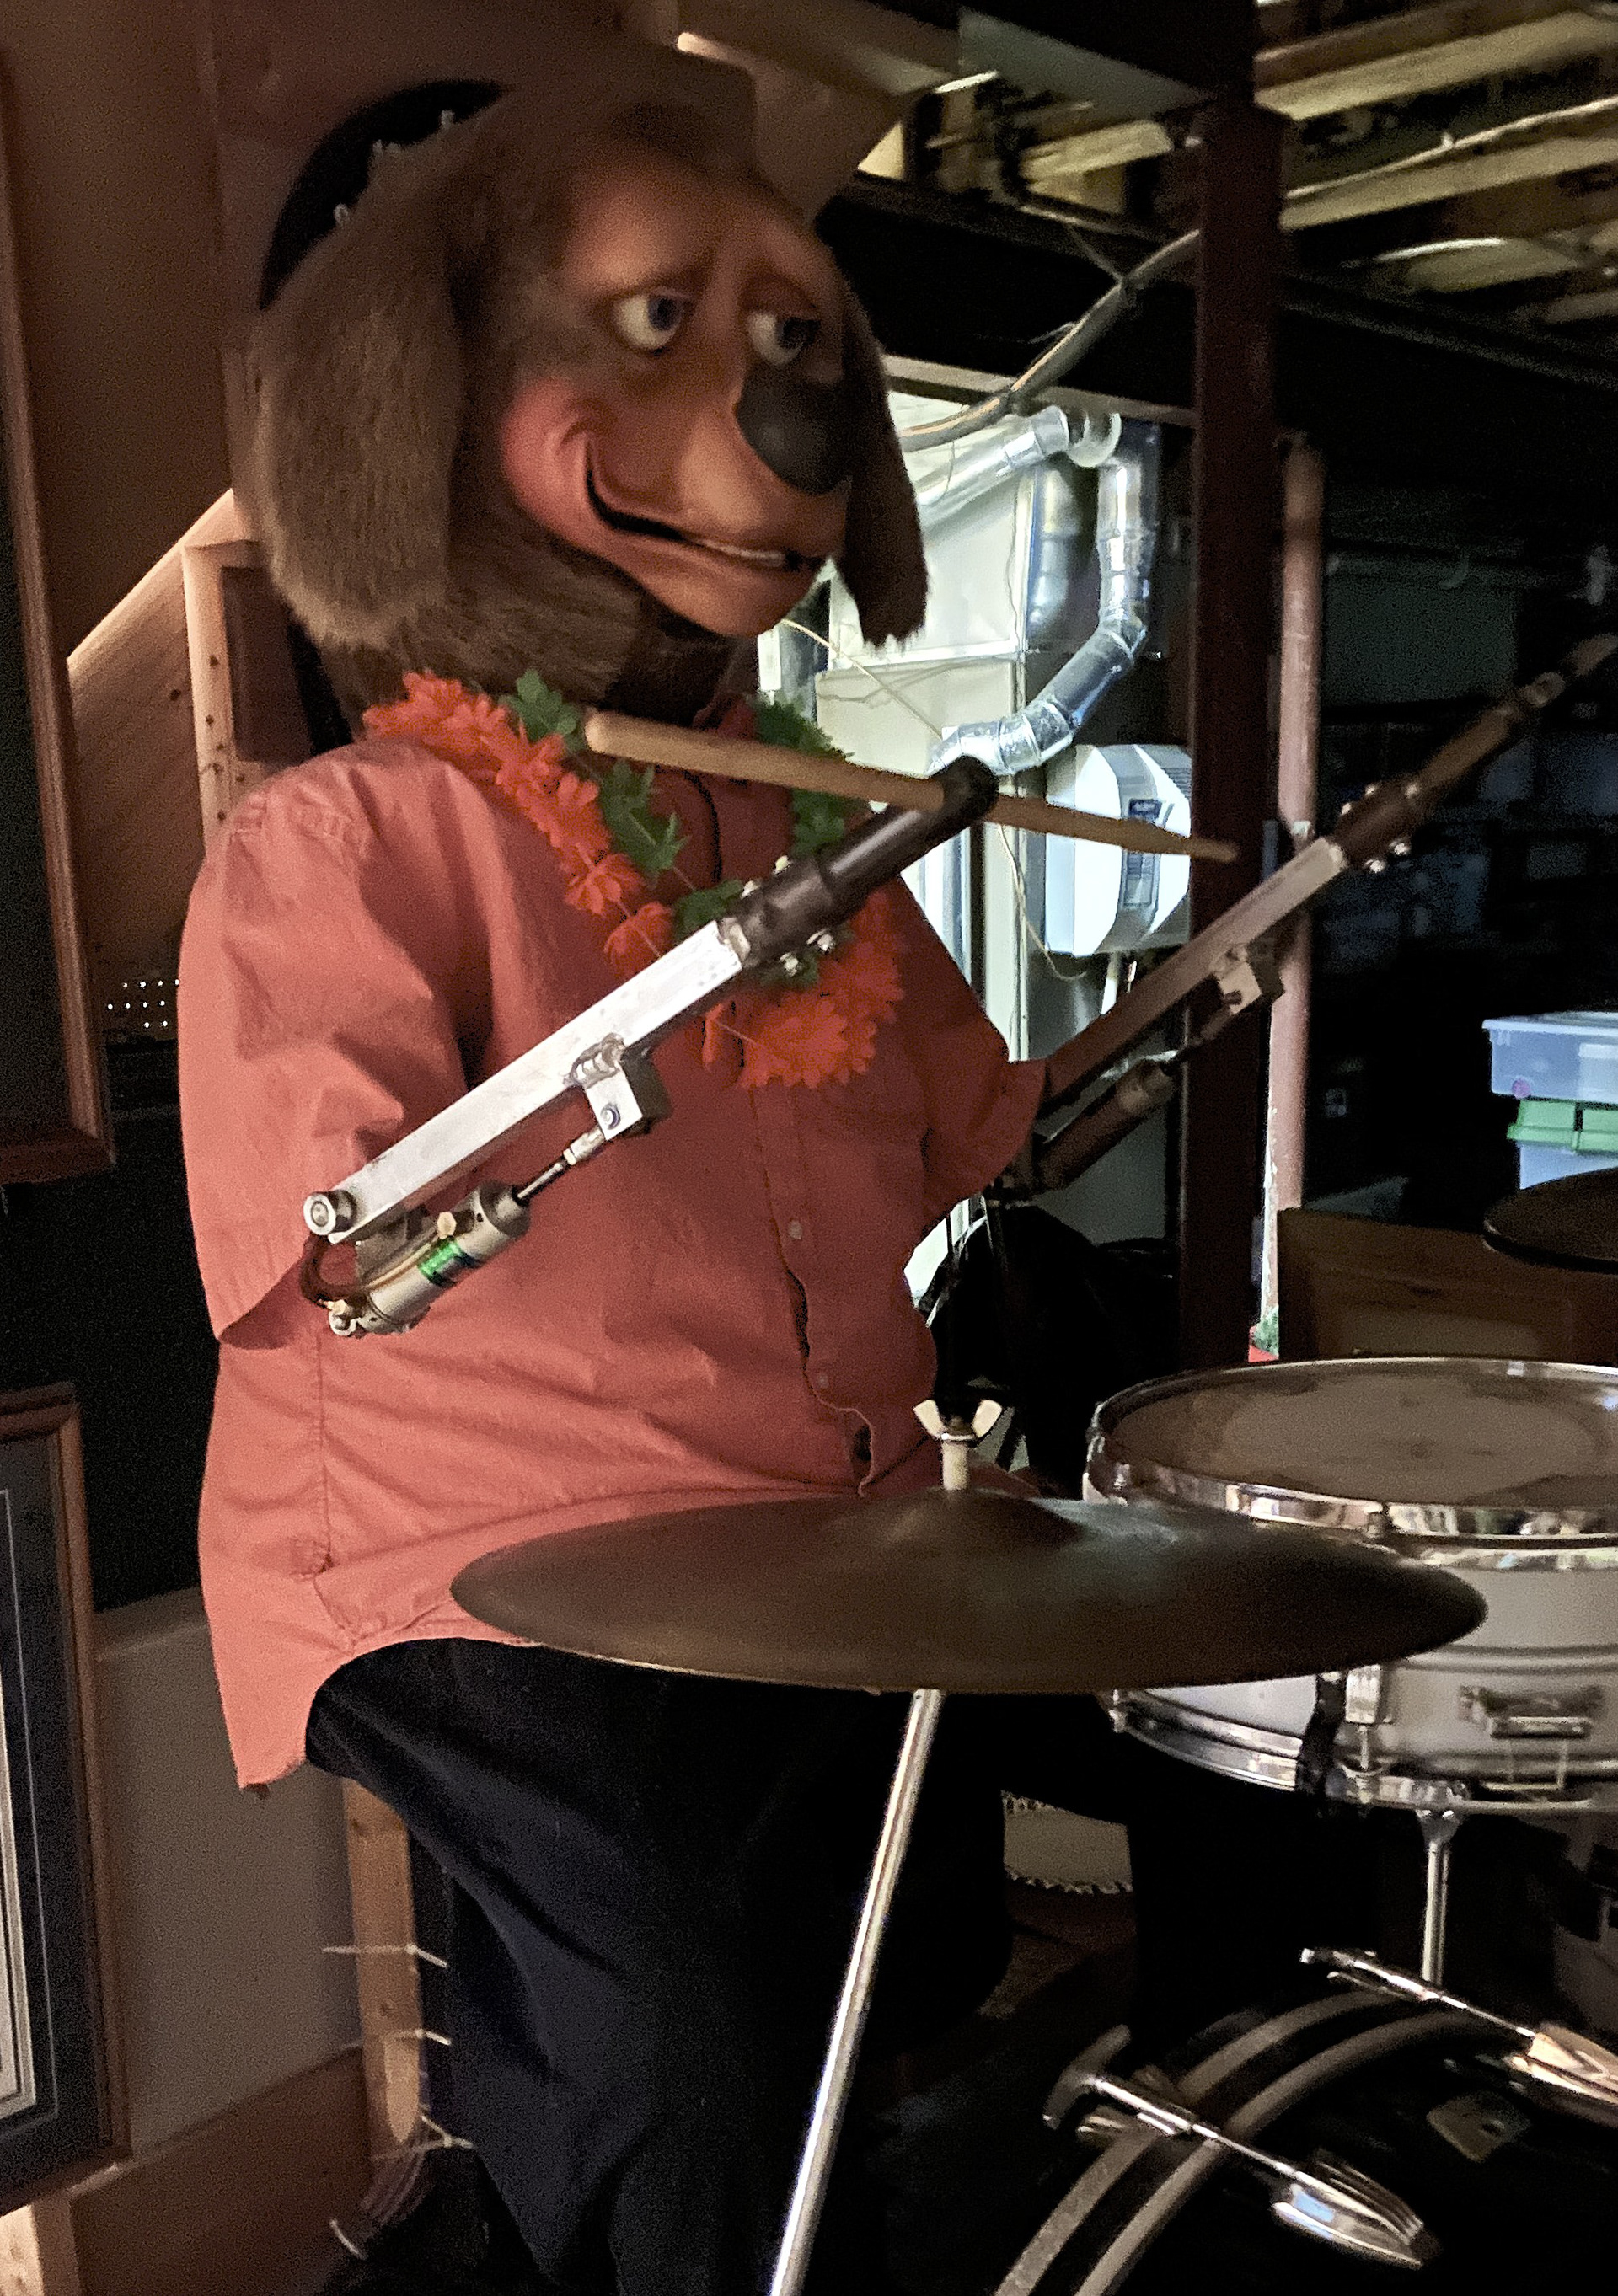
I began restoring Rock-afire Explosion animatronic characters in 2023 when I purchased my first figure, Dook LaRue, from a collector. He was mechanically complete, but in need of mechanical and cosmetic restoration, as his movements did not work as well as they could. I finished restoring him in 2024.
I am still purchasing Rock-afire characters to restore and build custom show setups for them. I never intended to have a full show, but that just might be the case.
Storytime:
My partner and I drove to Colorado on Labor Day weekend. We picked up Dook from the seller's storage unit, hung out at the Morrison Formation for a bit, and then made our way back home.
We got home at 2 am, and because I am actually crazy, I still drove back to campus the next day, (over 2 hour drive). I was a committed college student. Every so many weekends, I'd head back home to work on animatronic related projects. I also finished a lot during breaks.
Dook in storage unit
Laying in my car
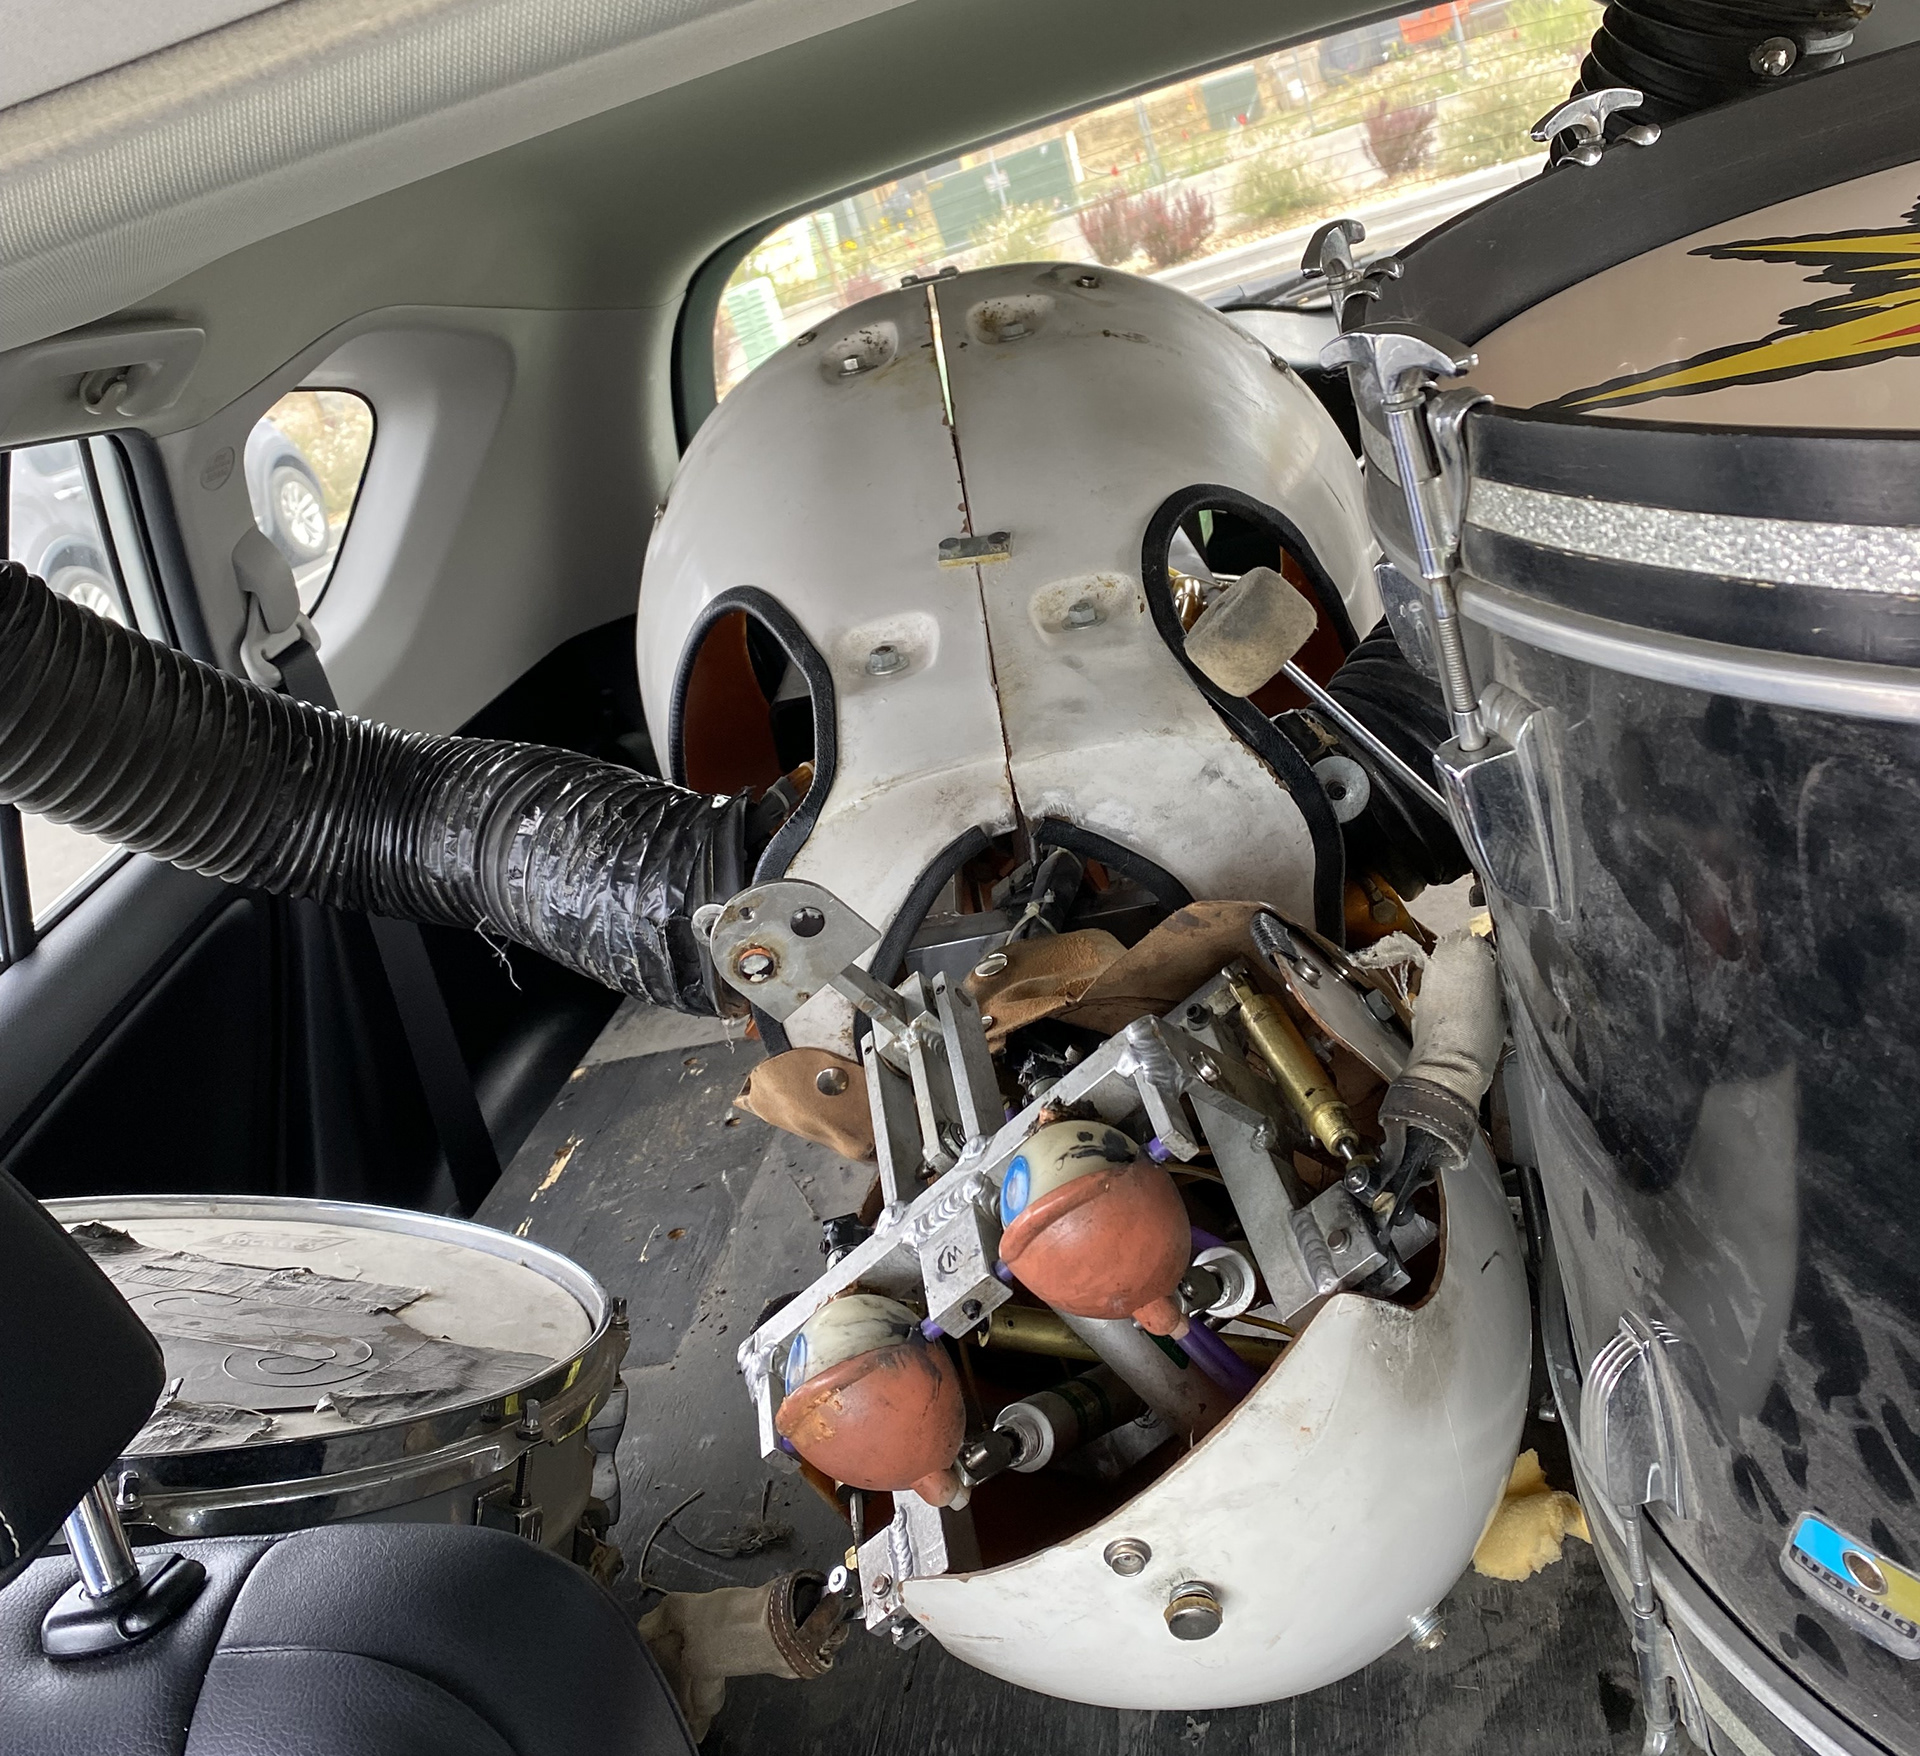
In my car, Starbucks parking lot
First night
Everything Back at Home
Fun Fact:
I measured the inside of my car with the back seats removed to ensure all of this would fit.
Process
Prep Work
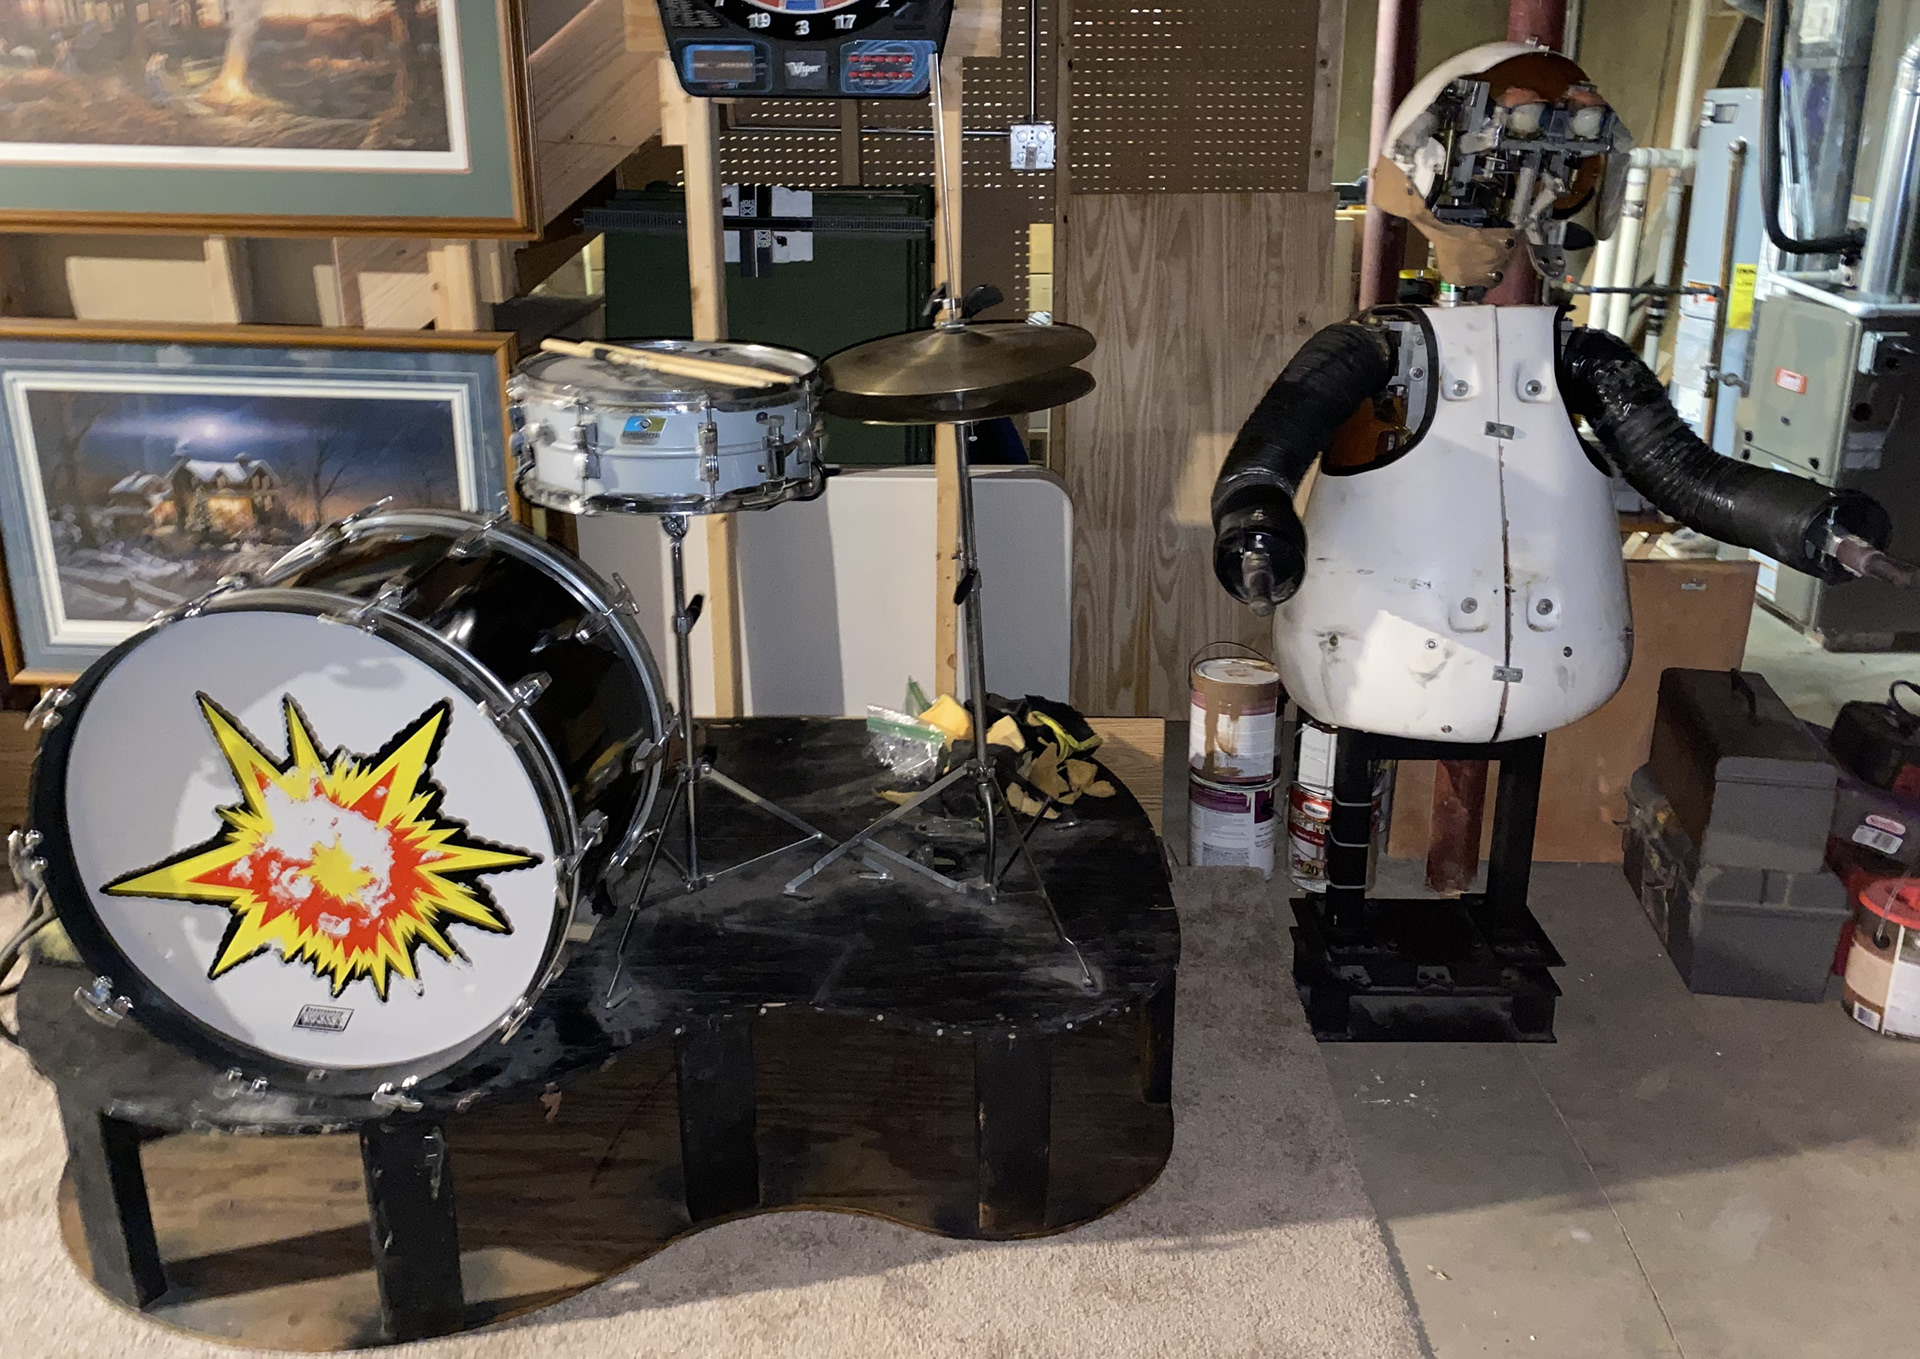
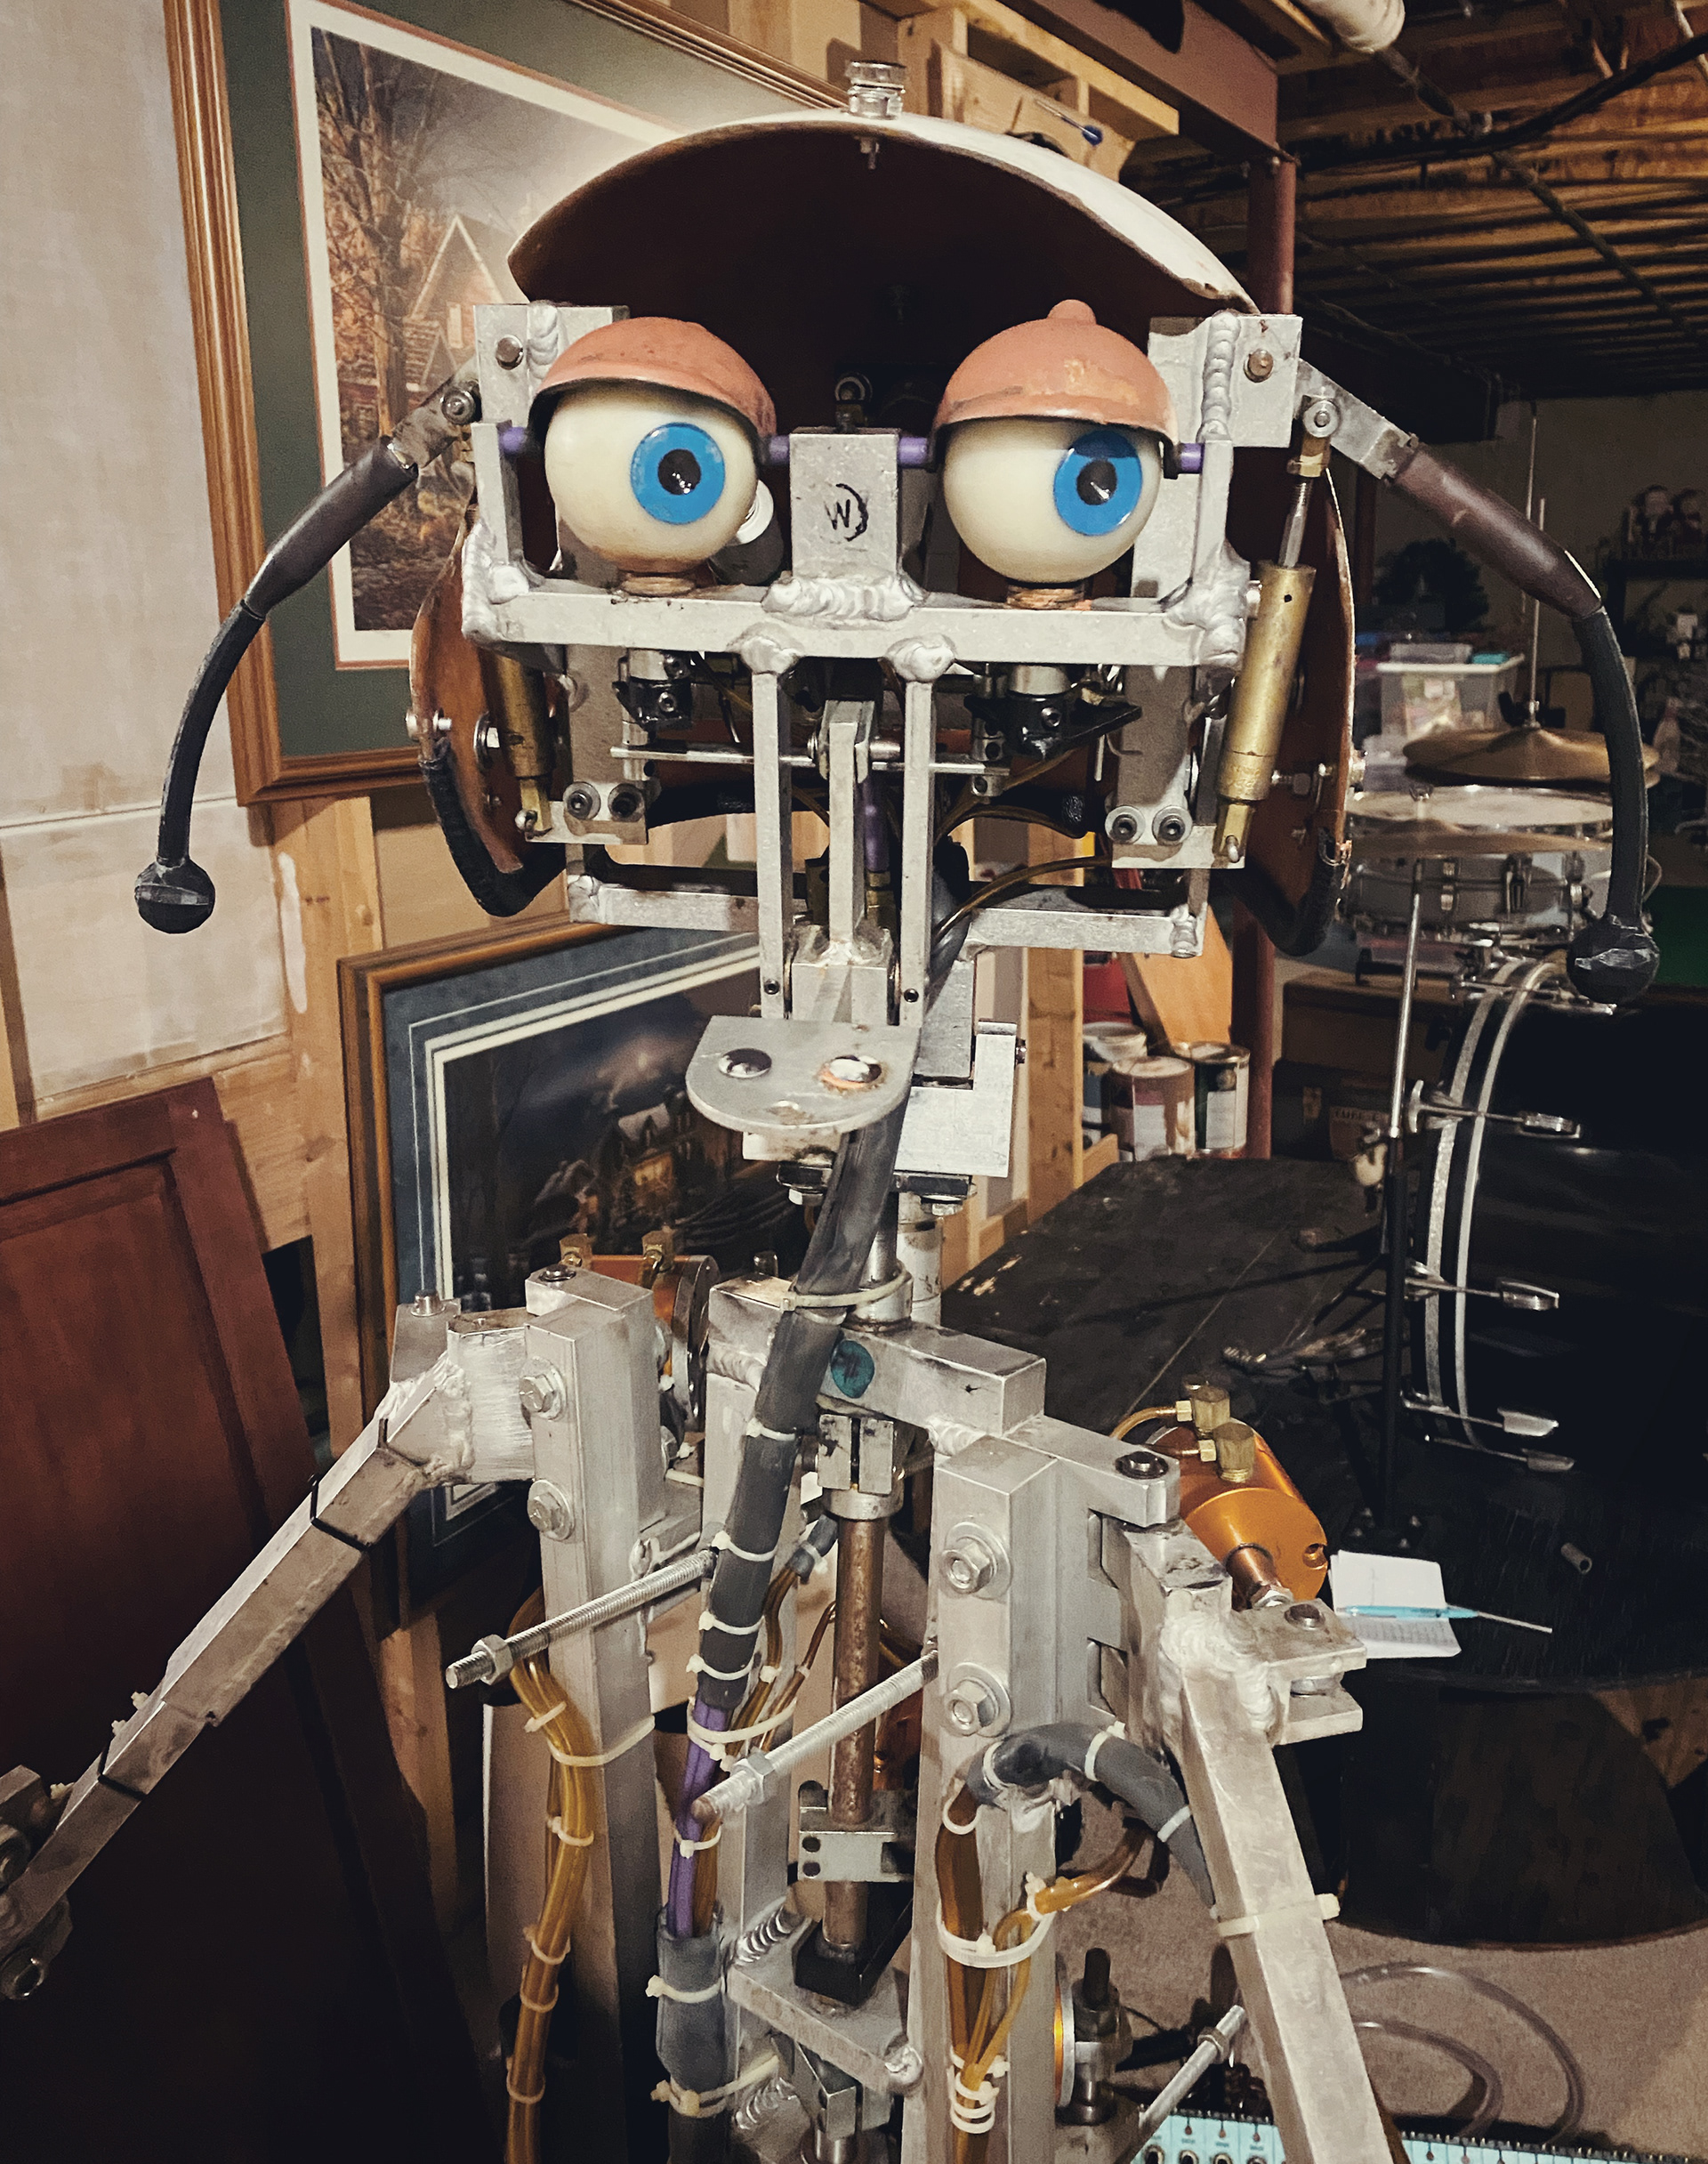
Remove body-shells and clean off excess dirt and grease. Inspect internal mechanism for any immediate areas of concern.
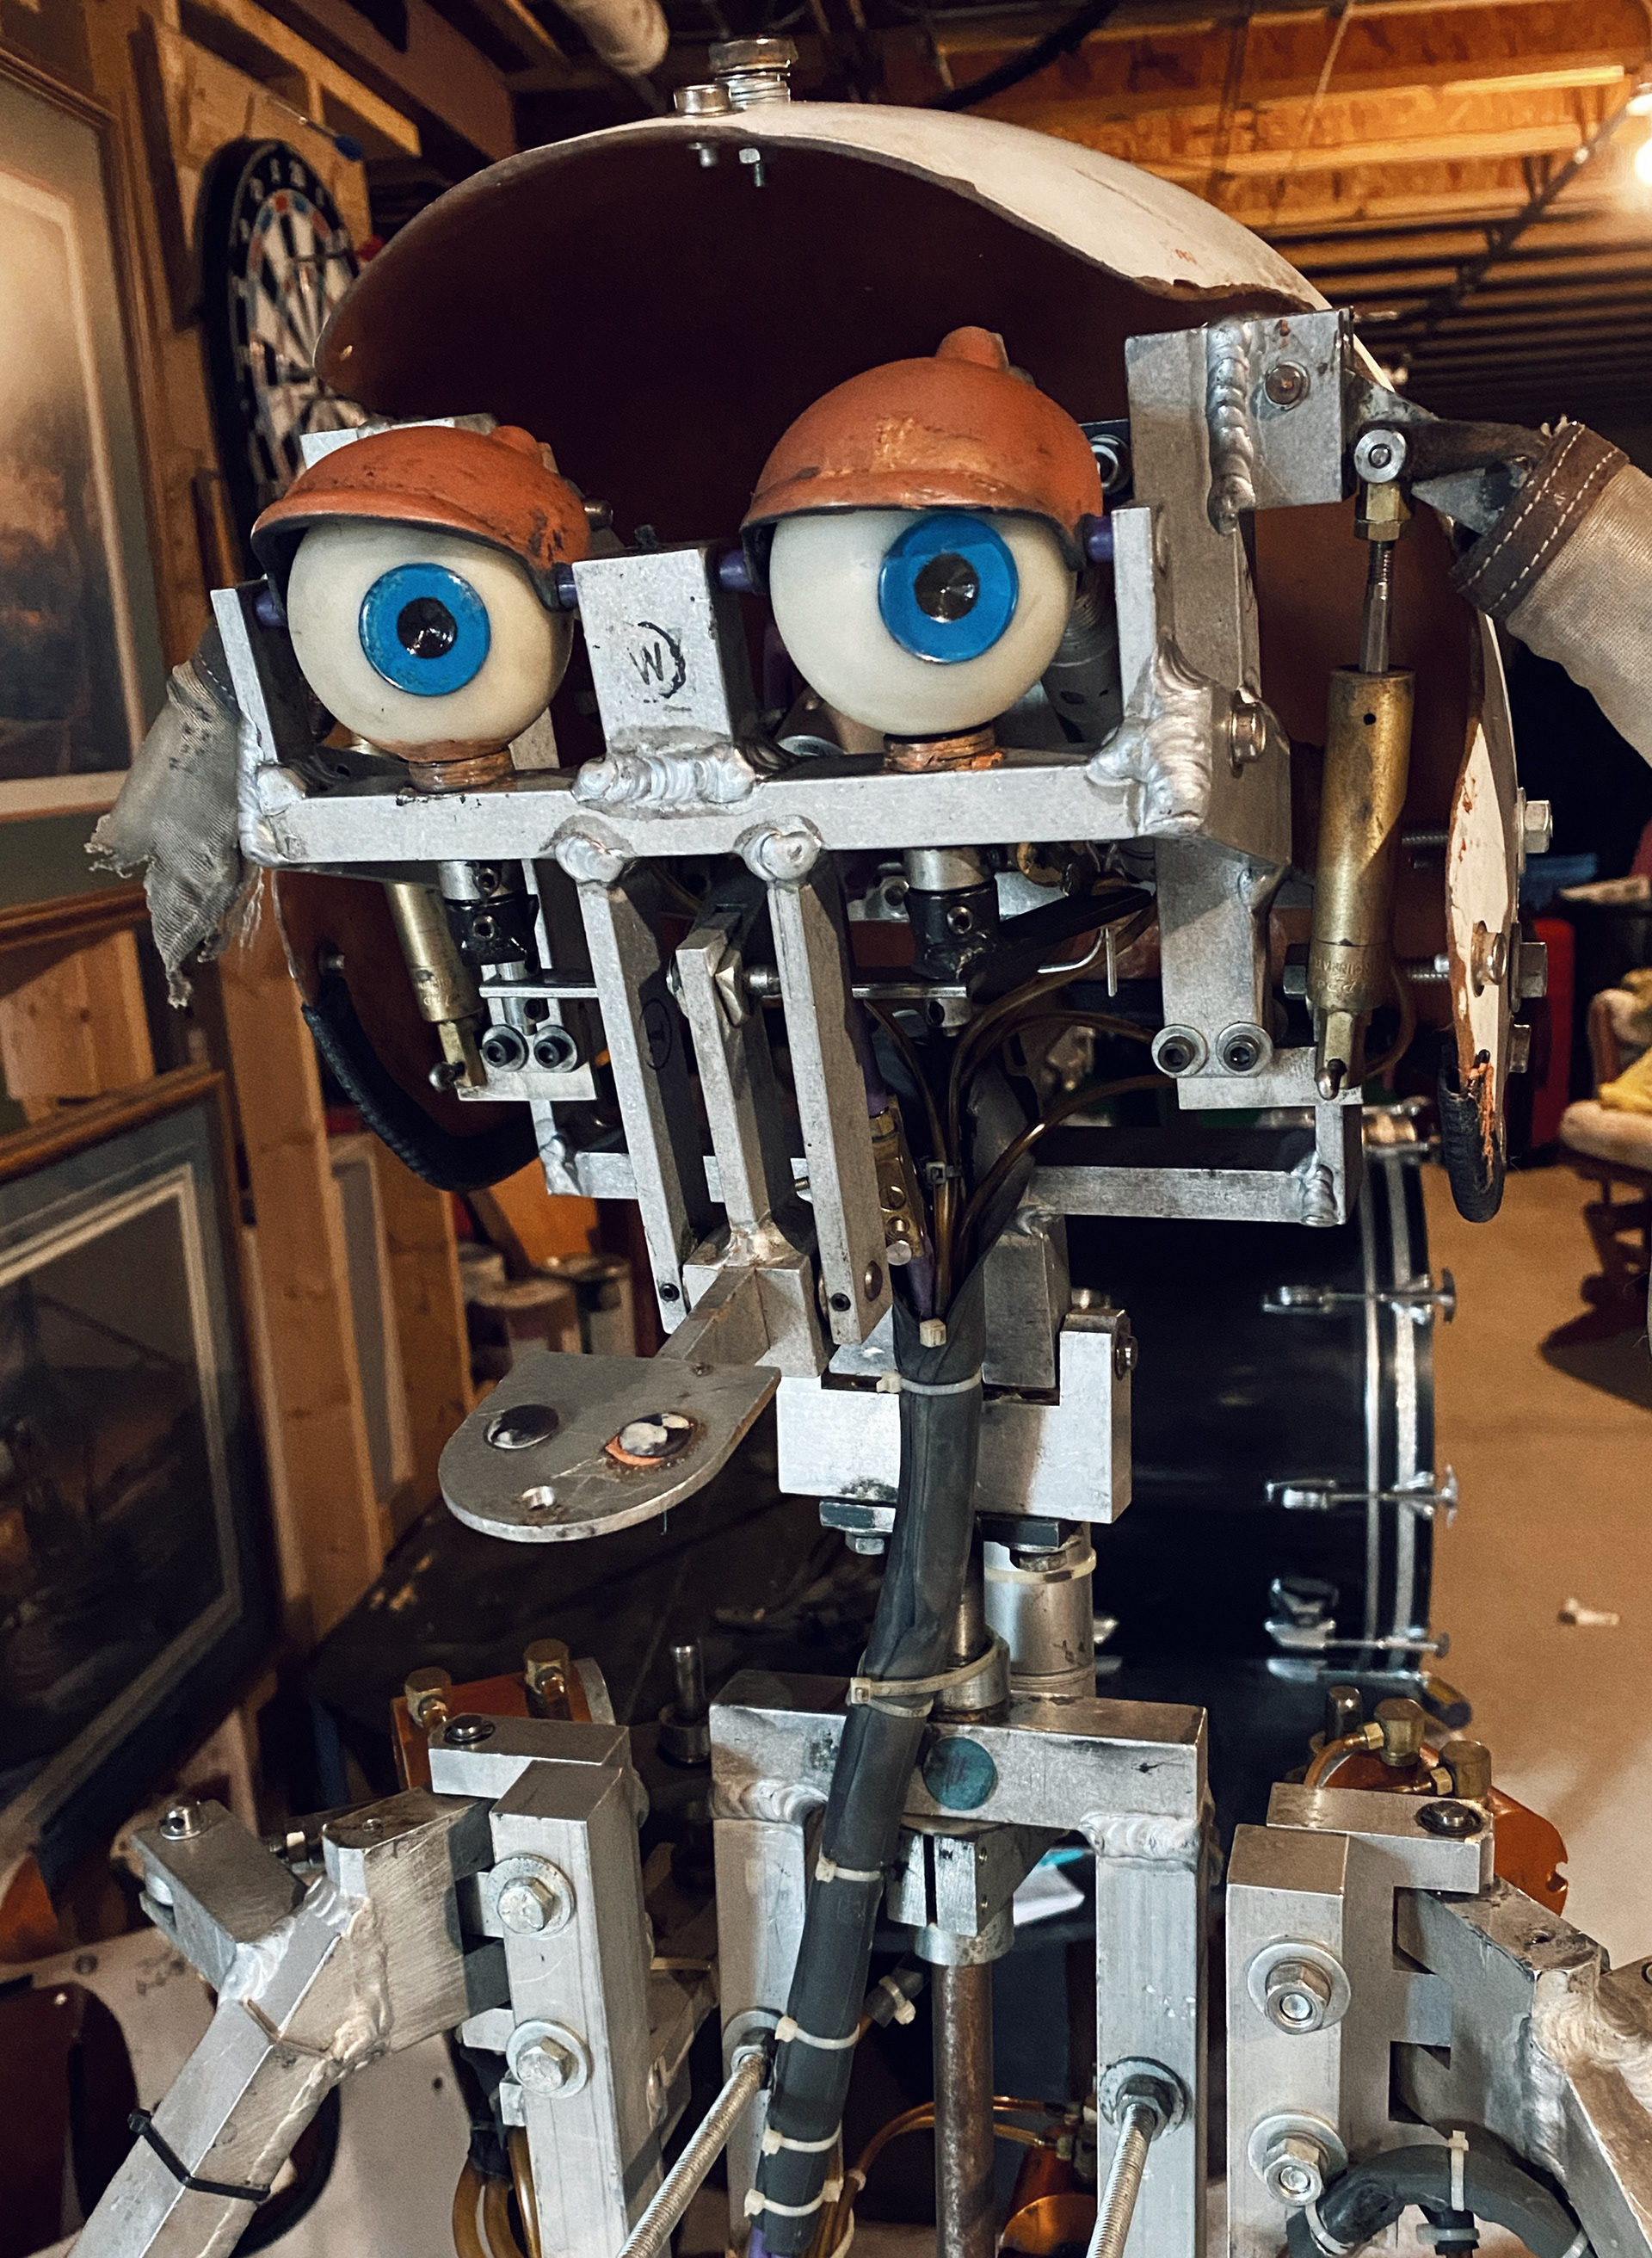
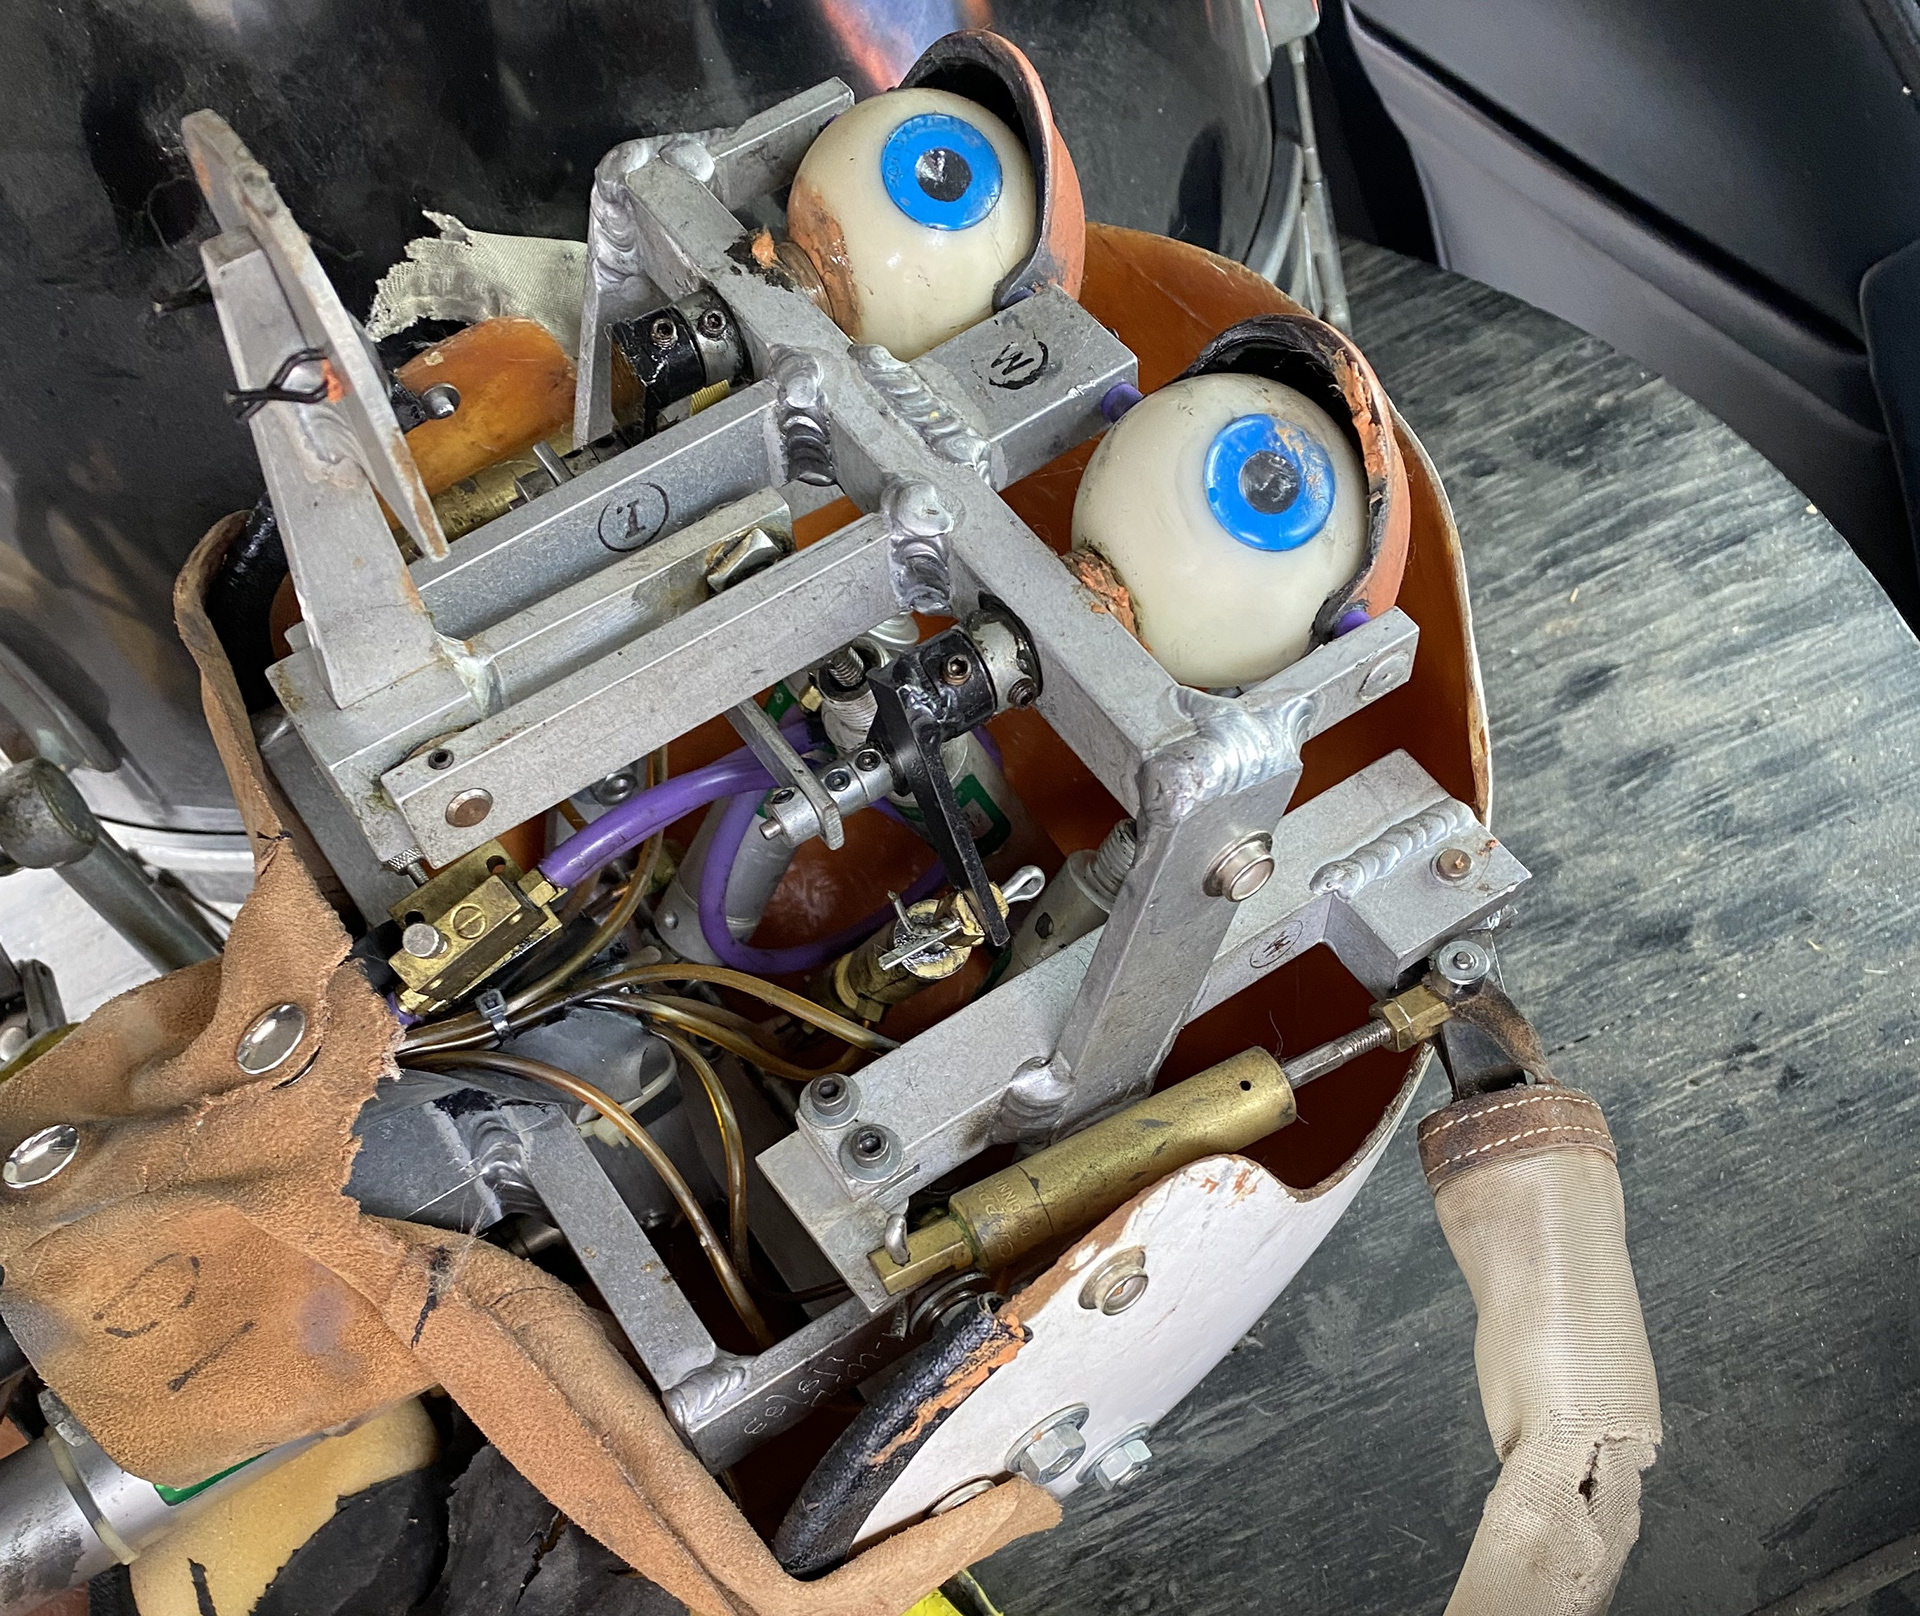
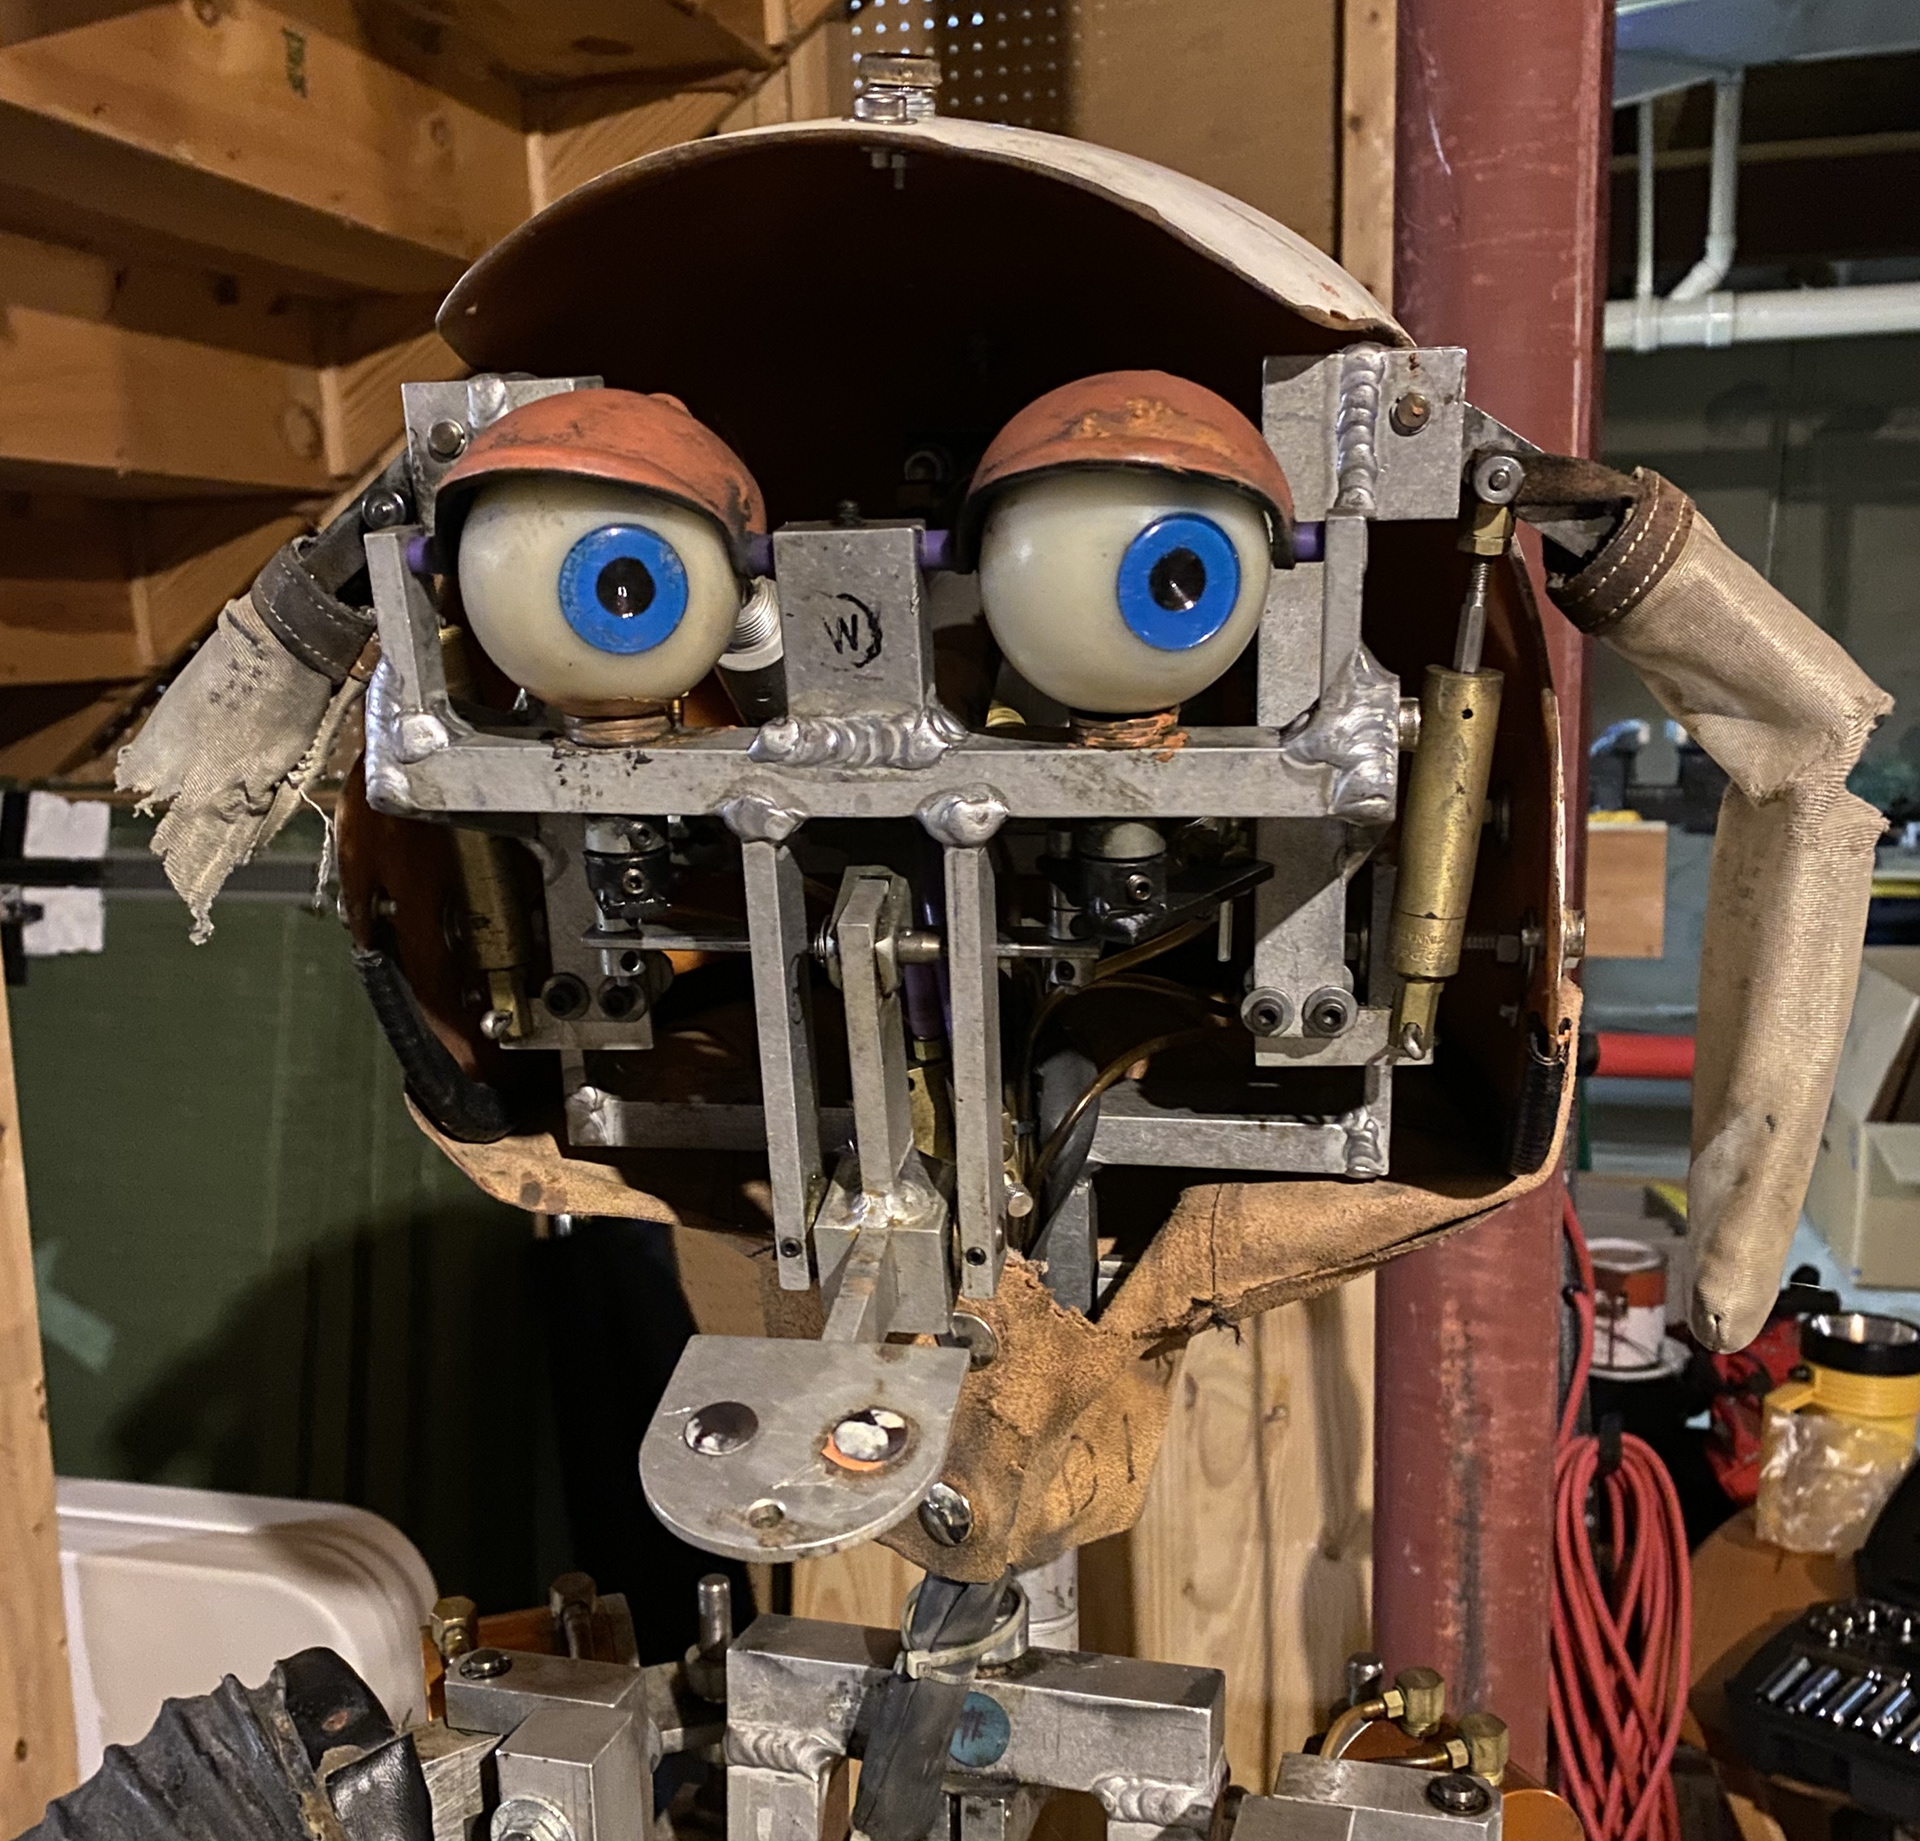
Cleaned Head Mech.

Torso Mech. with no Body Shell
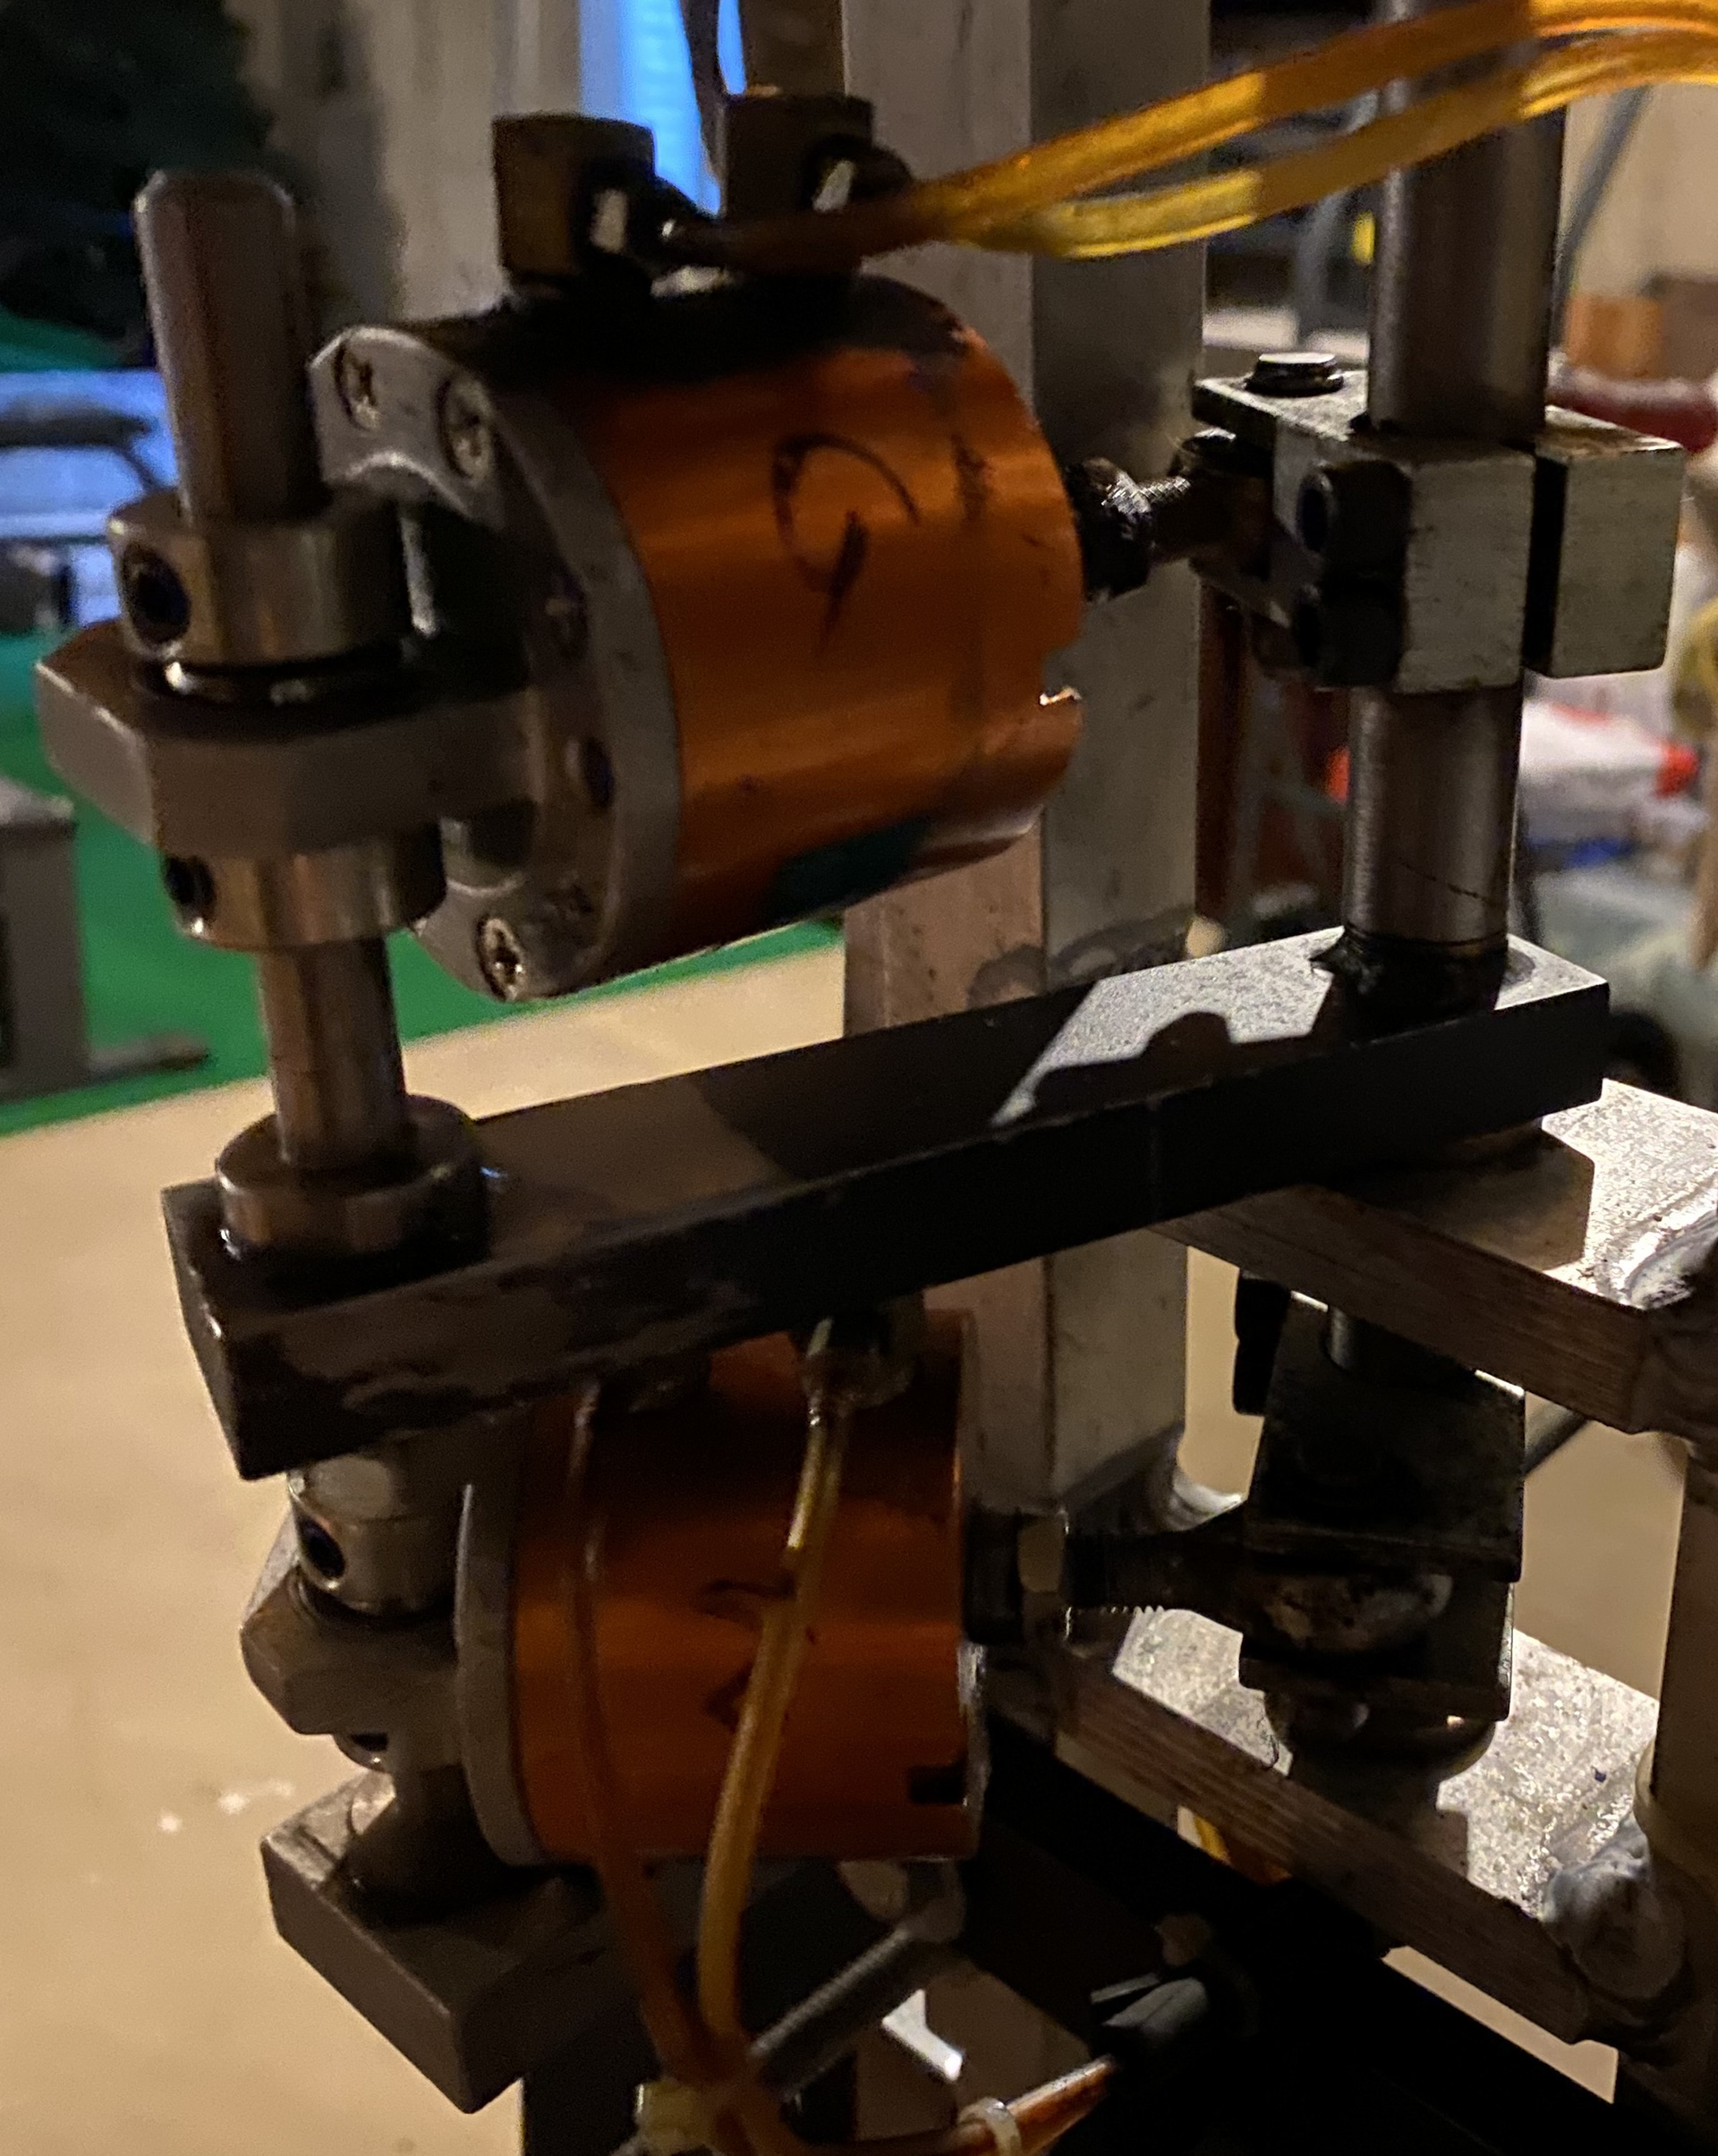
Internal Torso Cylinders for Head-turn
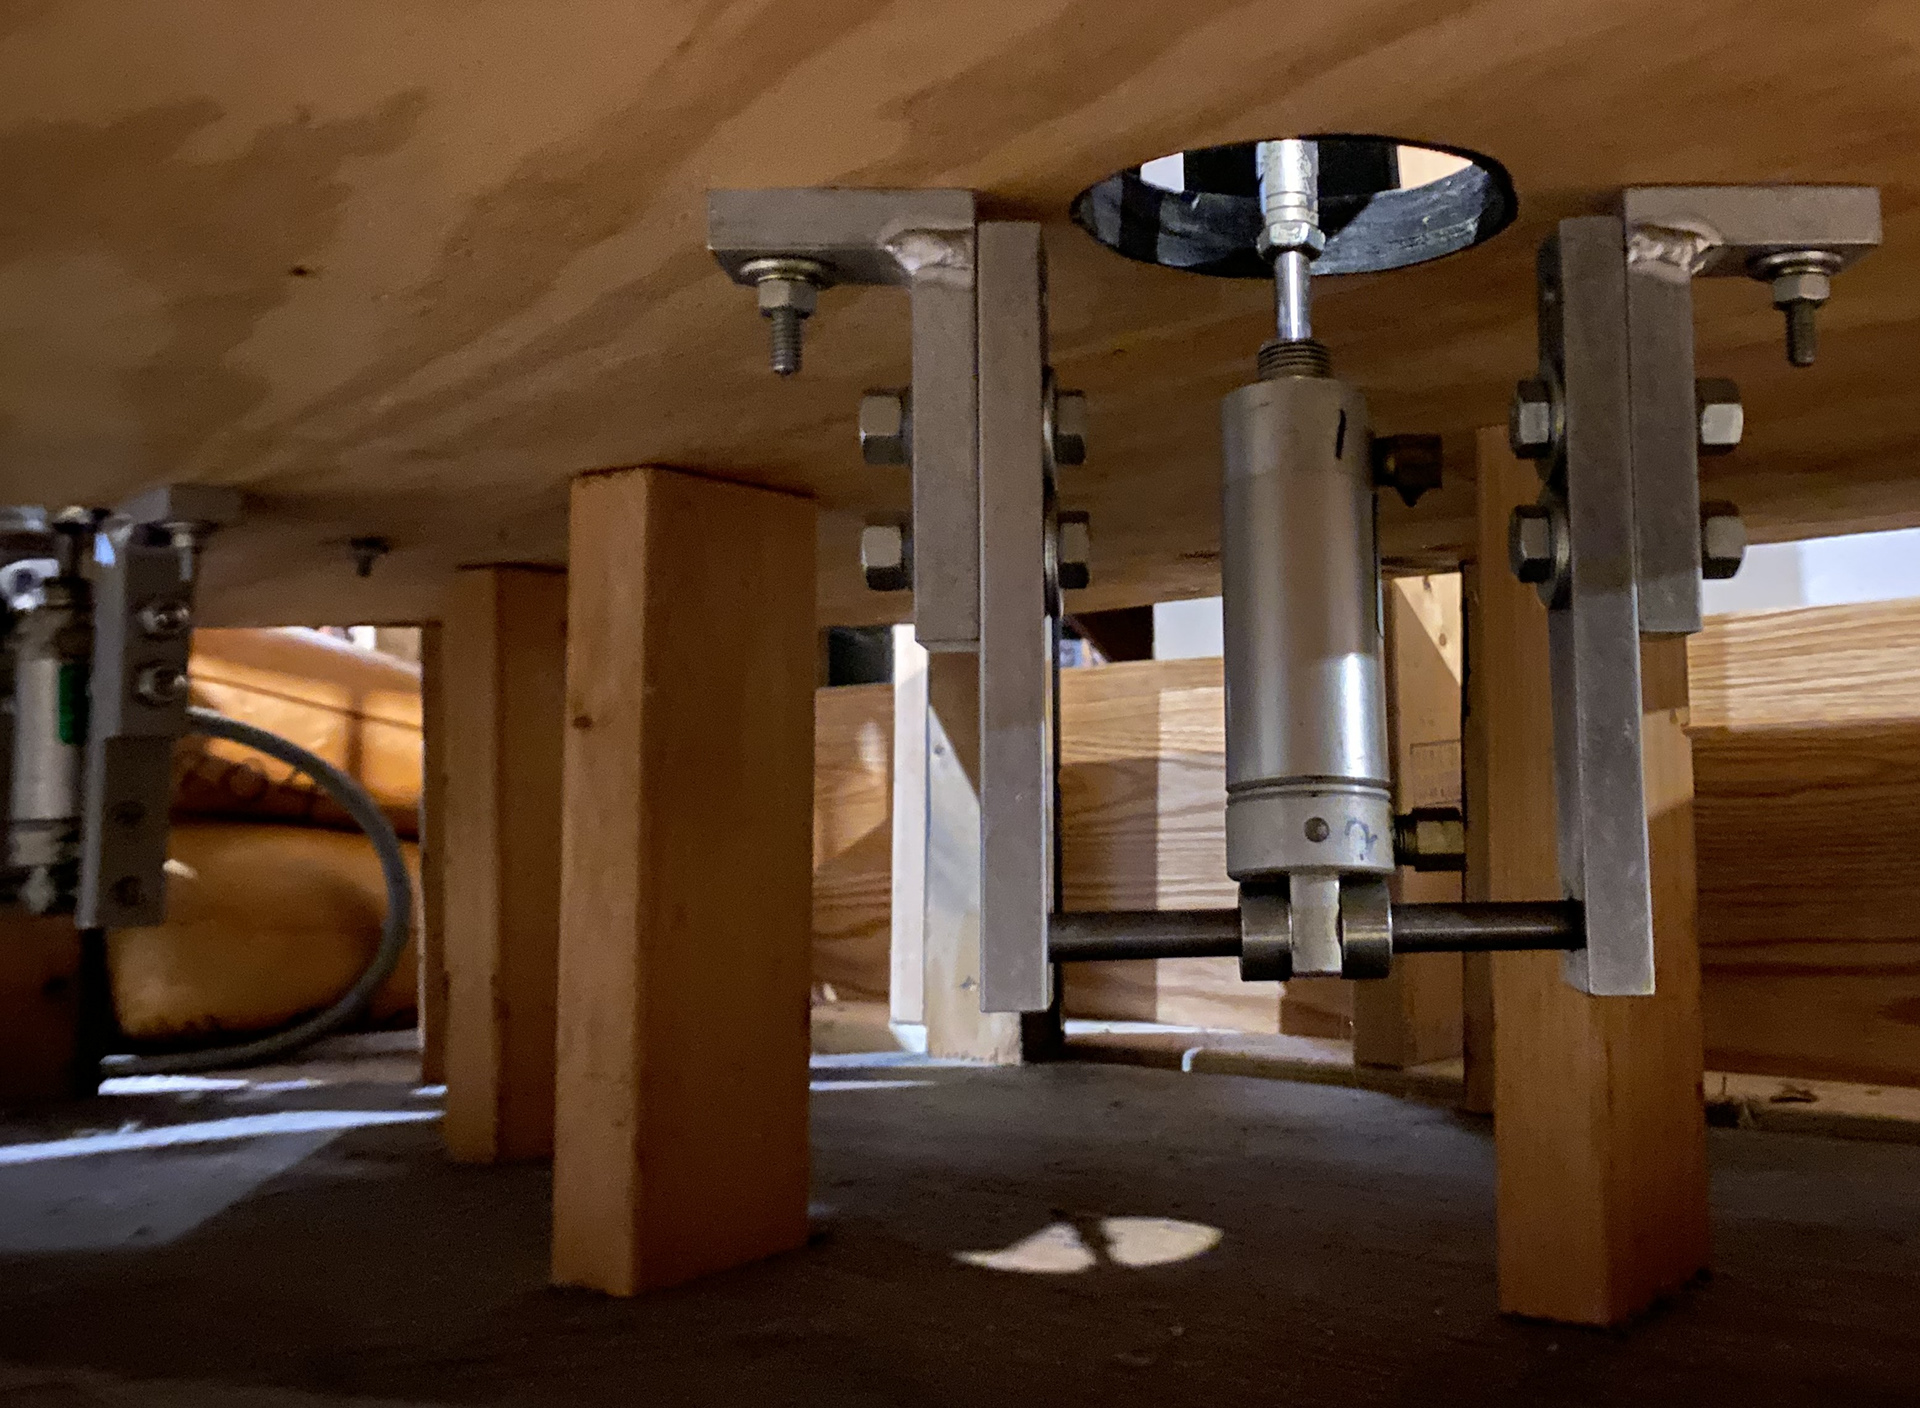
Under stage cylinders for Bass Drum and Hi-hat
Early Fixes
First thing I did is take all measurements needed to model new ear levers , since the original ones were broken. I luckily still had the originals to base the model off of. I used Creo Parametric, and made some adjustments for mounting purposes to then be printed out.
I also hooked the valve-bank up to an air compressor and tested every movement to diagnose any problems that could be cylinder, valve-bank, or mechanical related. I started with a low psi, and worked my way up to the intended 80 psi standard working pressure.
For the most part, every cylinder worked fine, the movements were just incredibly jerky and inconsistent due to poorly tuned flow-controls.
Key Words:
Cylinder- the piston like components that utilize compressed air to move different parts of the figure.
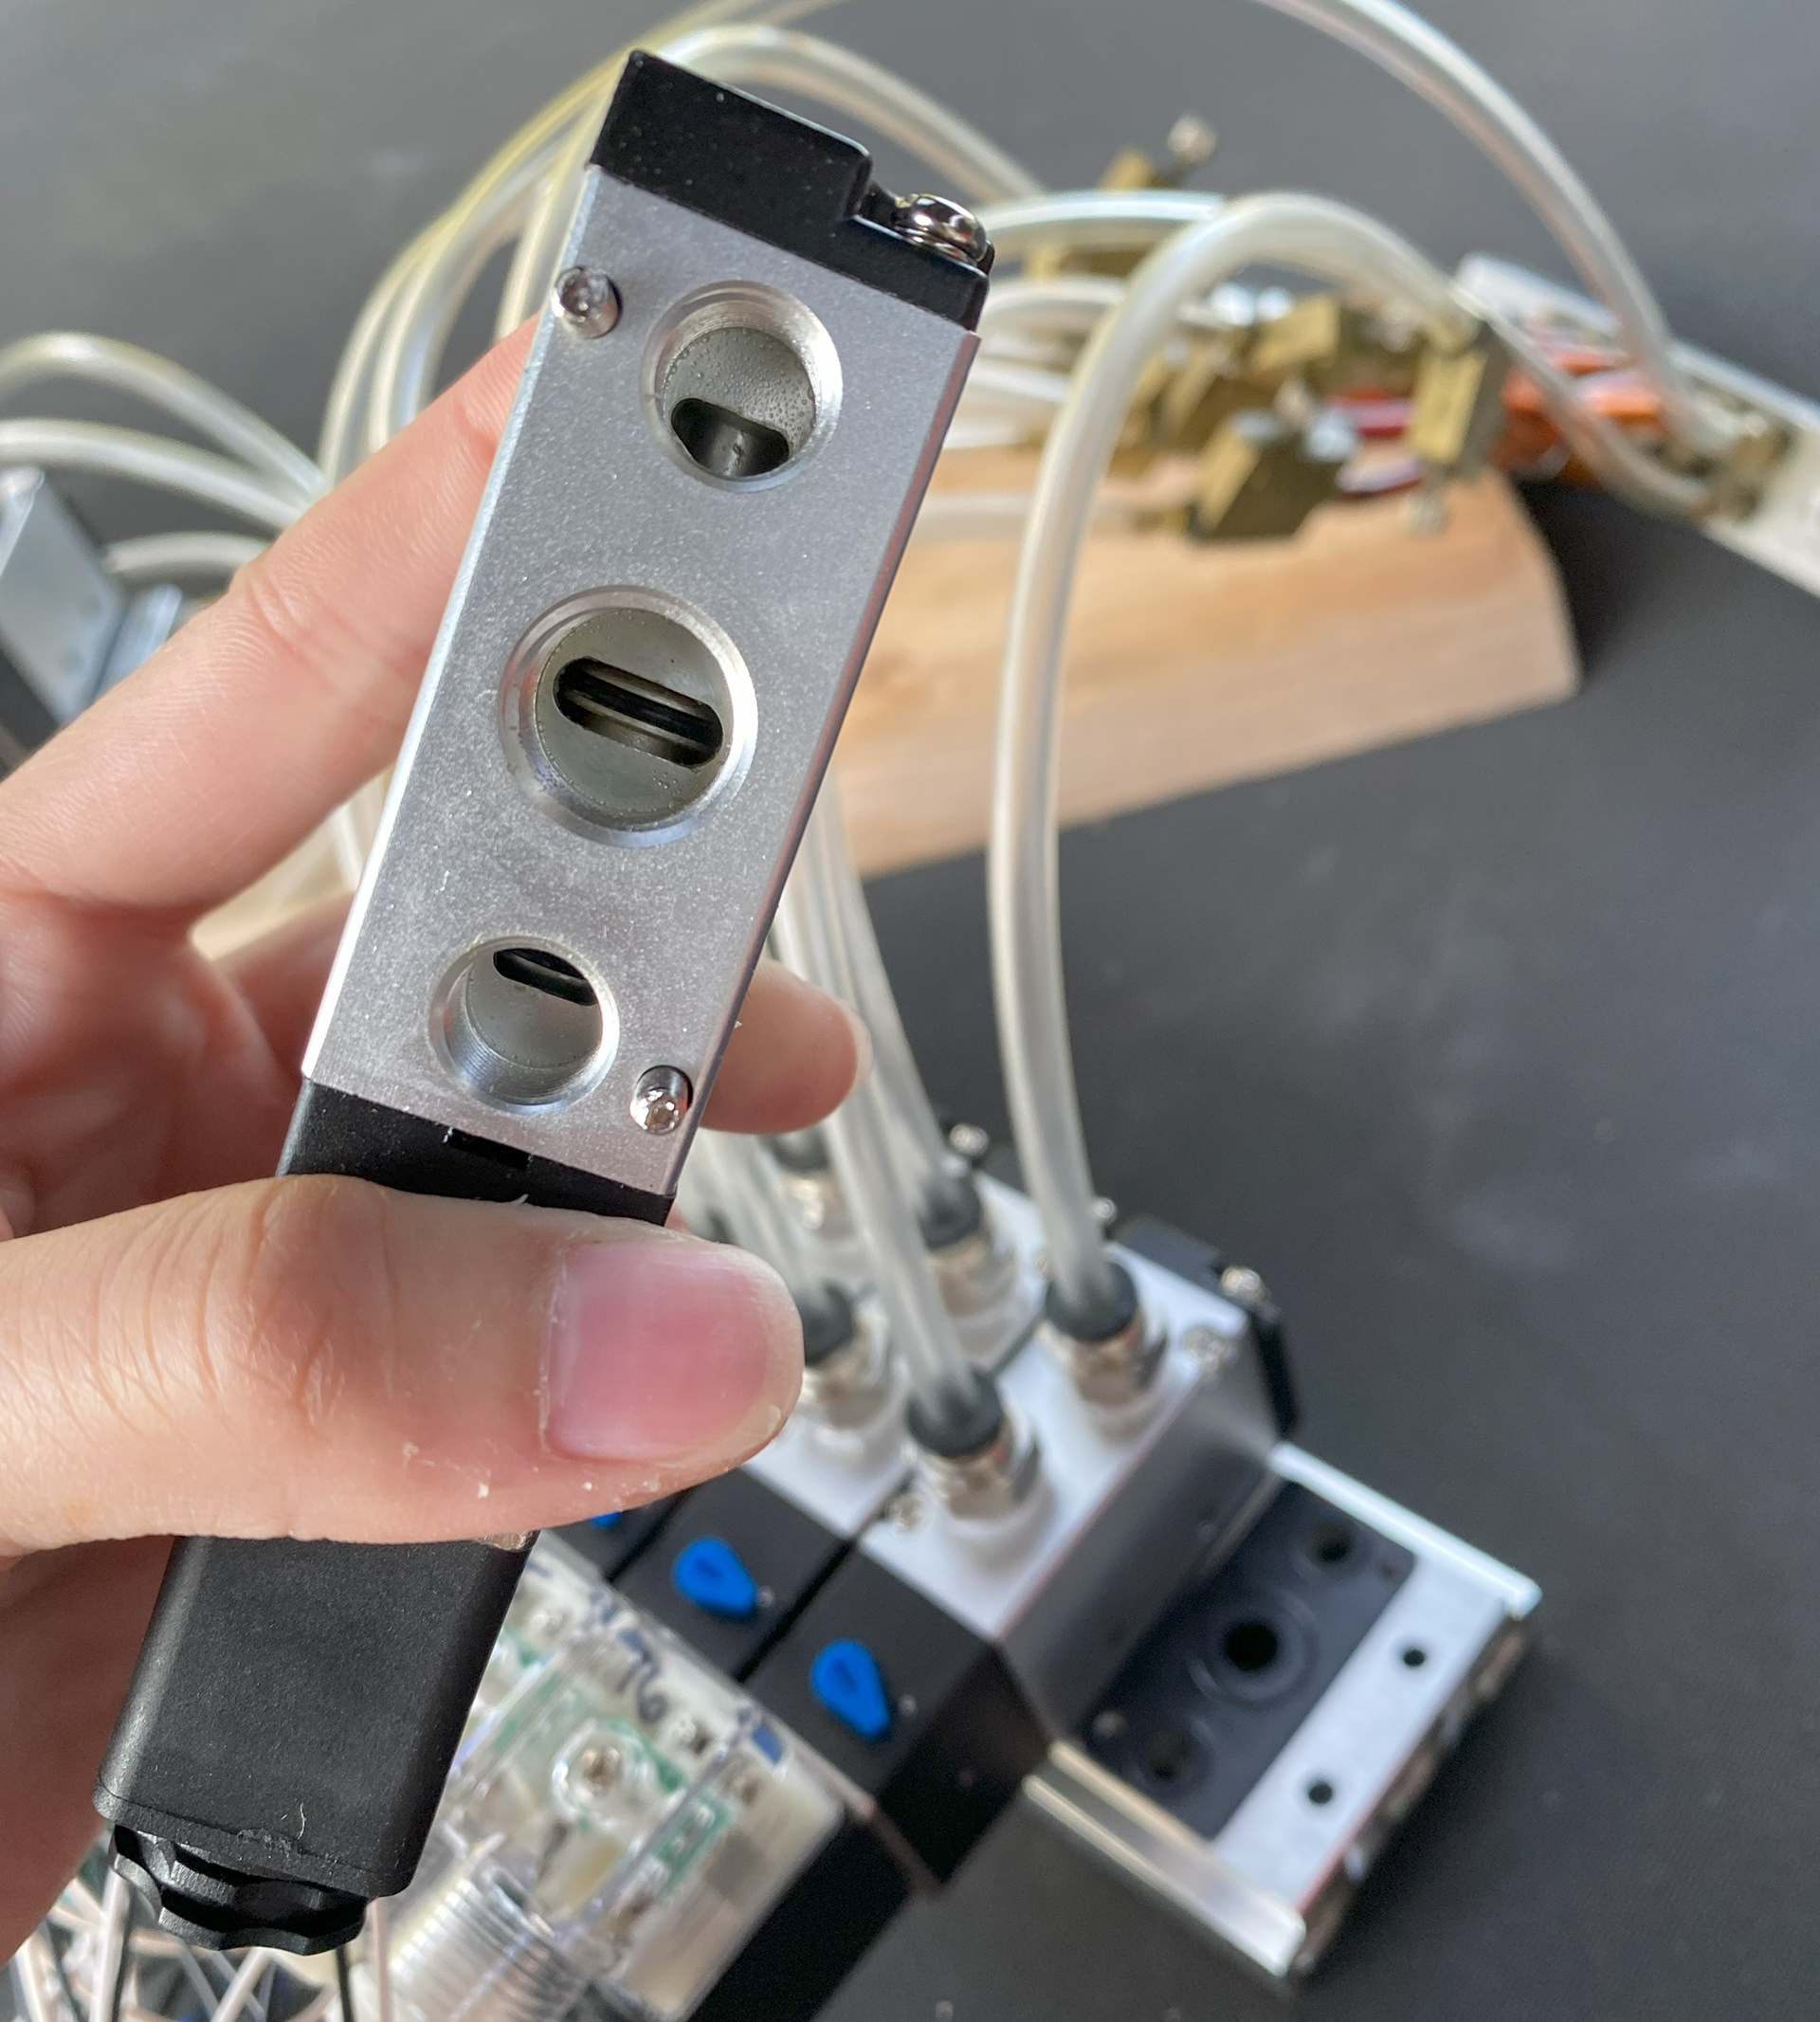
Valve-bank- a series of solenoid valves mounted to a manifold in order to have one central air line that supplies pressurized air throughout the entire system.
Flow-control- a small mechanical device that is placed within the airline, between the valve-bank and the cylinder, to control how slow or fast air moves in and out of the cylinder.
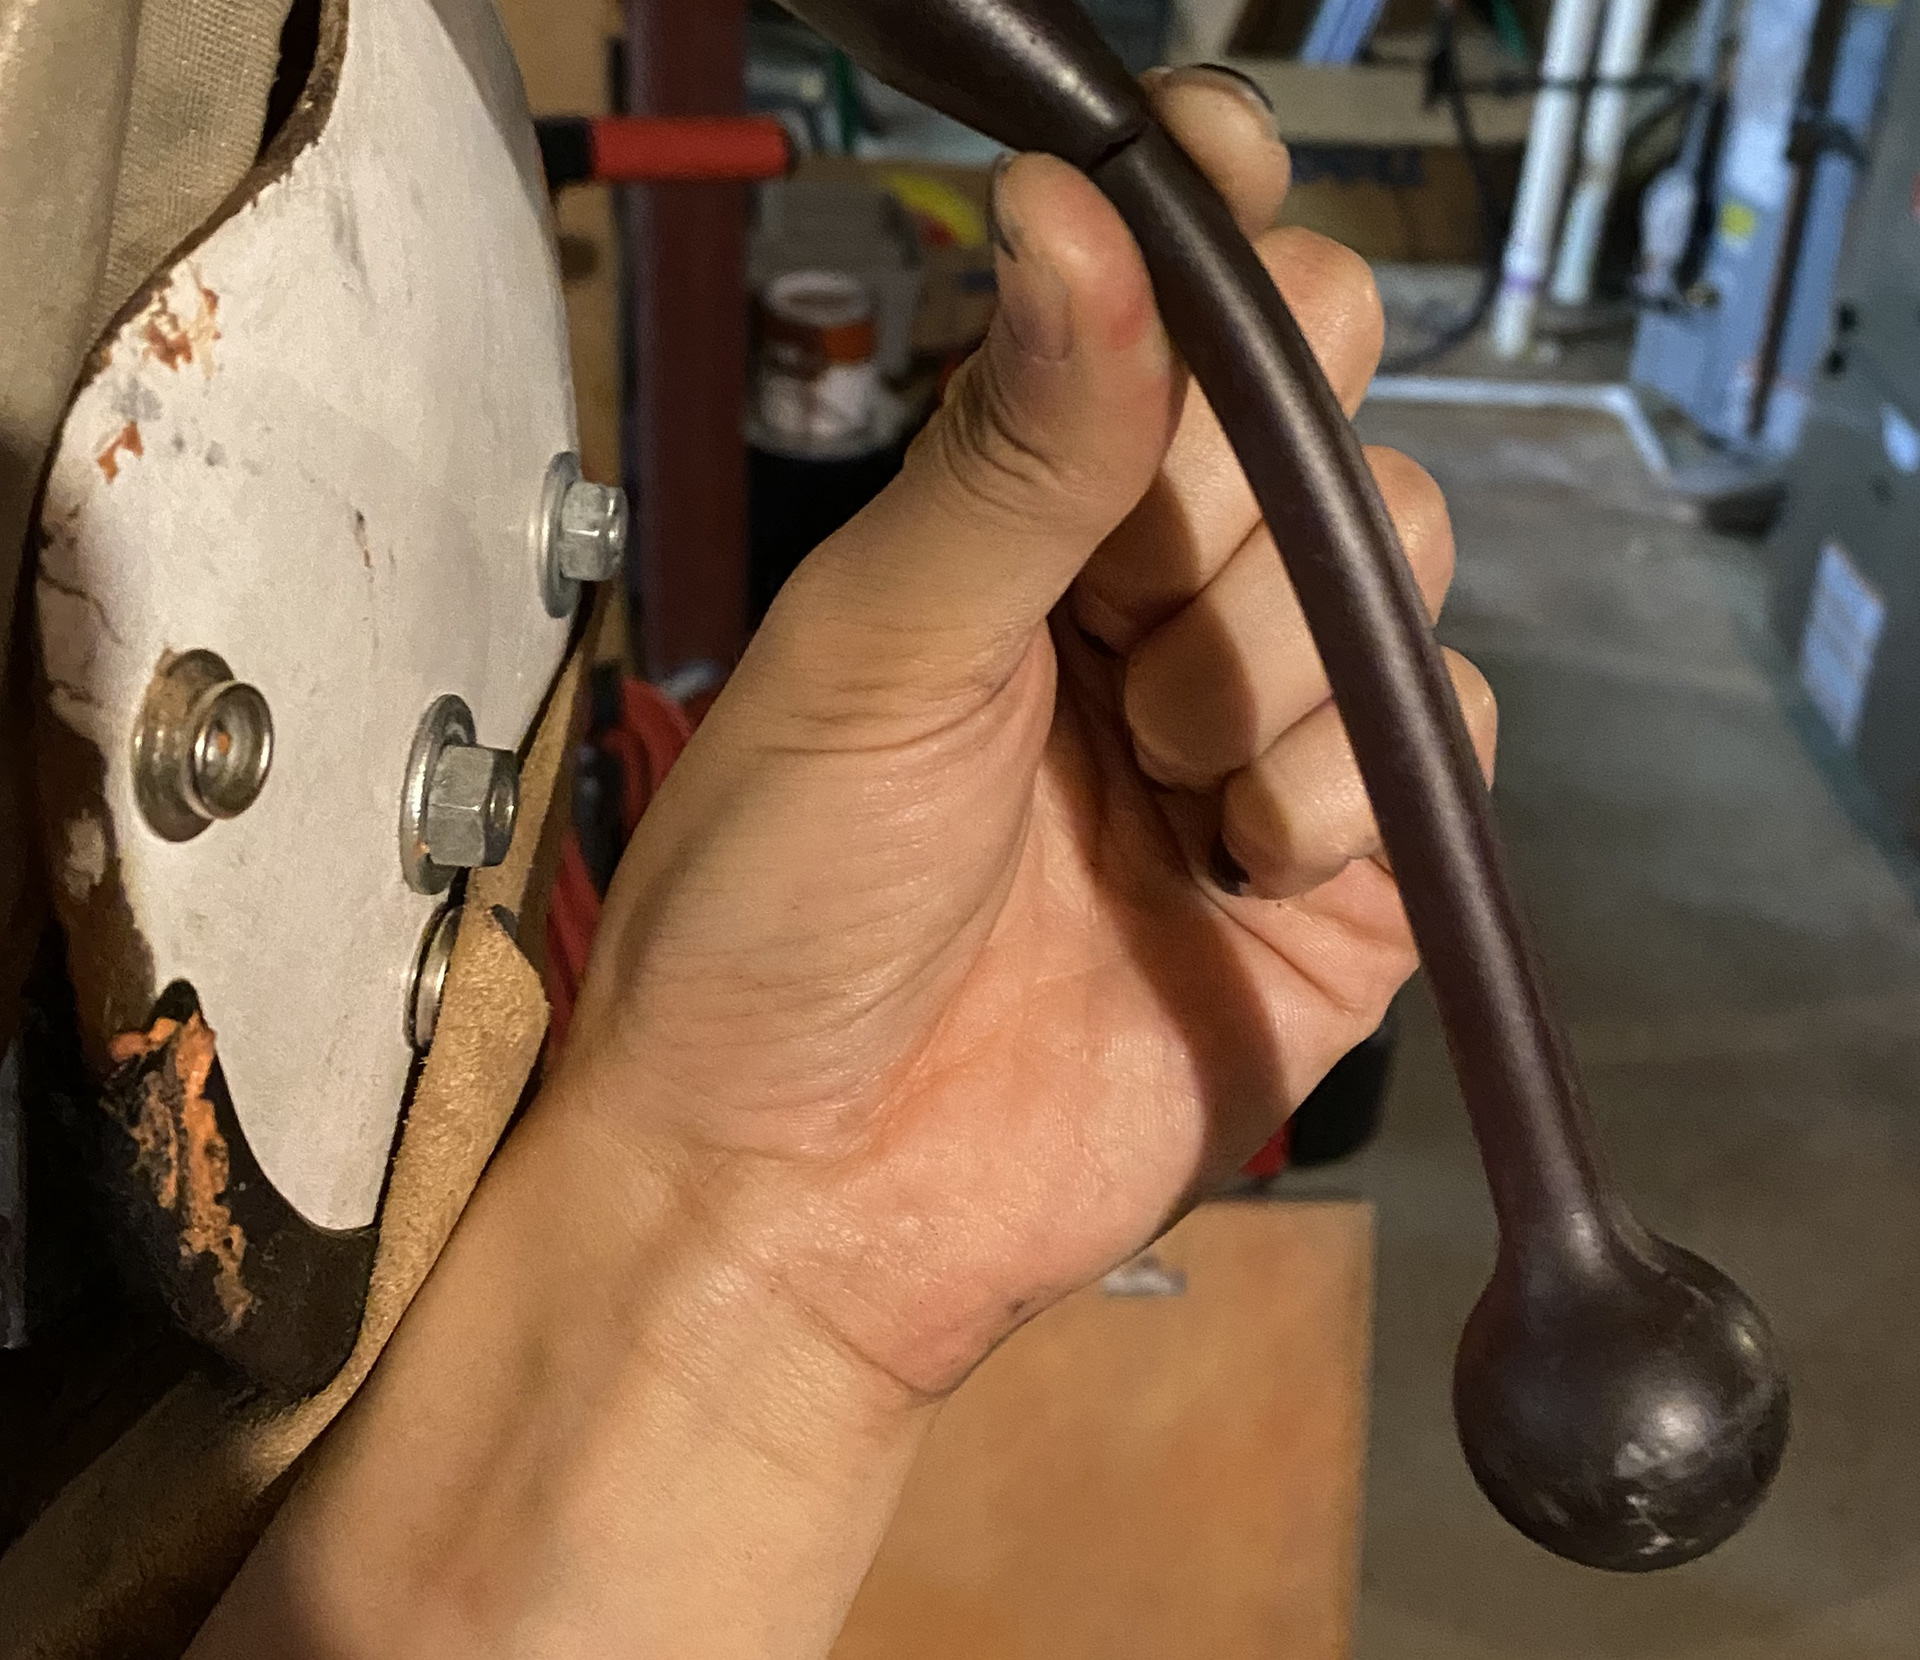
Original Ear Lever
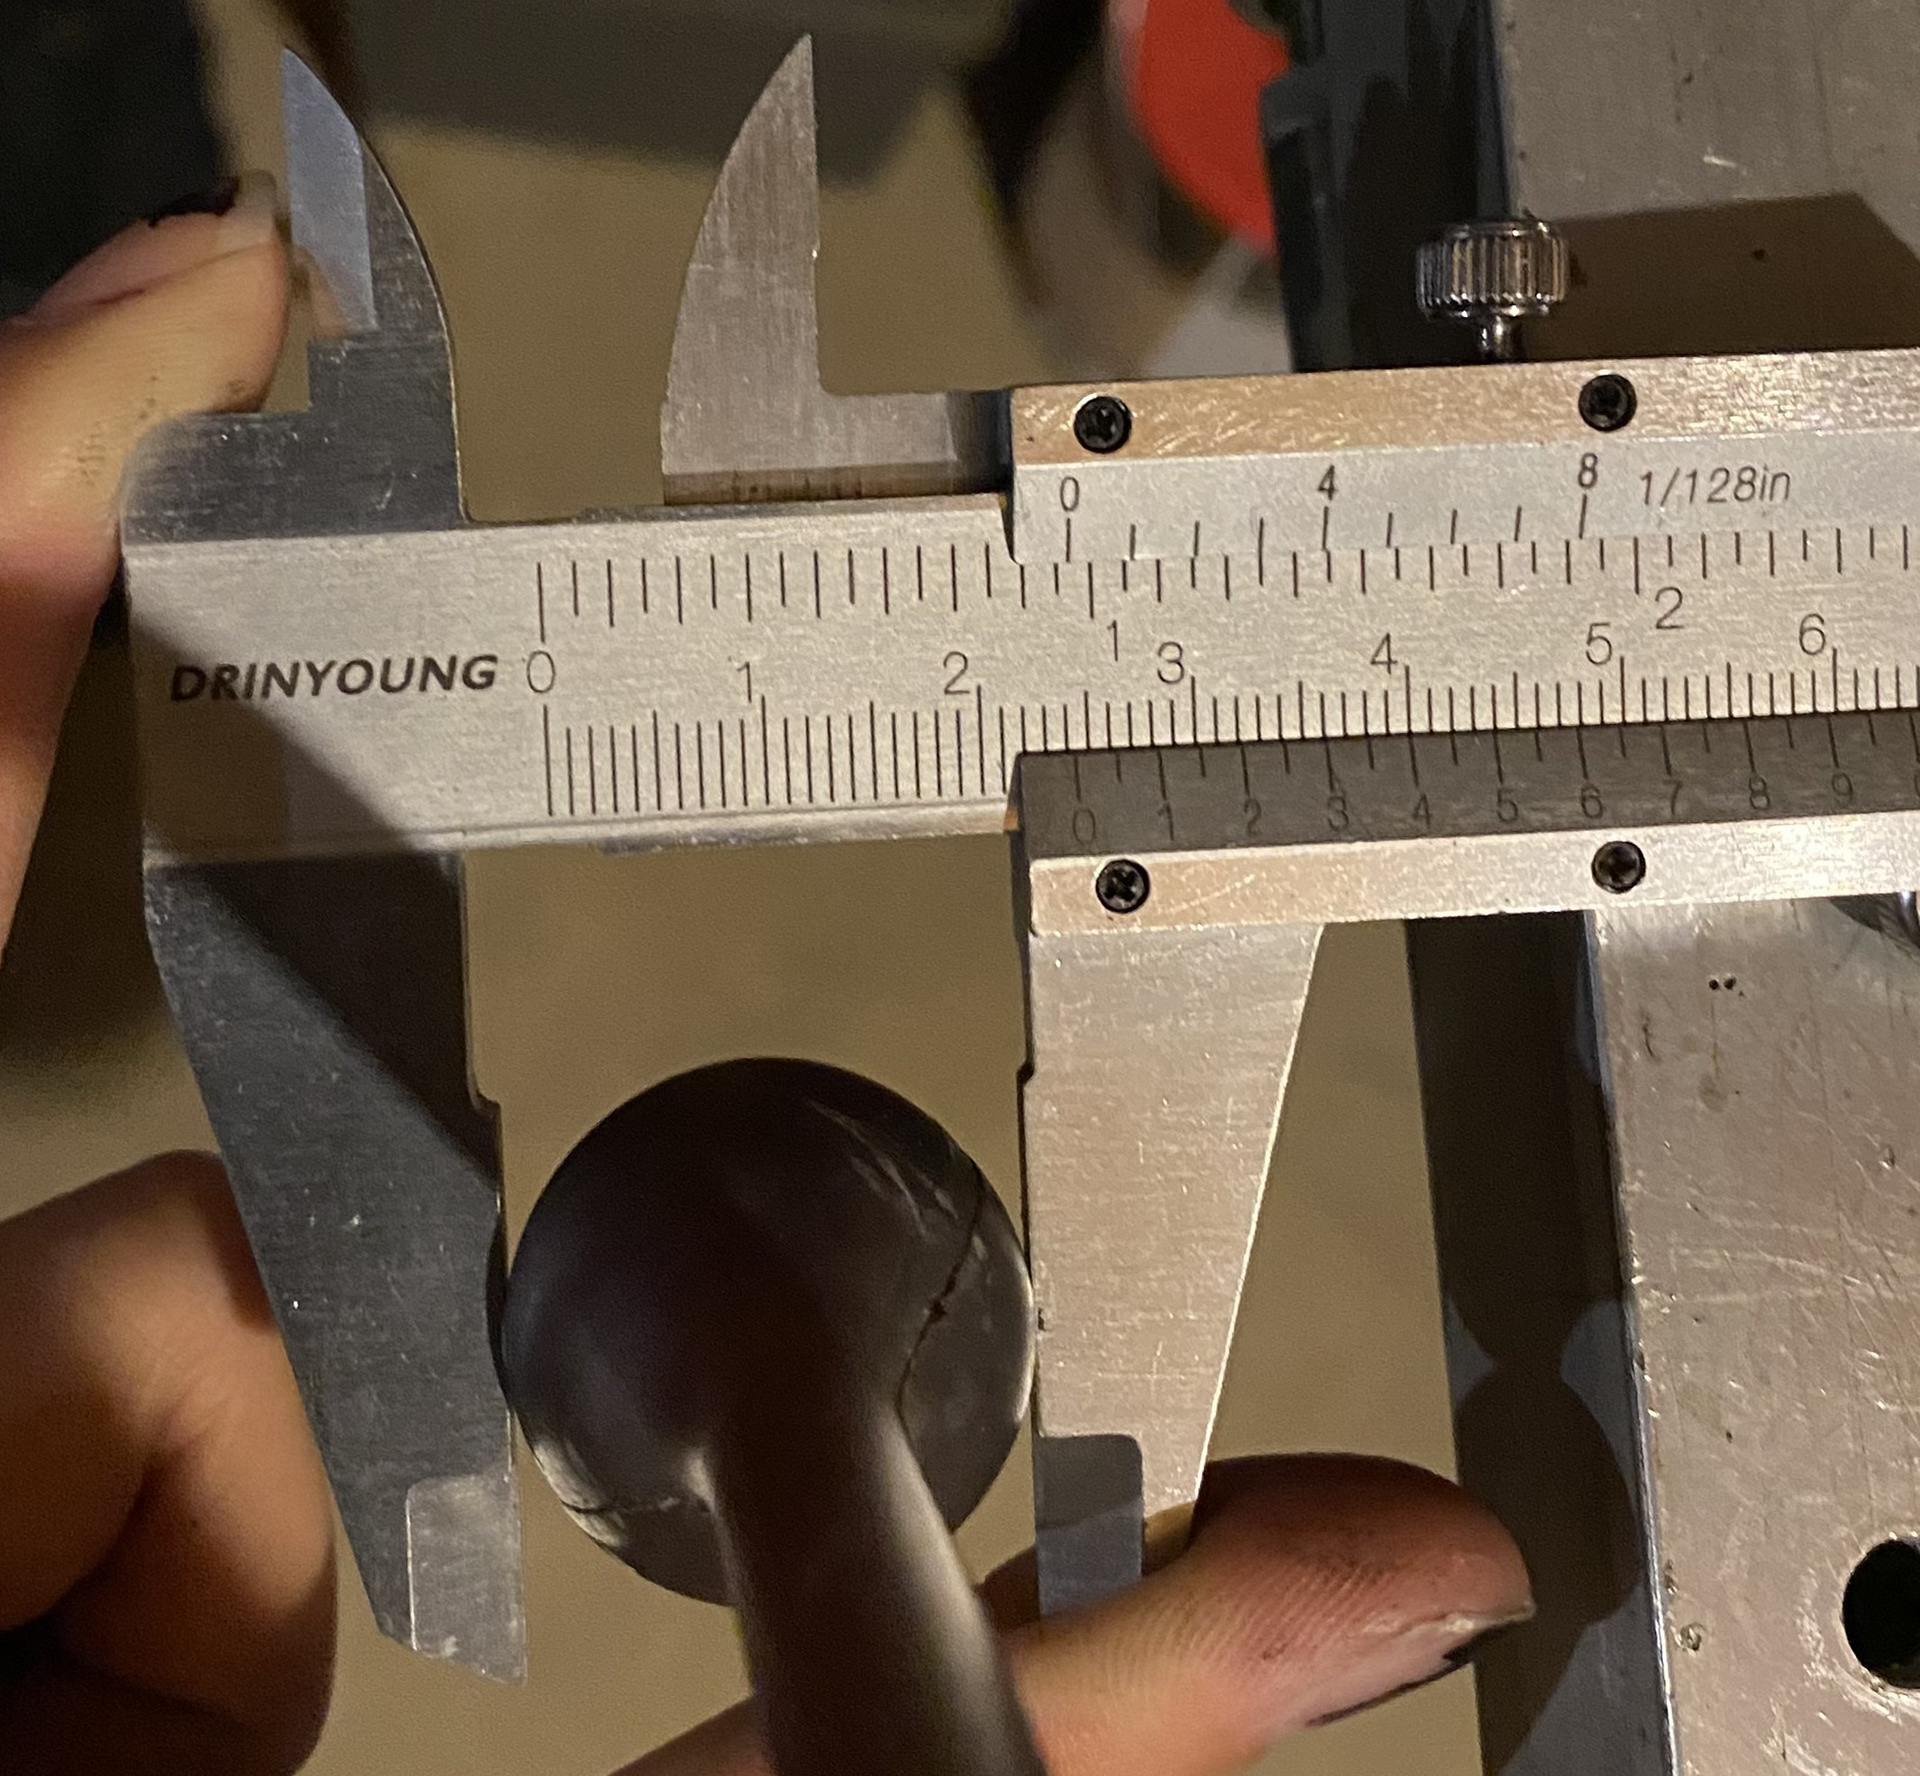
Taking Measurements
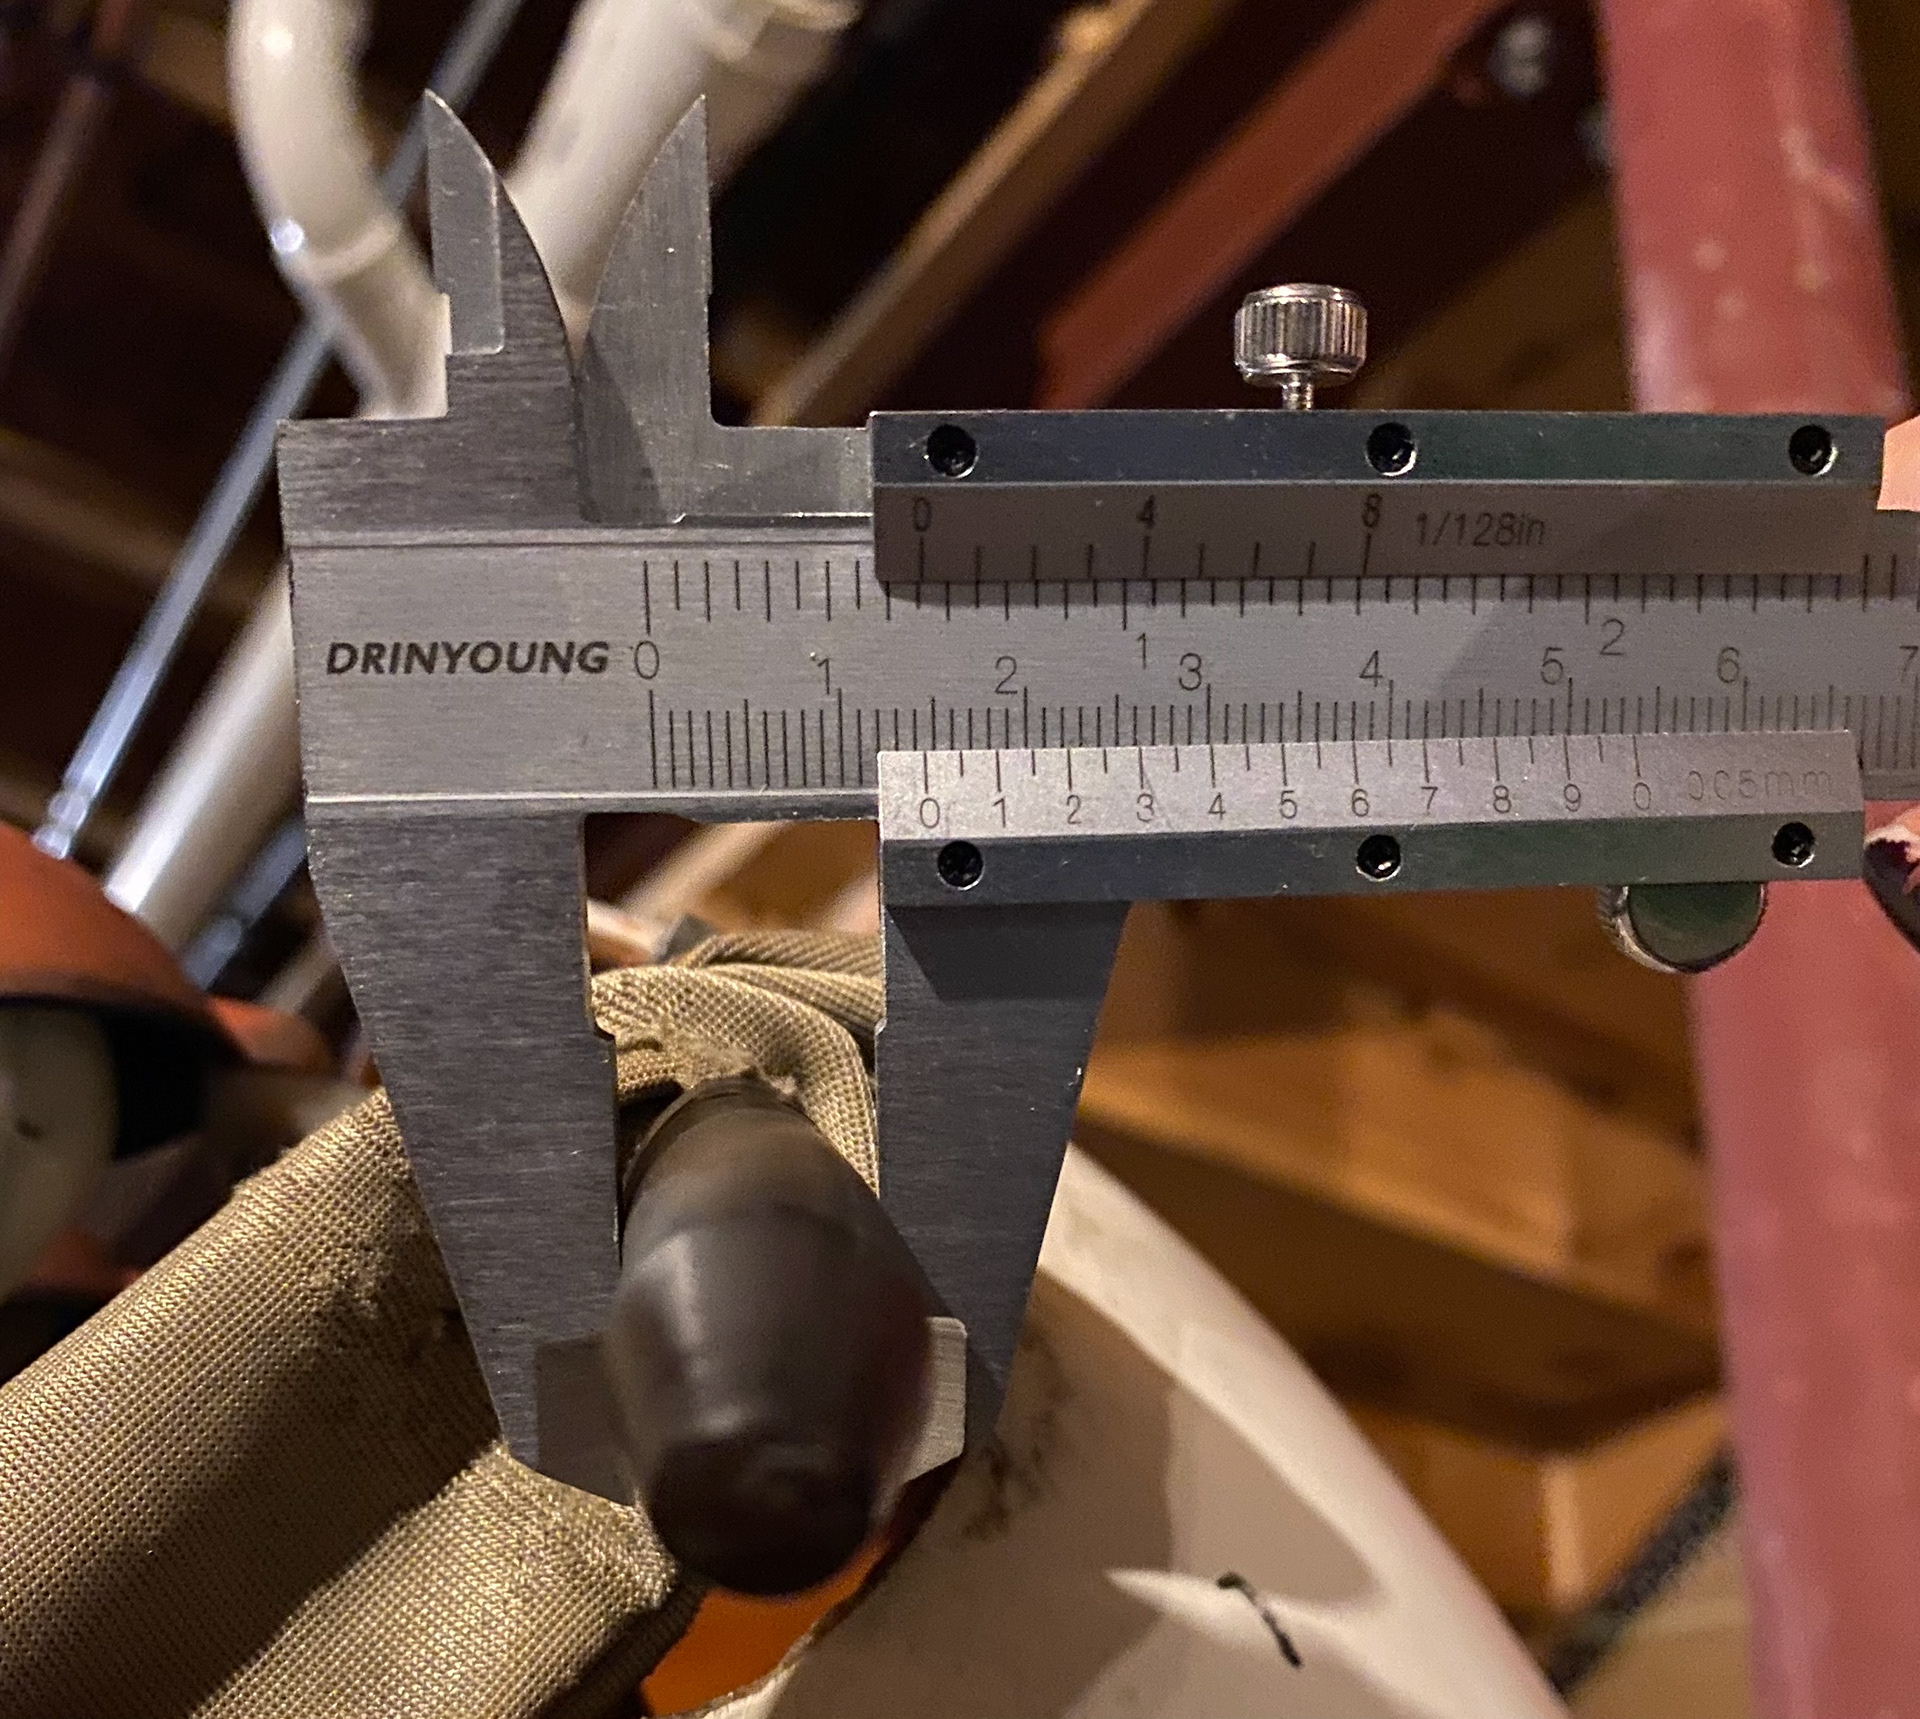
Taking Measurements
3D-printed Ear Levers
Valve-bank Troubleshooting
The first step into getting smooth and reliable movements is to troubleshoot the valve-bank.
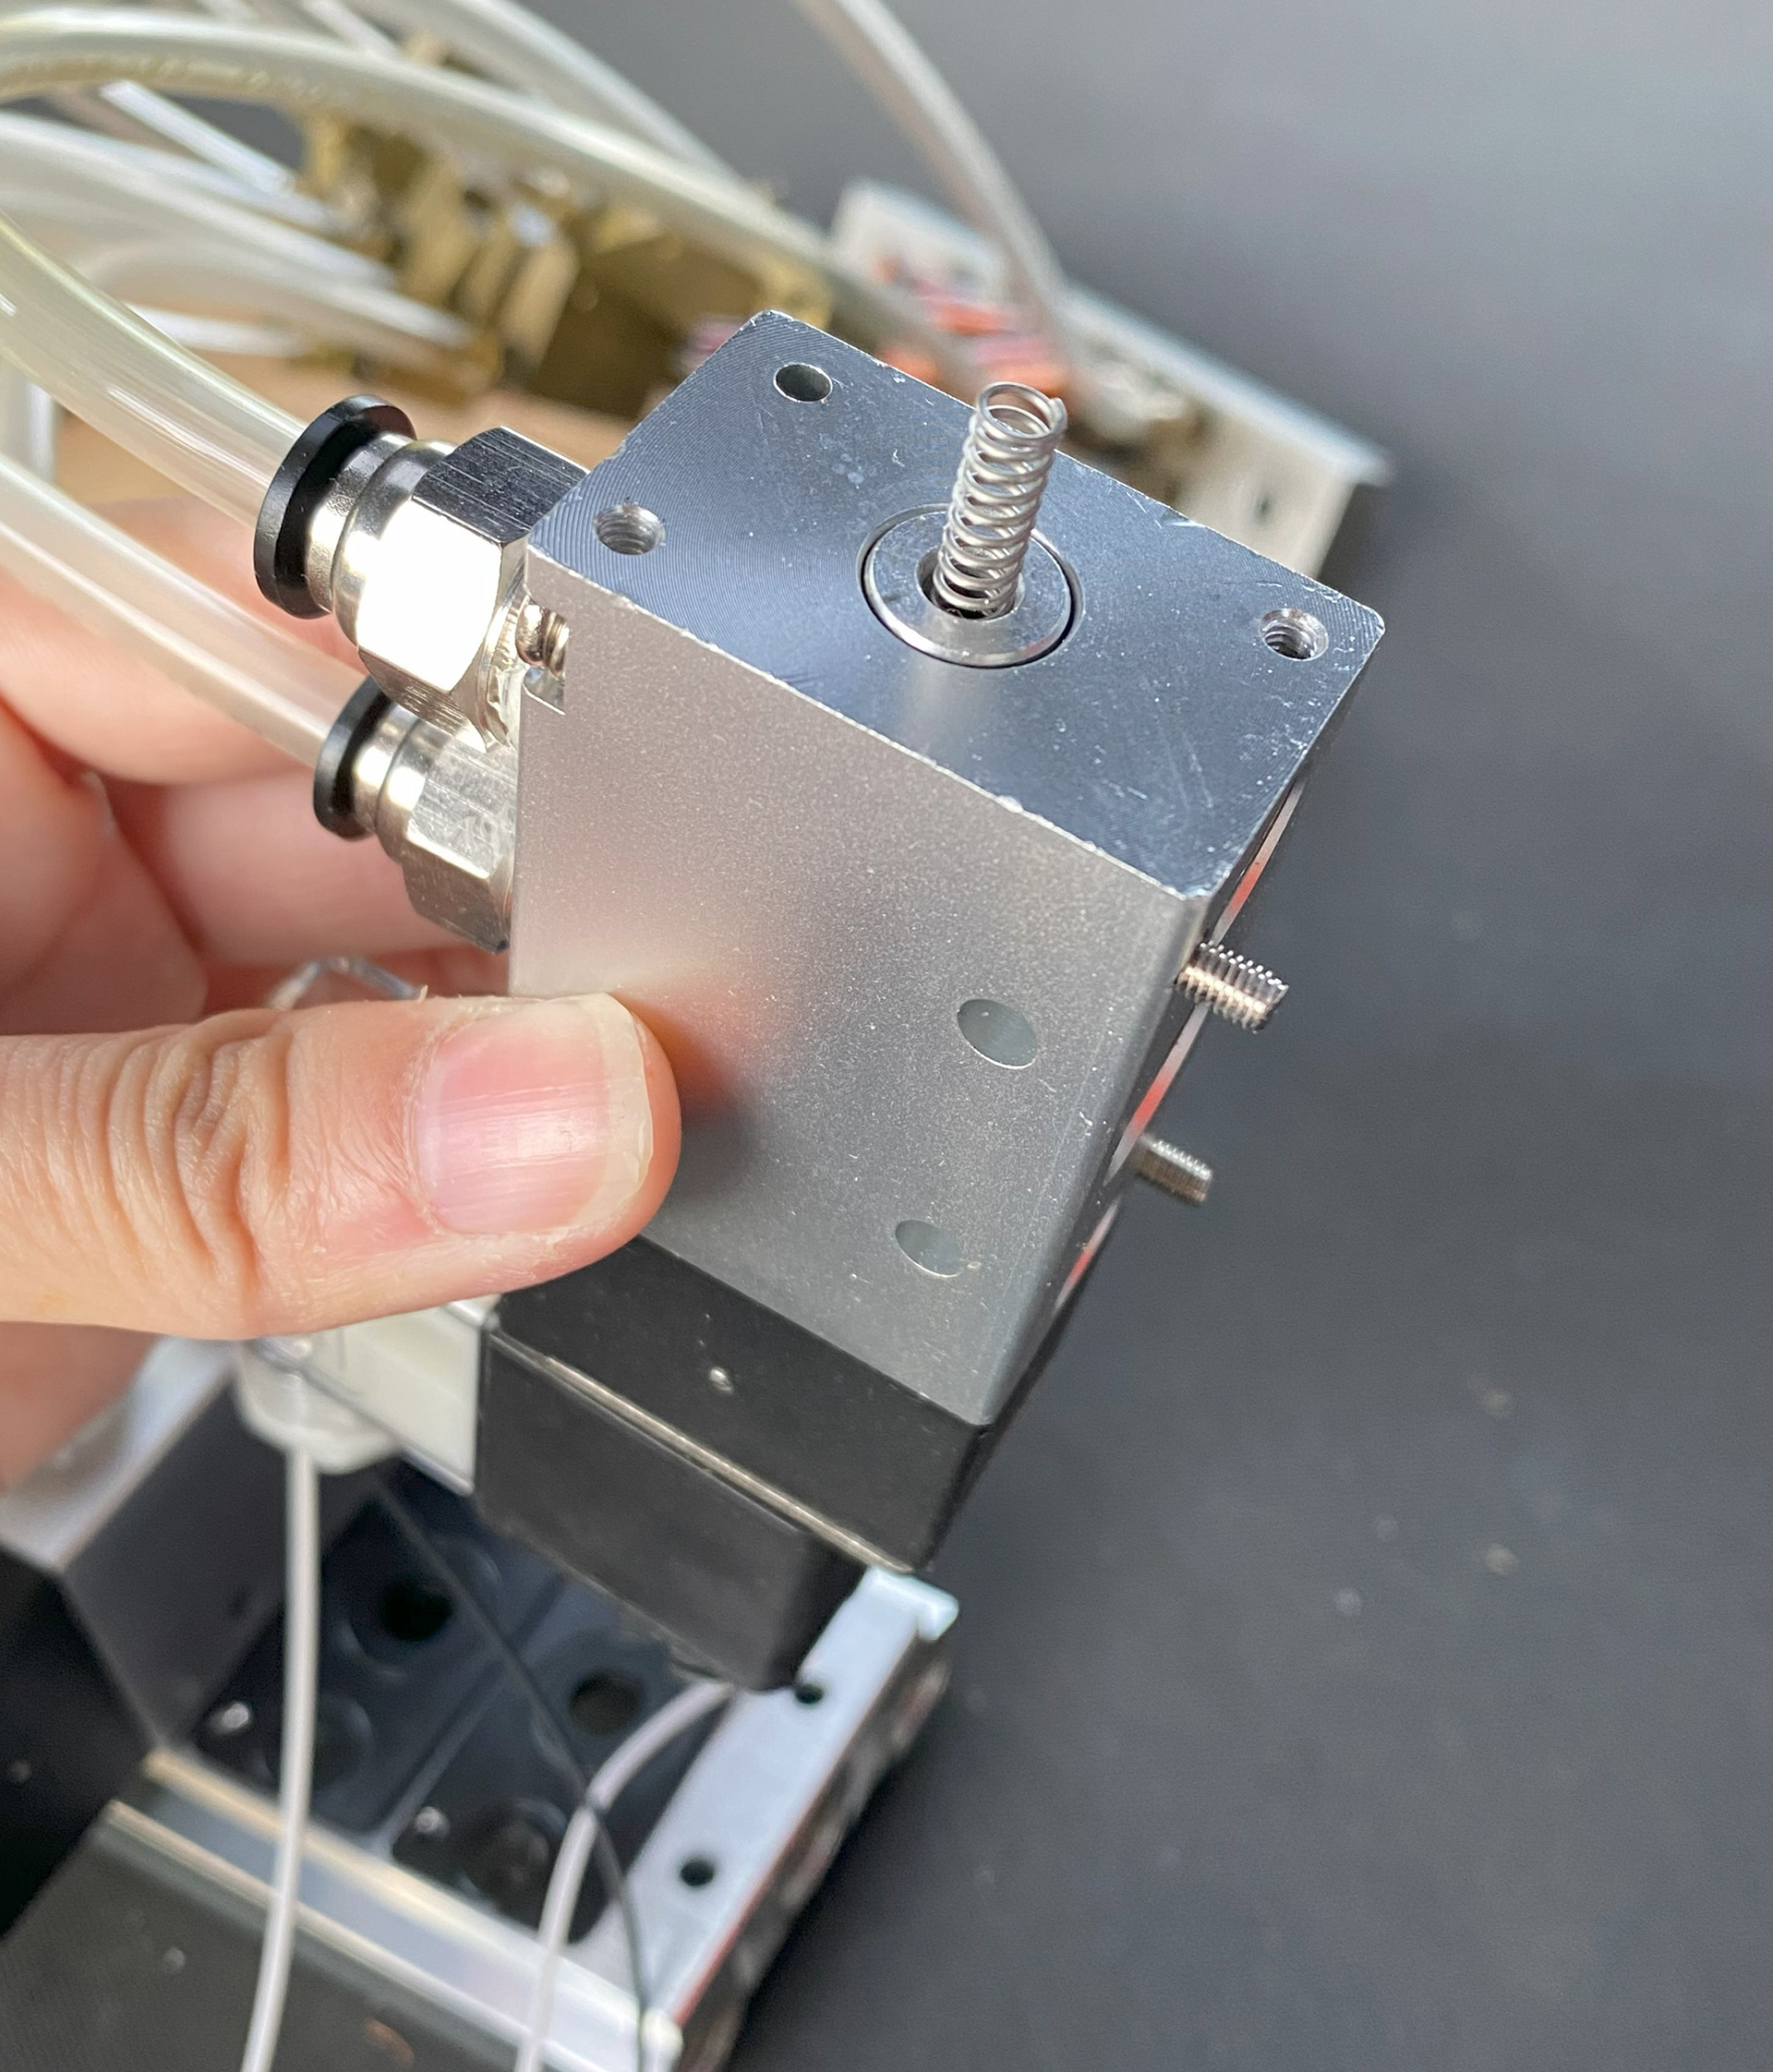
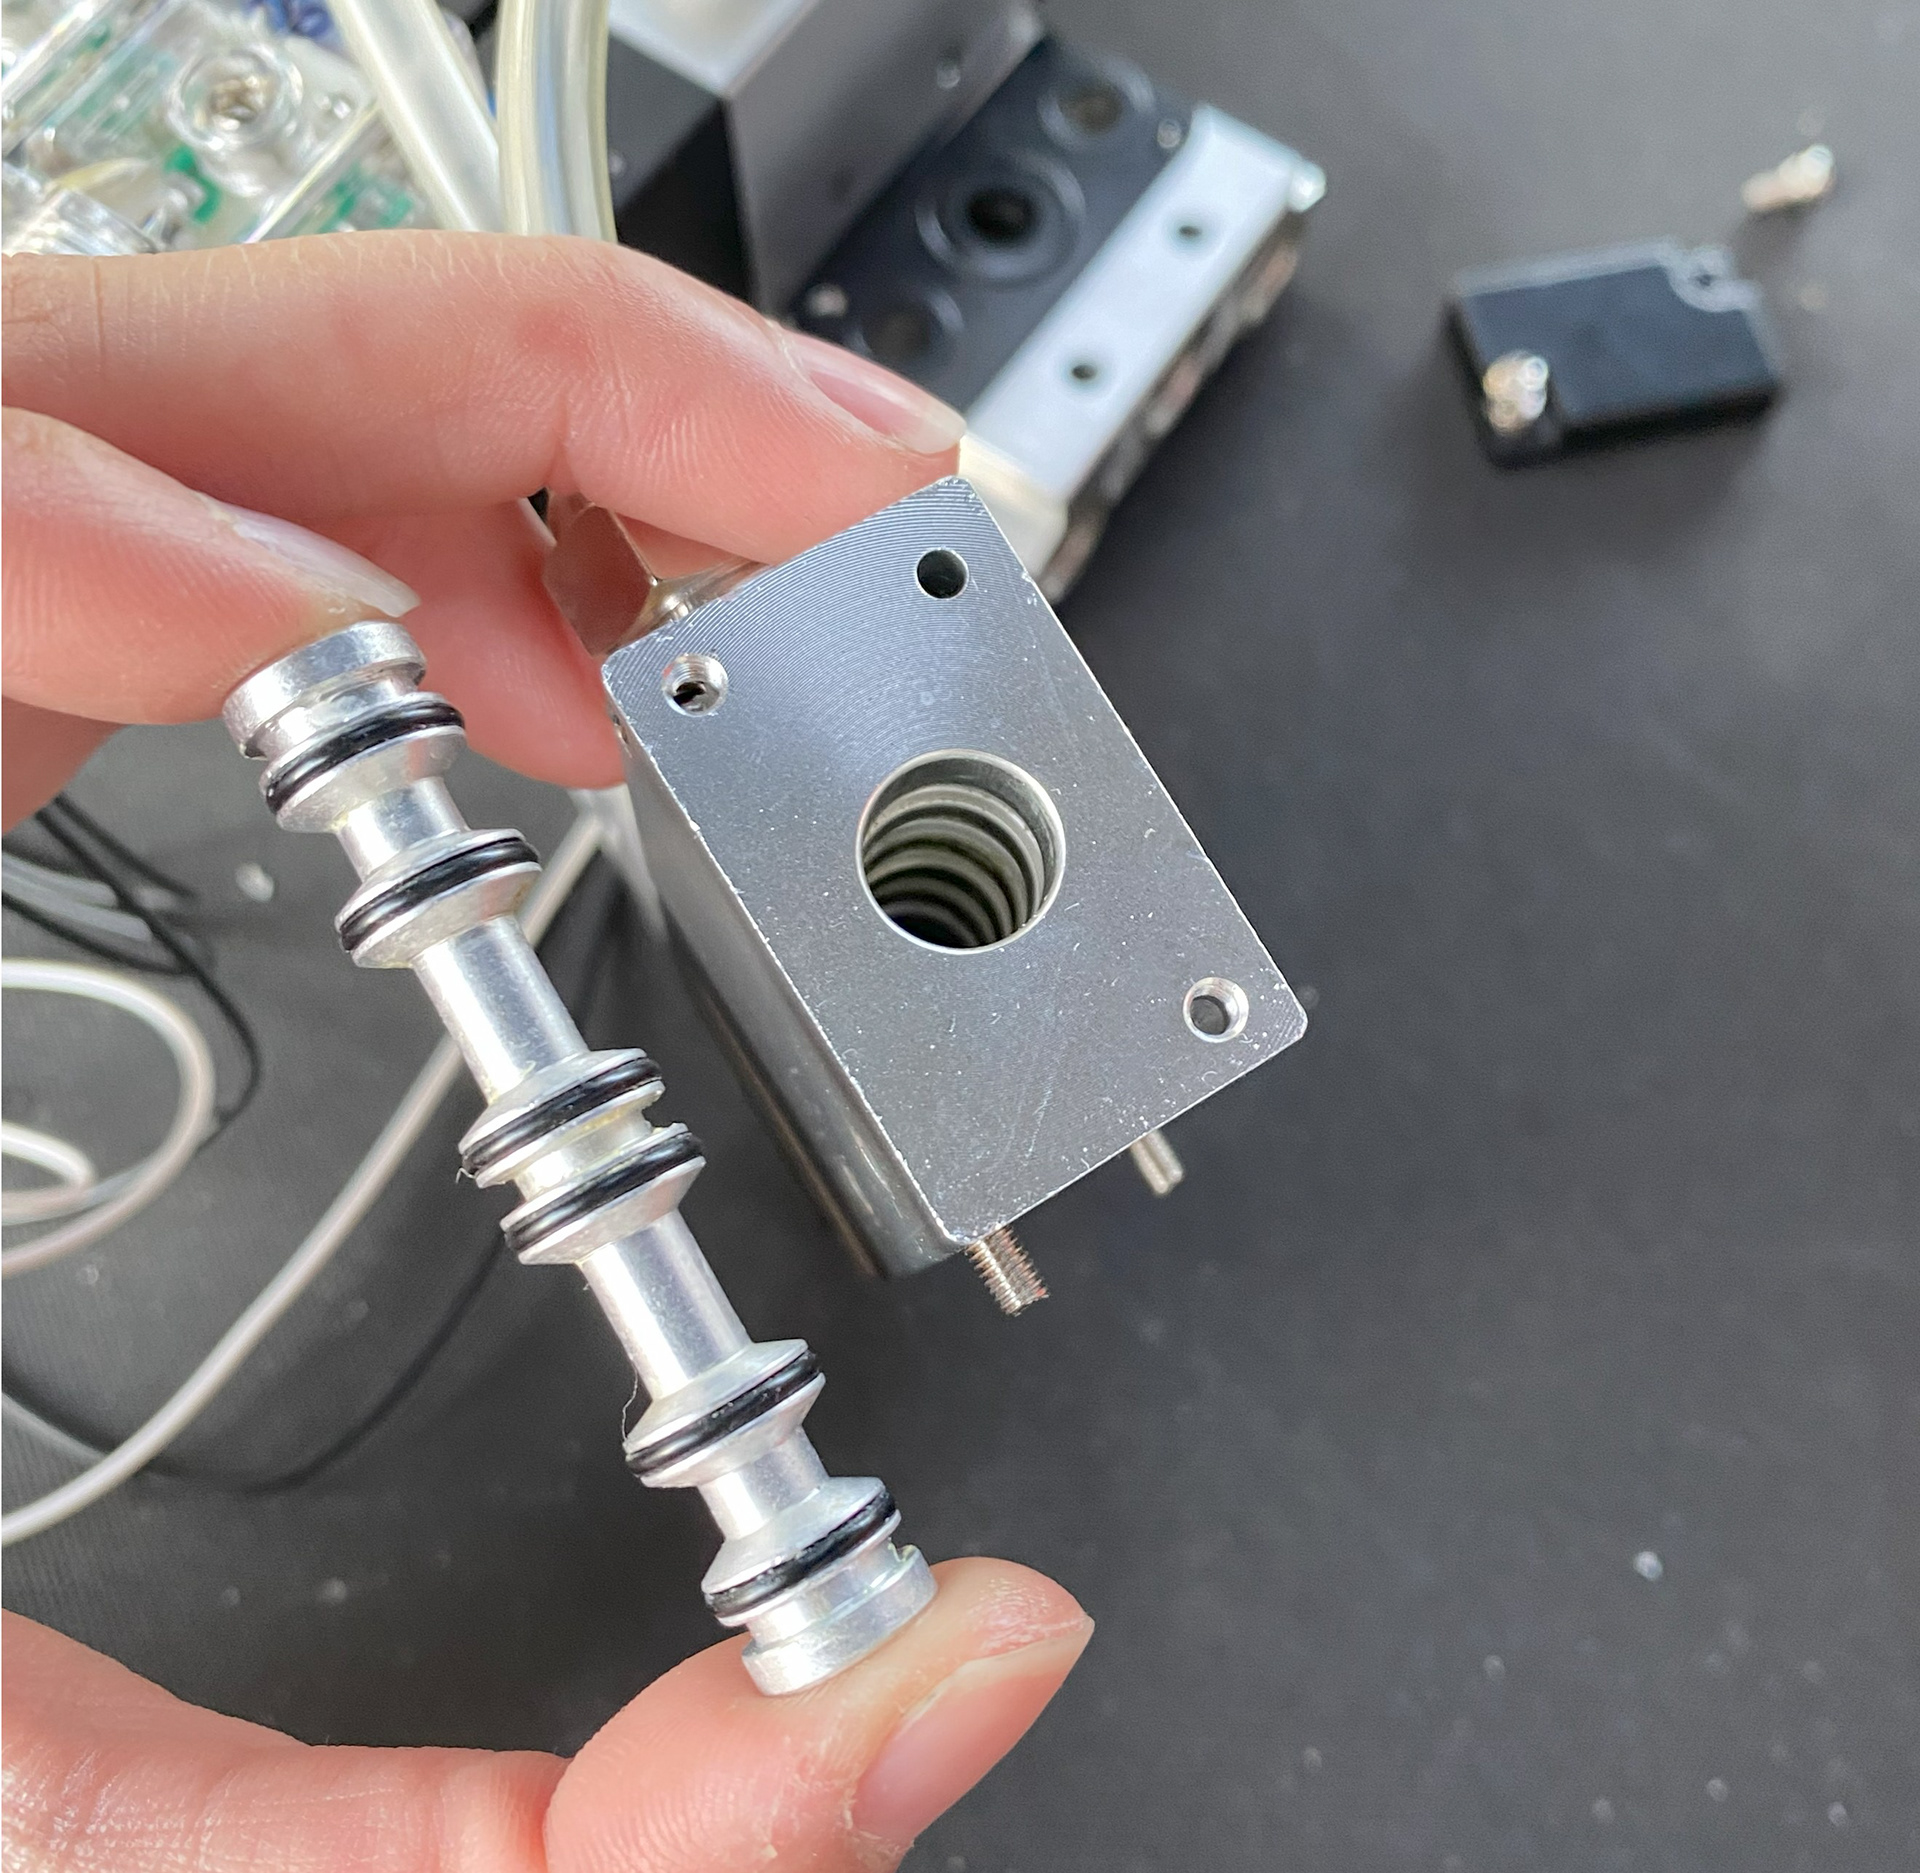
I started out by attempting to fix the broken valves in the original MAC valve-bank that the figure came with. There were several valves that were stuck, which prevented air from being able to switch between the two ports as intended. After disassembling, applying lubricant, and reassembling, the bank still had issues.
After putting too many hours into fixing the MAC valves, I ultimately decided to build a new bank from scratch. It would be modern and more reliable than constantly having to finick with valves from the 1980s.
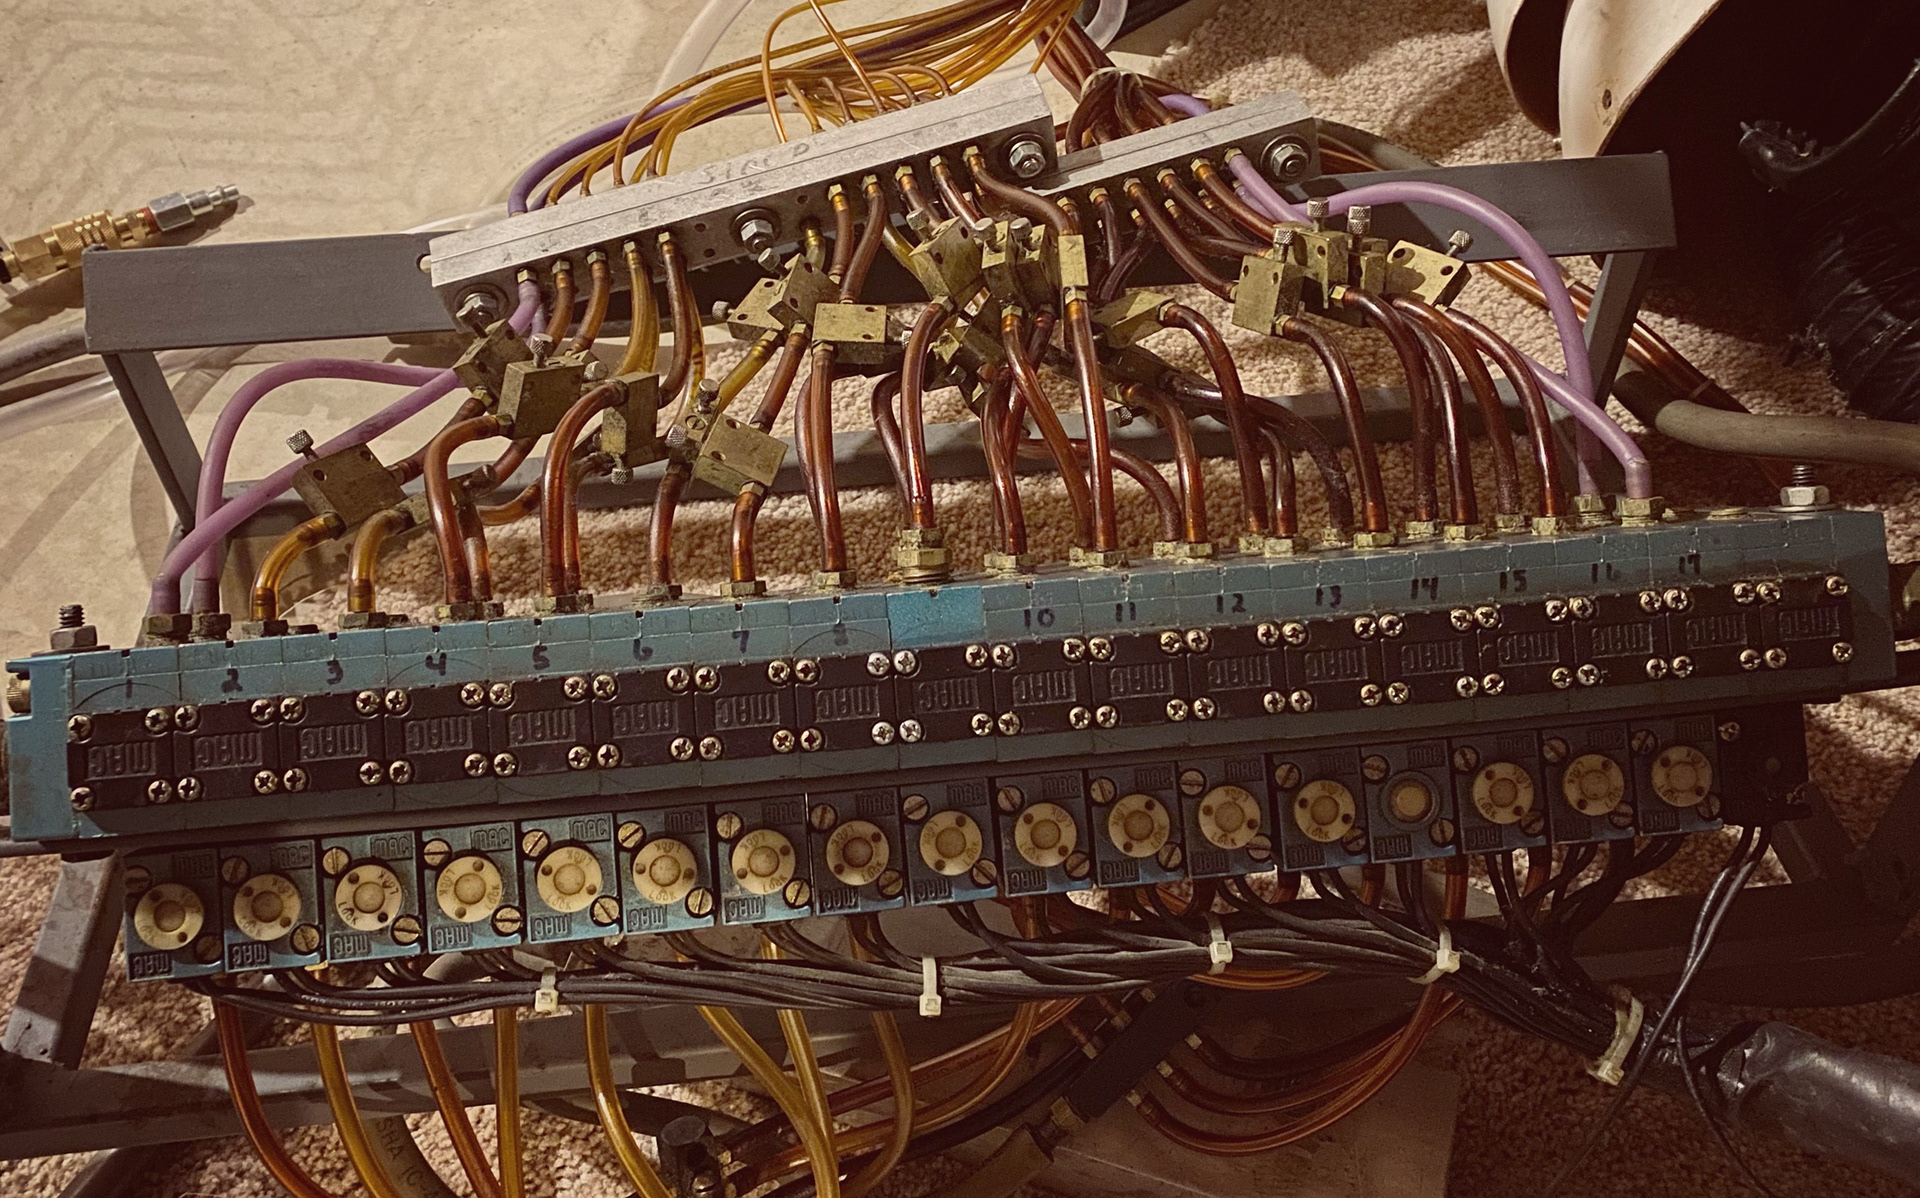
Original MAC Valve-bank
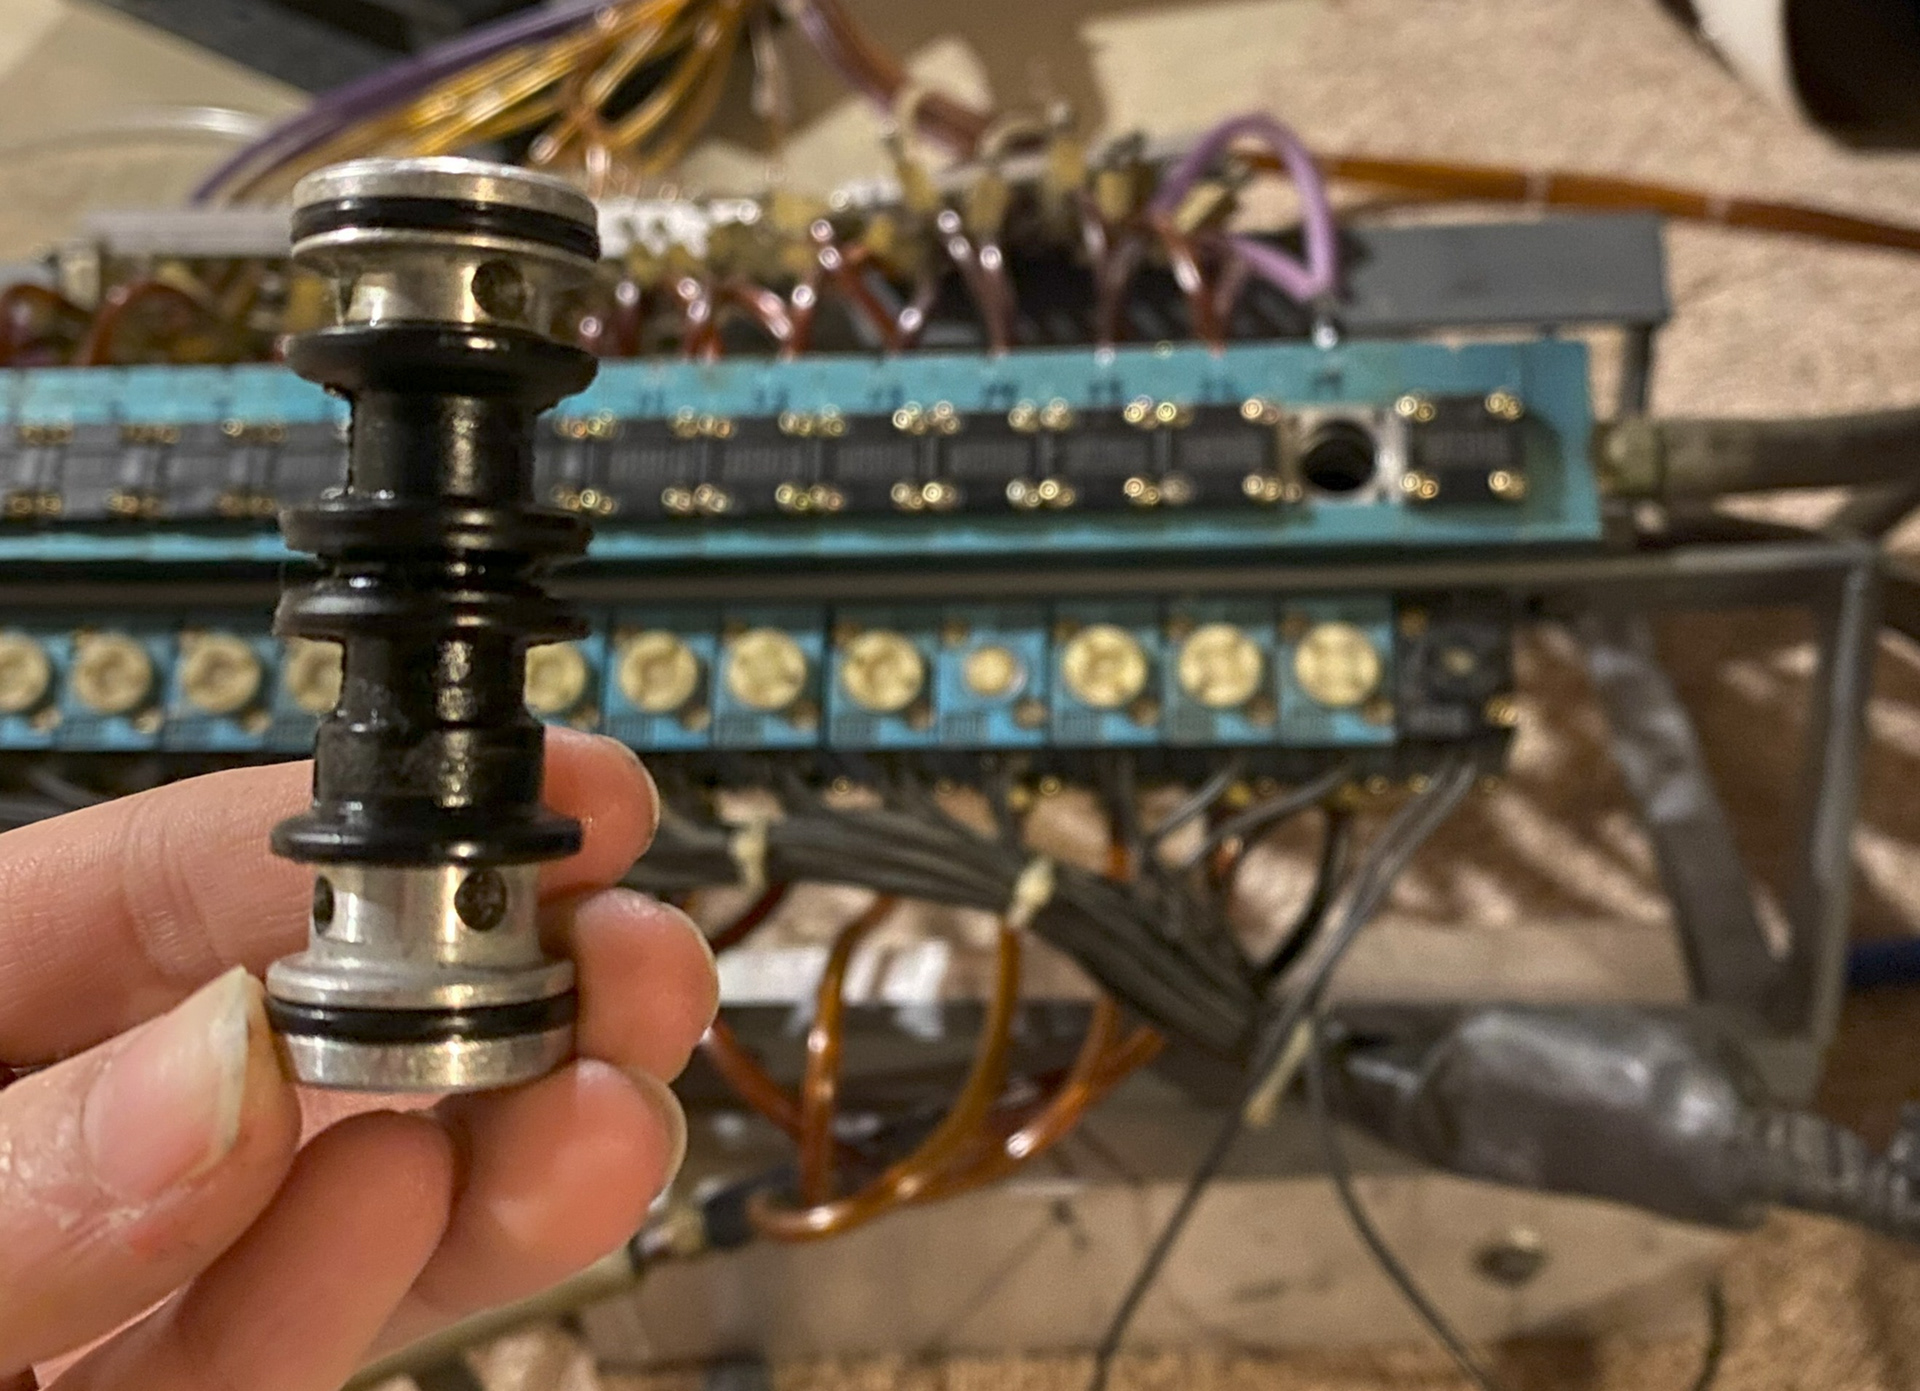
Fixing Valves, Internal Spool
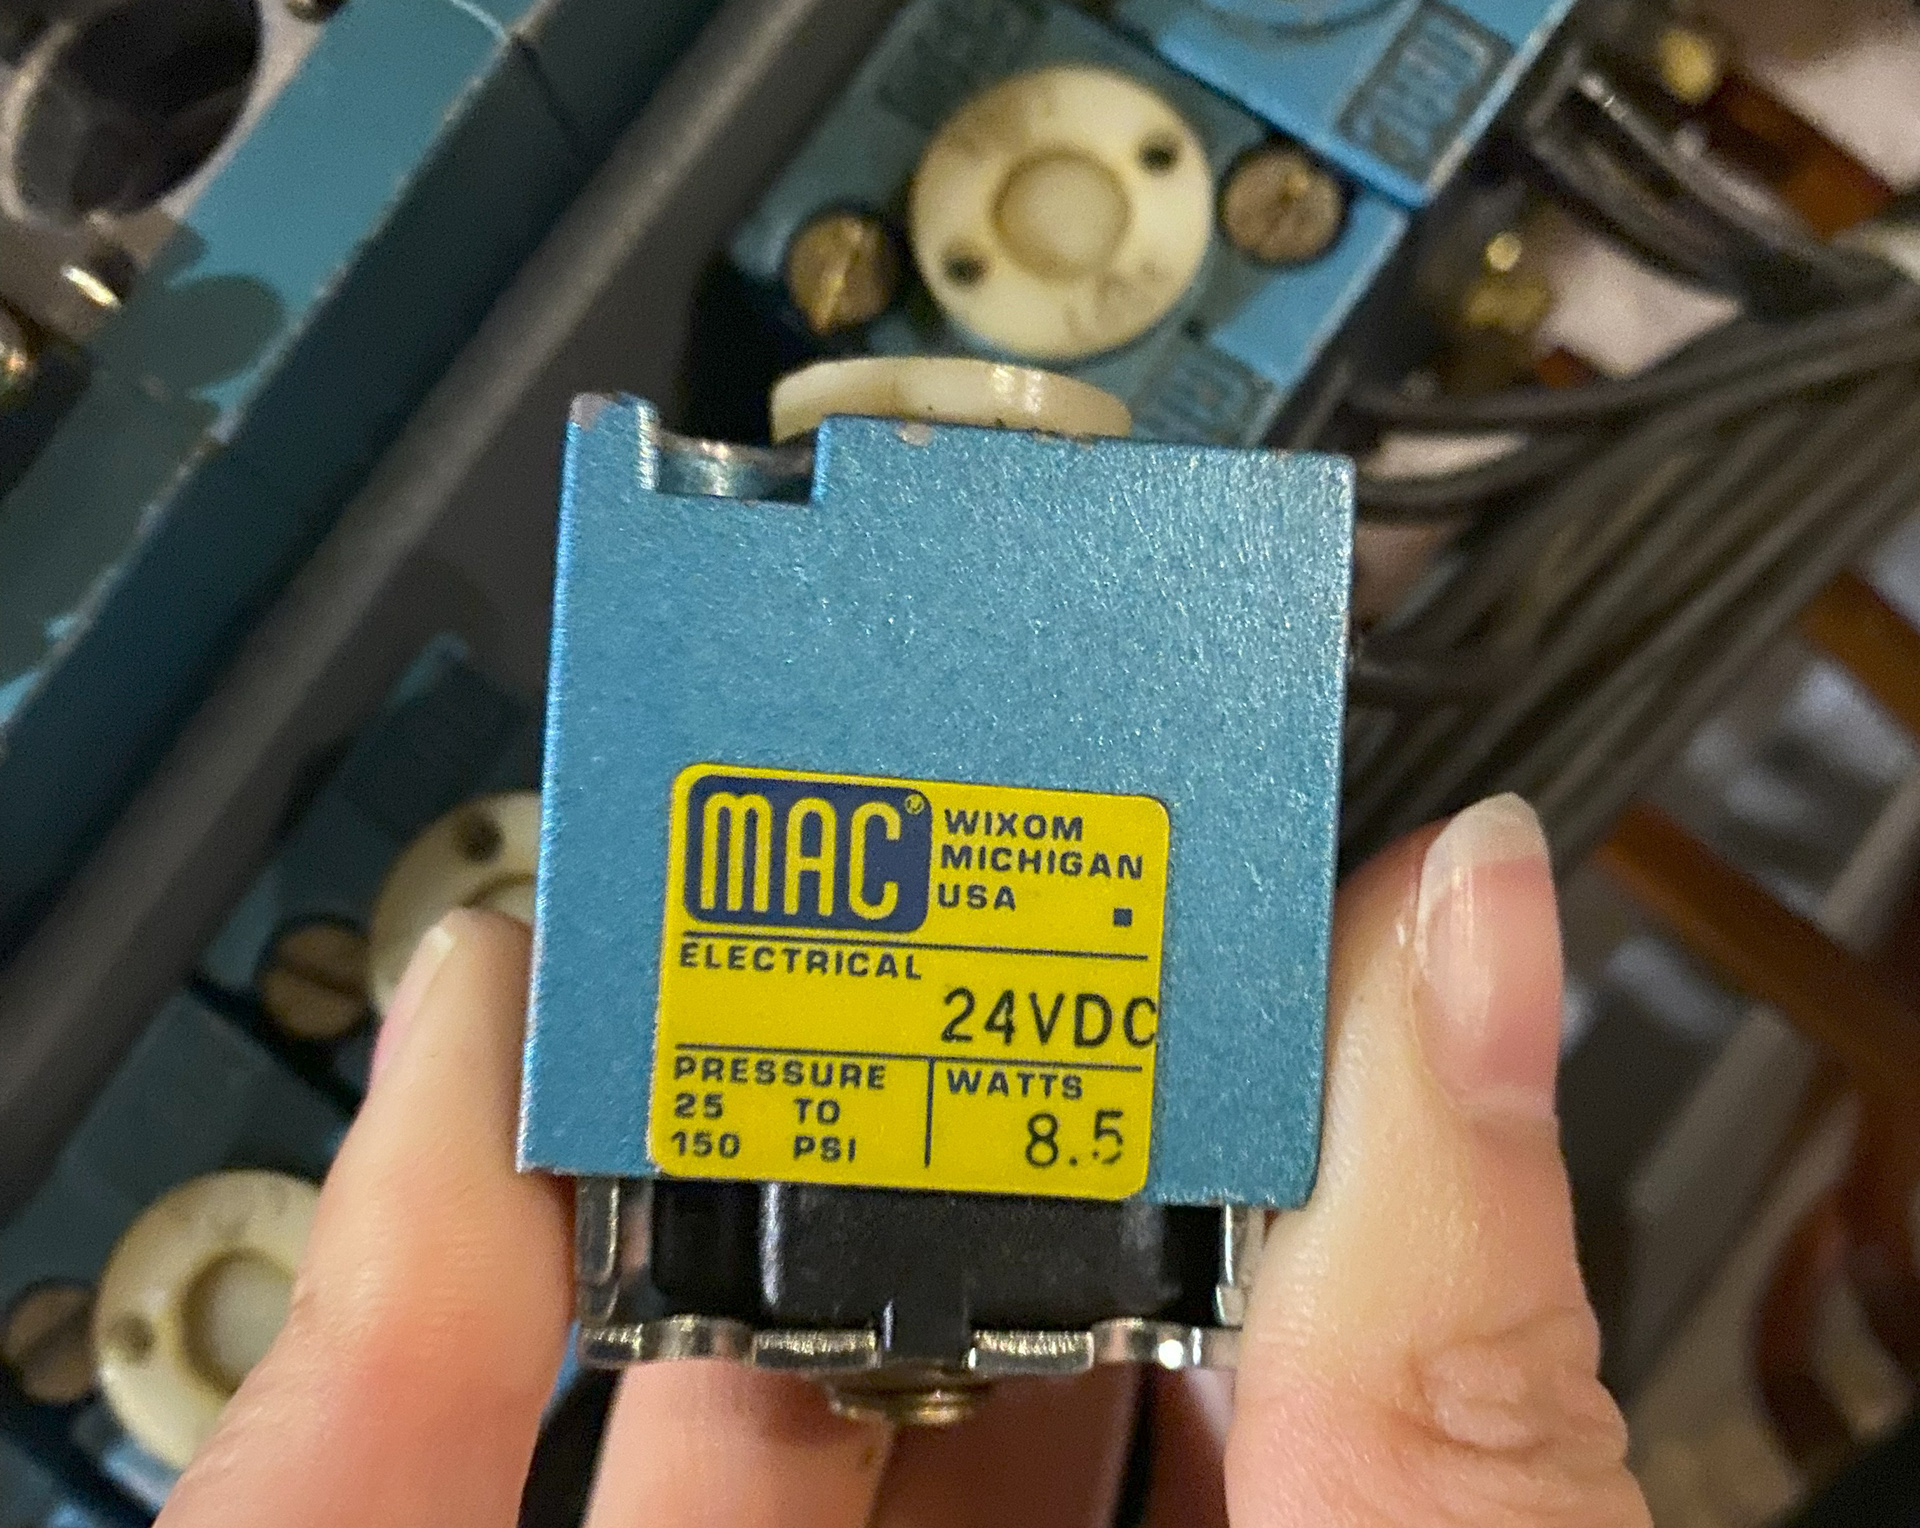
Solenoid Part of Valve
First Wiring of Solenoids (messy, but works)
Cleaner Solenoid Wiring
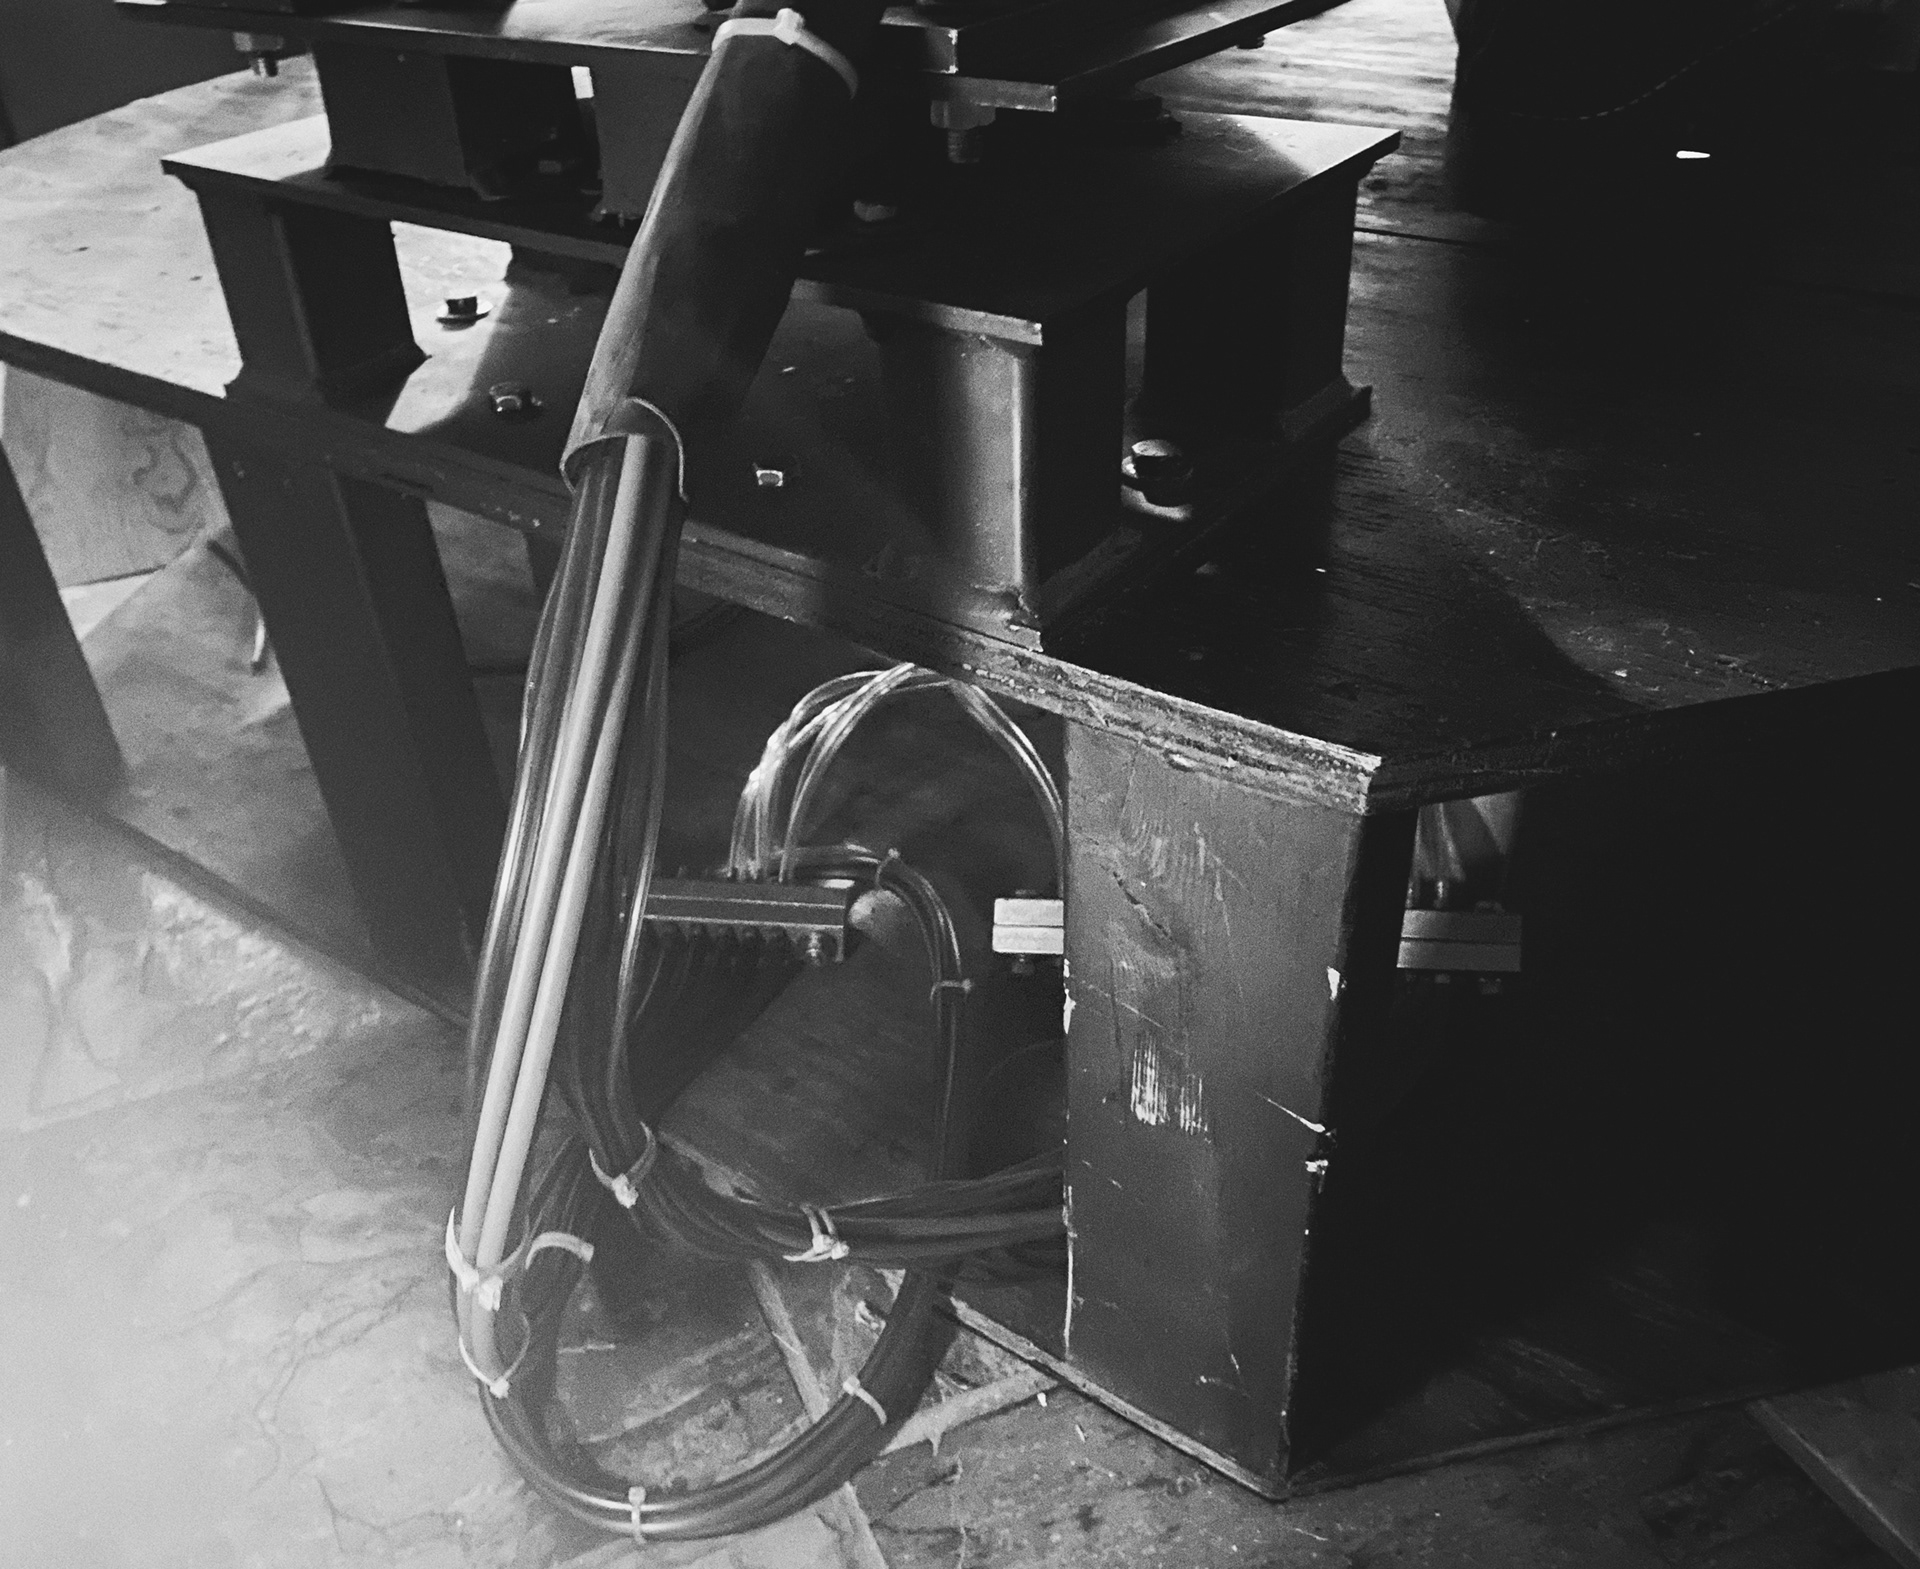
Under Stage Valve-bank
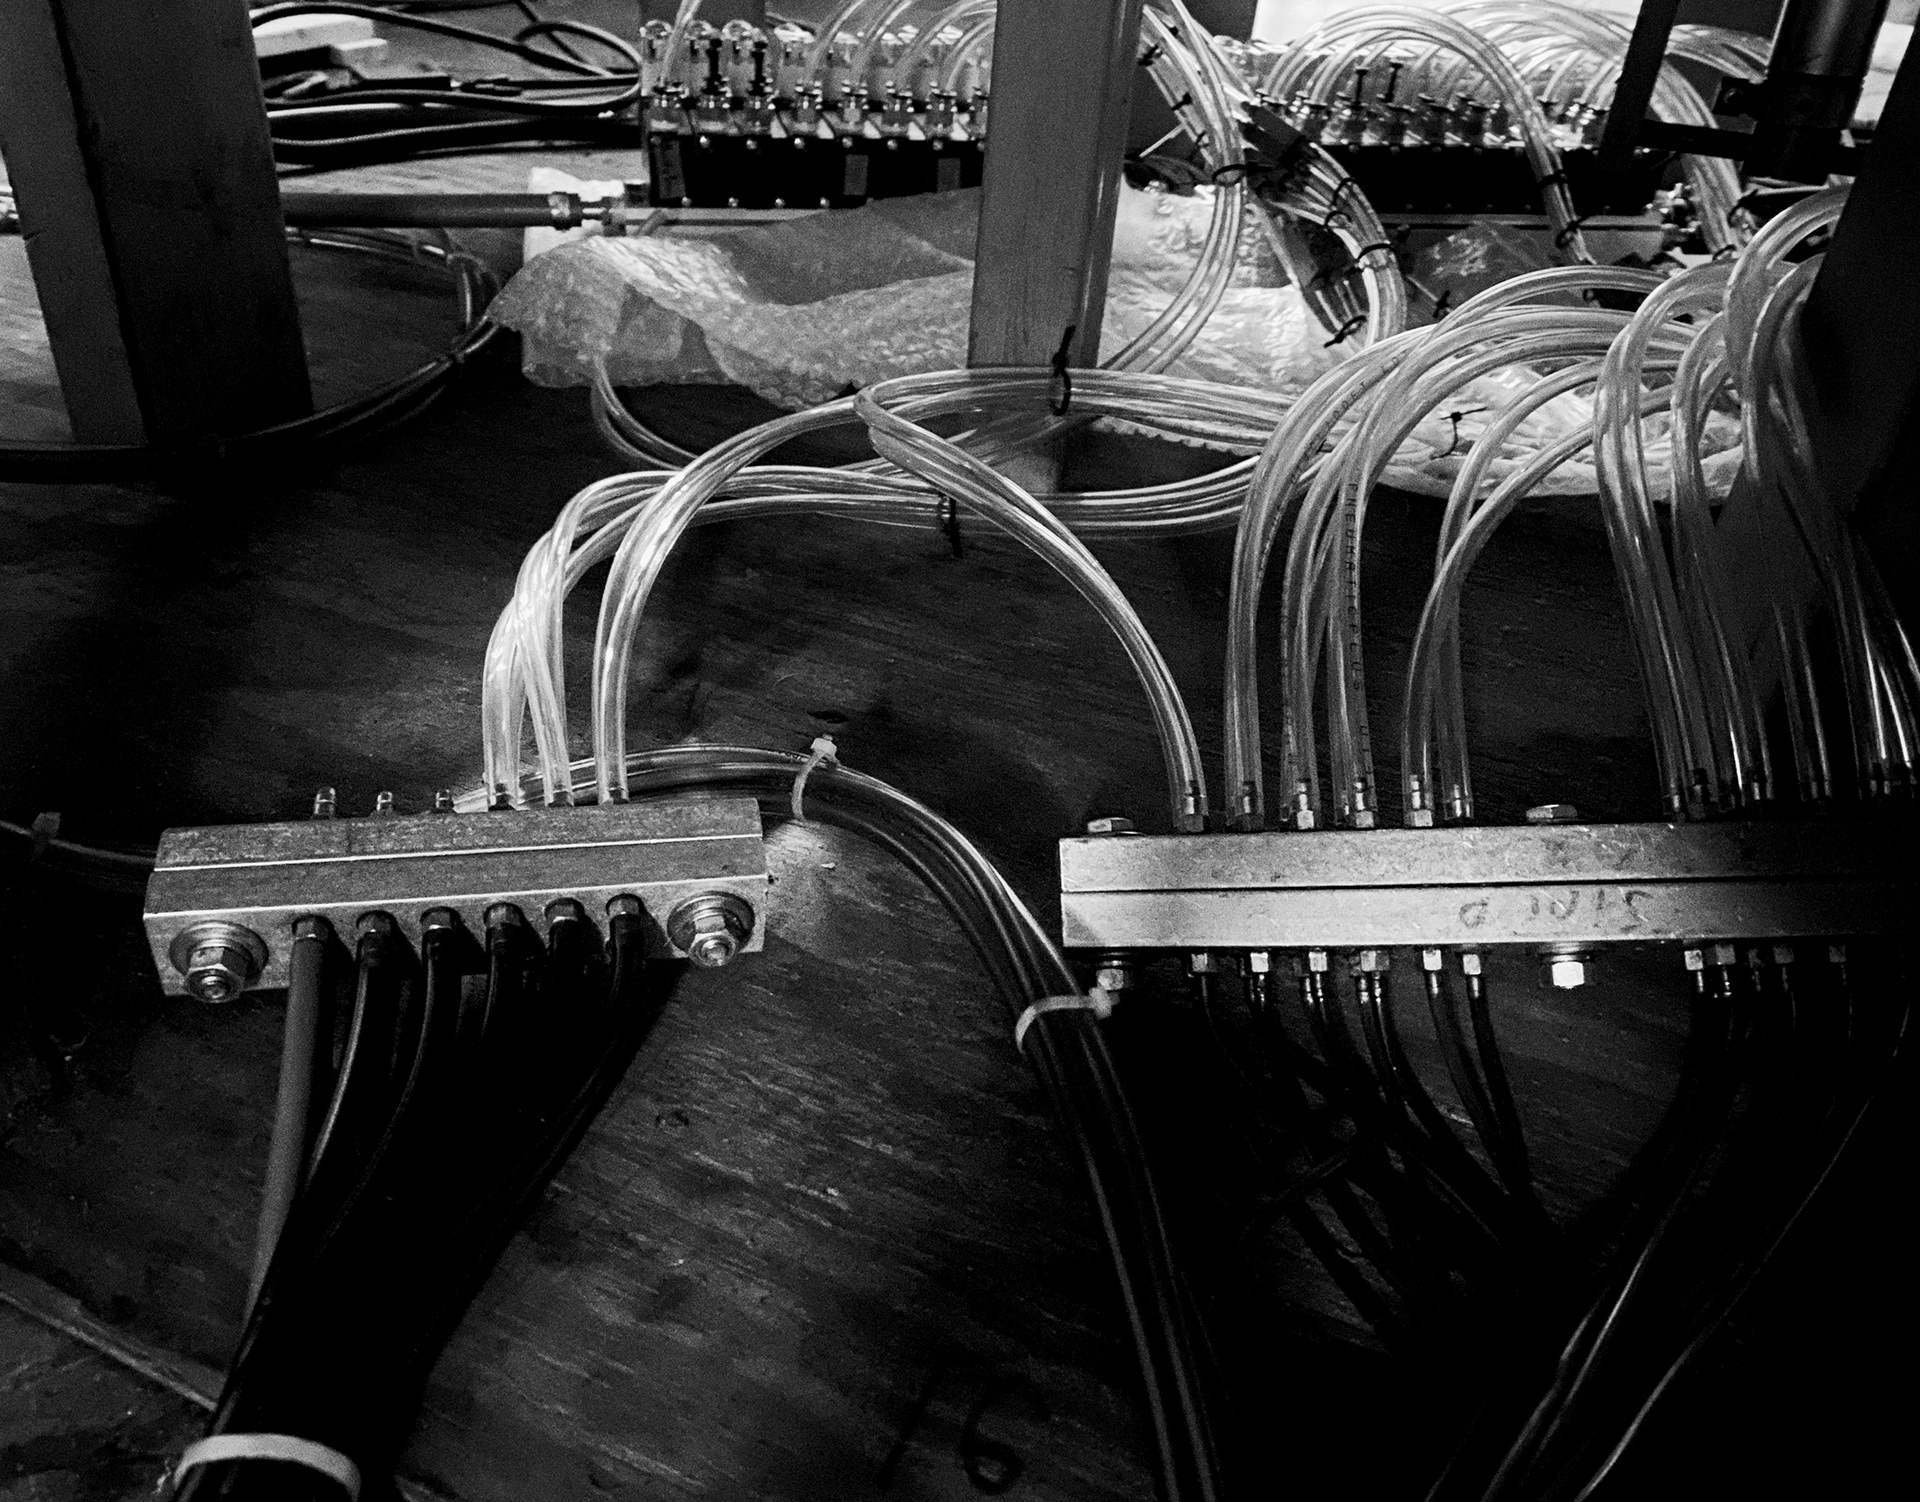
Under Stage Quick-disconnect
Back of Stage Hosing
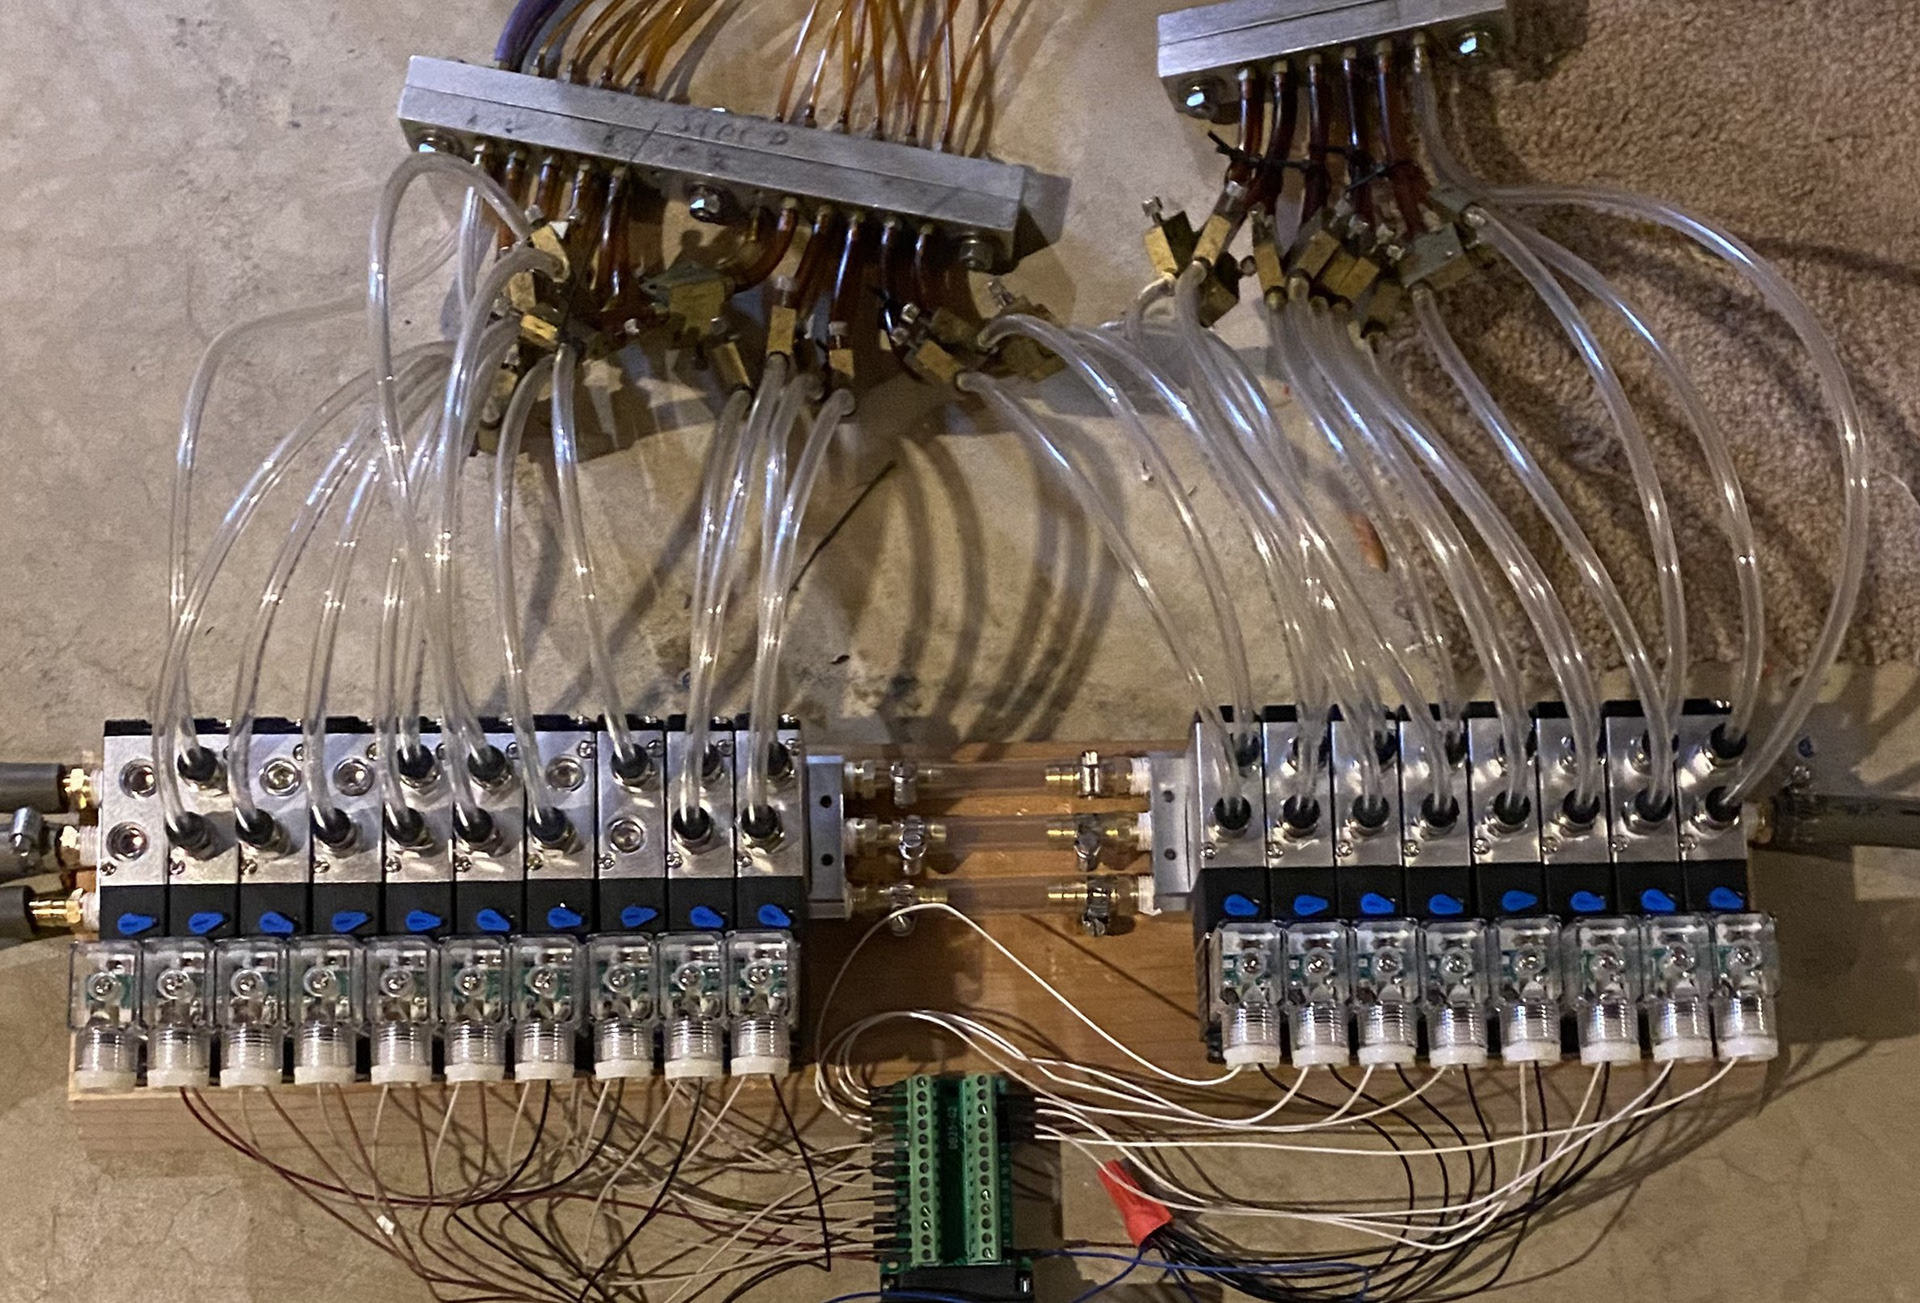
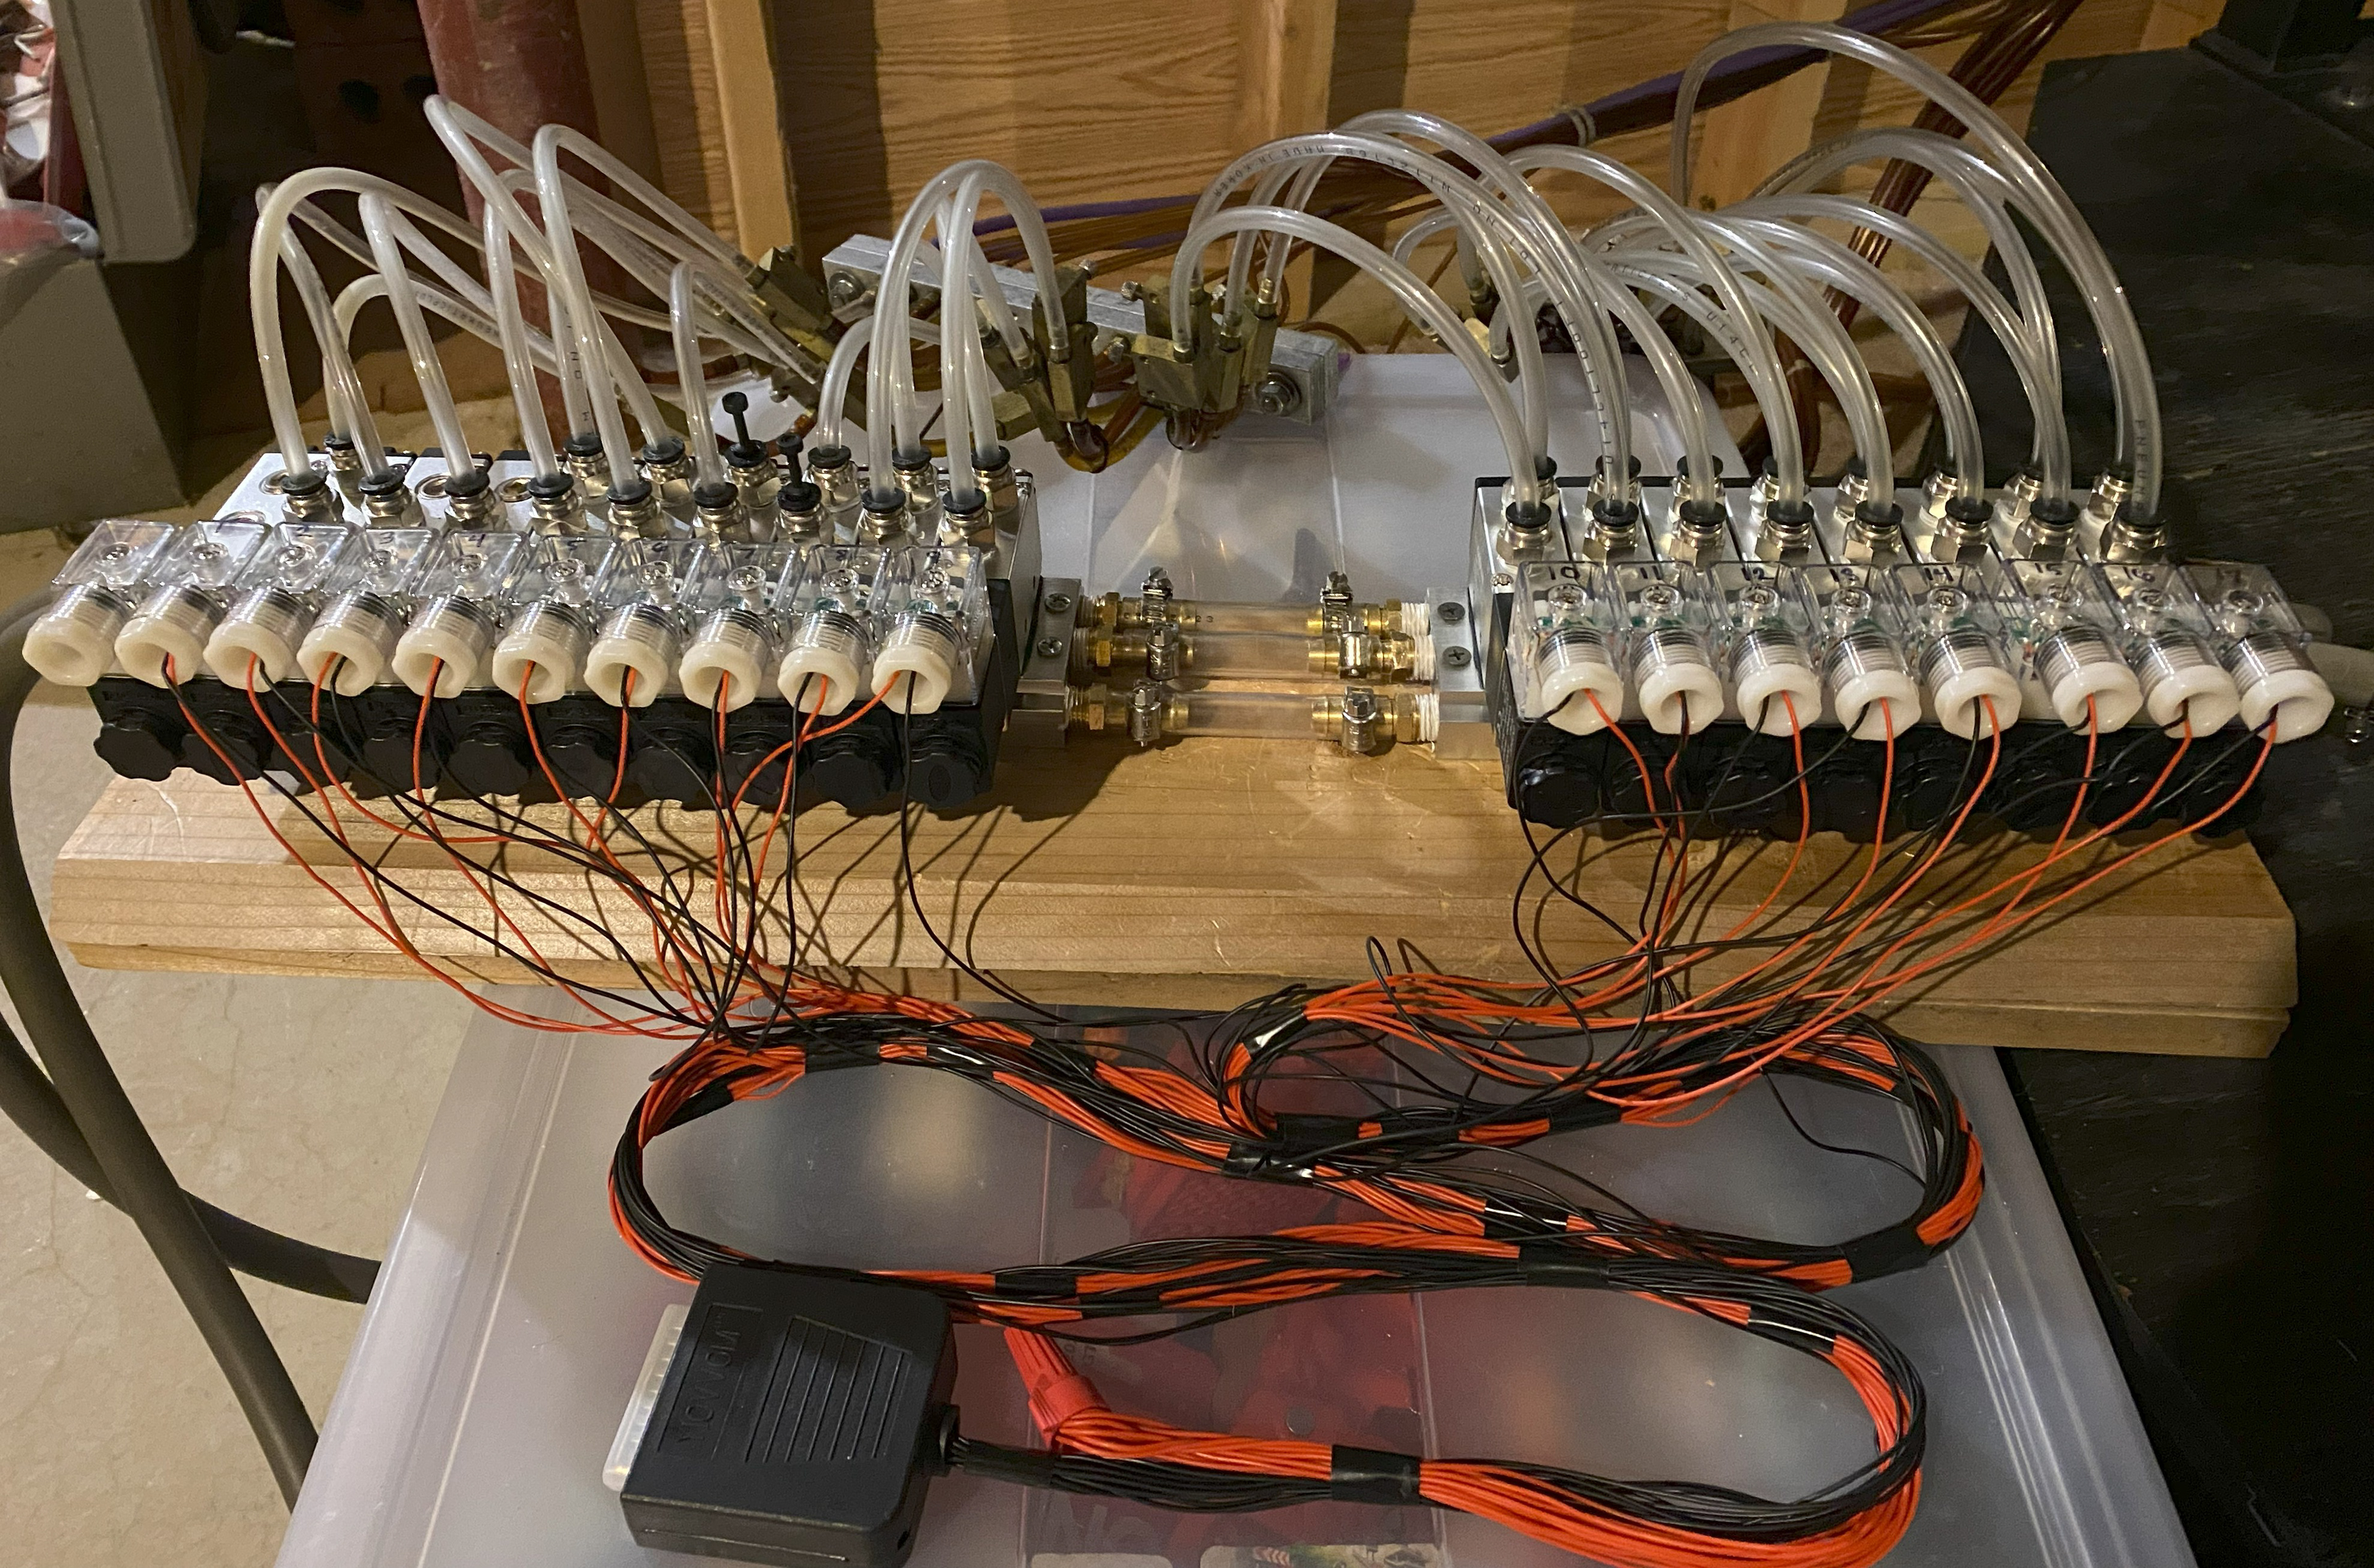
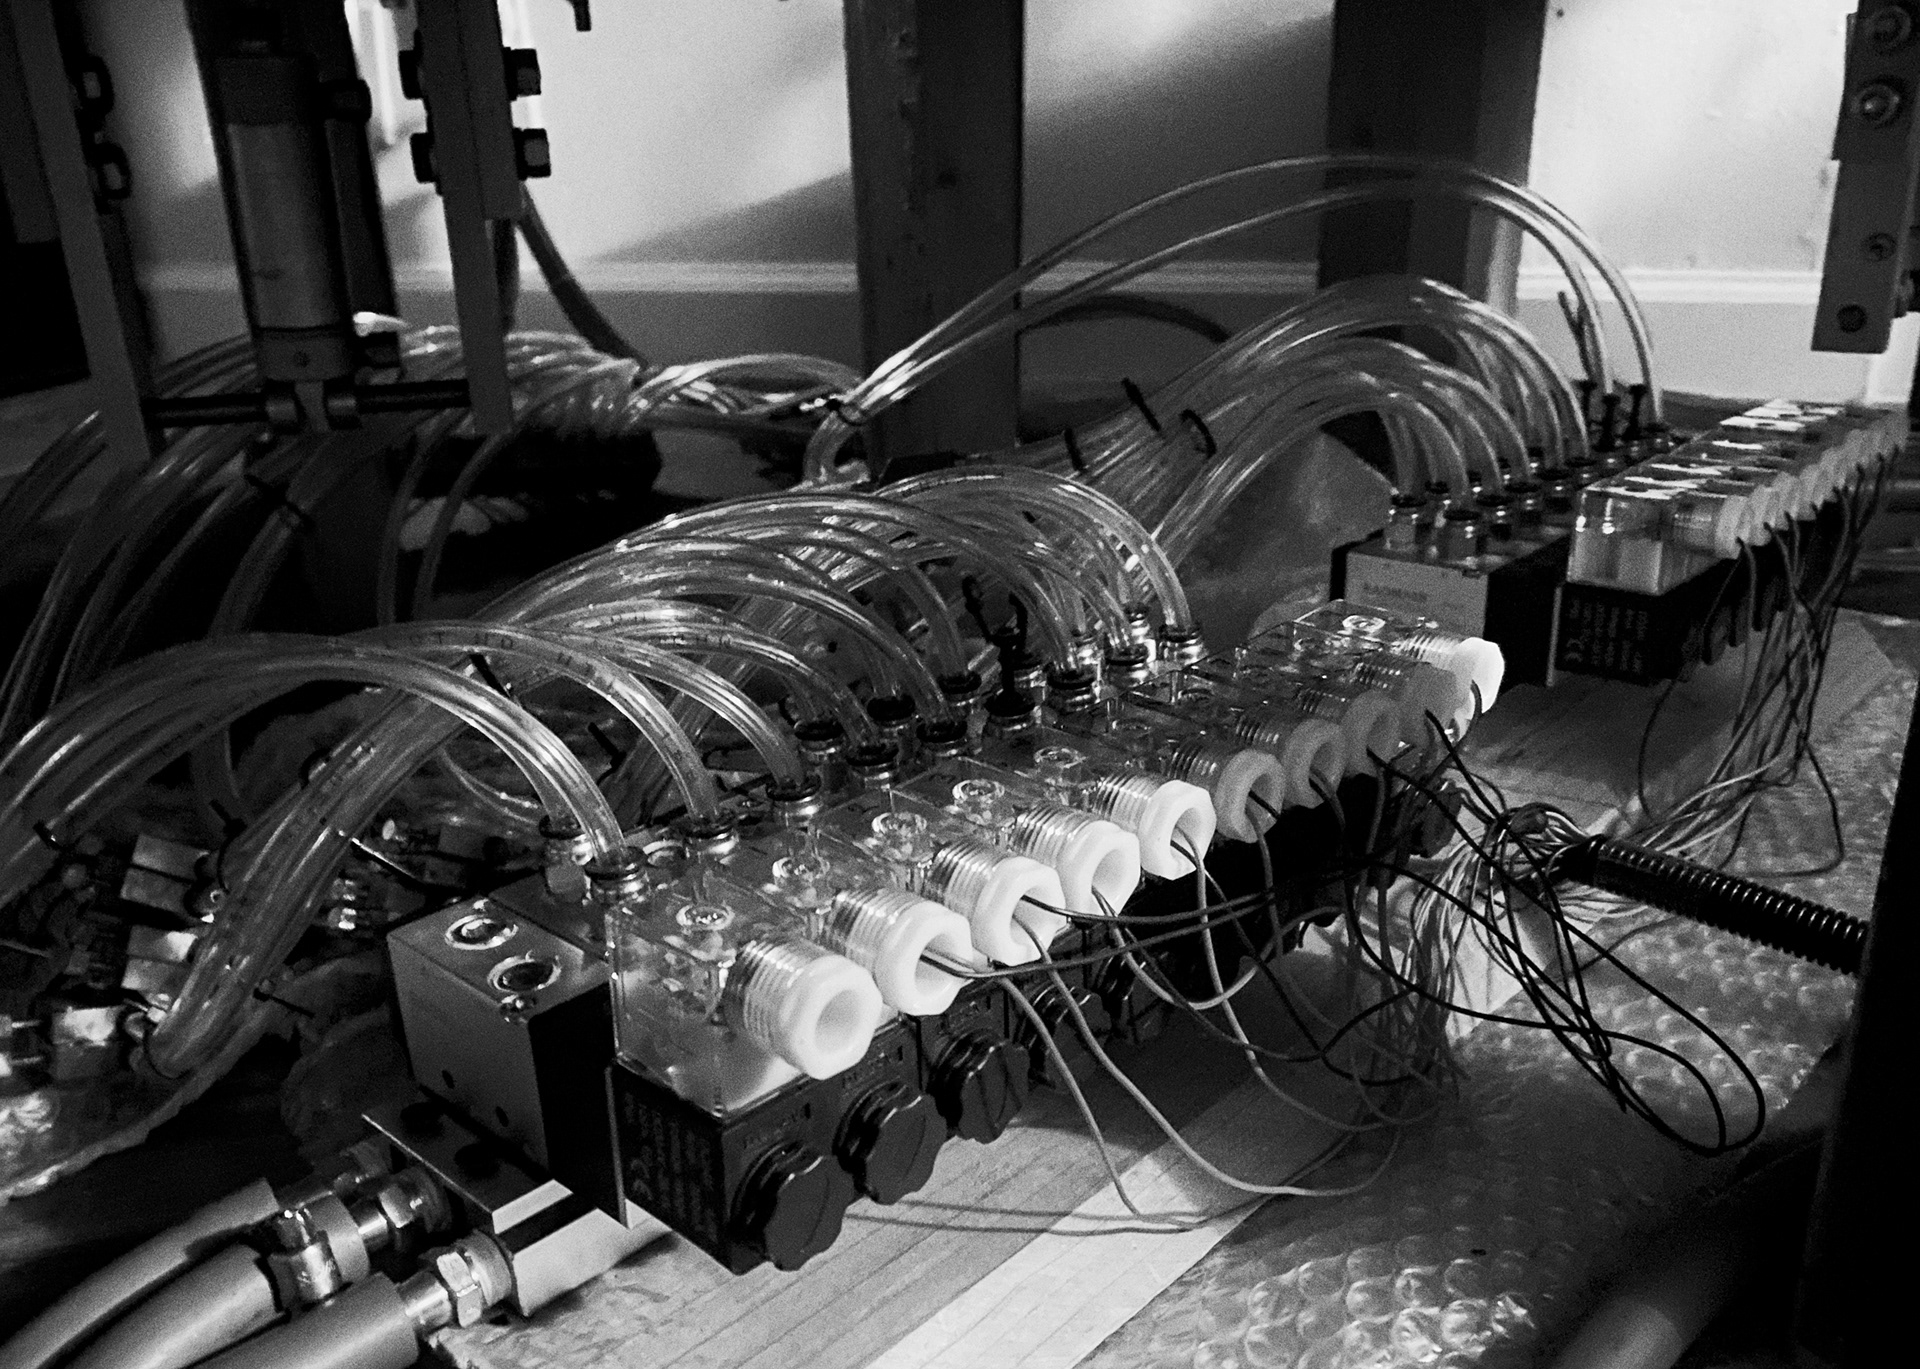
I built my own valve-bank utilizing modern solenoid valves that can be purchased in various manifold sizes. I bought the correct number of spaces needed to accommodate all 17 movements that the character has. It is a 24 volt pneumatic solenoid valve bank, which works with my 24 volt controller.
One thing I needed to do with this new bank is to buy all new fittings in the imperial measurement system (US Customary System); this is because the bank uses metric units by default.
I was then able to attach hosing between the character's "Quick Disconnect" and the valves. I also wired every solenoid and connected them to a 25 pin adapter to be used with a controller, which will be able to send electrical signals from the computer to the solenoid valves telling them when to activate.
Movement Adjustments
Once the valve-bank was finished and everything could be connected to the computer. I was then able to adjust movements based on the diagnostics, as well as just eye-balling how each movement looks when playing a song.
Some movements are very fast, while others are slower. Each movement should be smooth and not bang. There is a bit of an art to getting a movement looking as natural as it can. When adjusting flow-controls, the input and output speed can be controlled. If you want a cylinder to extend faster than it retracts, you can do that.
Some movements need to be very fast to keep up with the original programming; otherwise, the cylinder will be too slow to react to the fast signals within a song.
First Program Run-through
"Aired up" aka "On"
Outcomes
Most mechanical restoration came in the form of cleaning the mechanism, reassembling the stage, building a new valve-bank, adjusting flow controls, and making new parts.
The second half of Dook's restoration was all cosmetic. See "Animatronic Cosmetics" for an in-depth look at how I went about bringing the character back to life visually.