Hand-painted Latex Mask
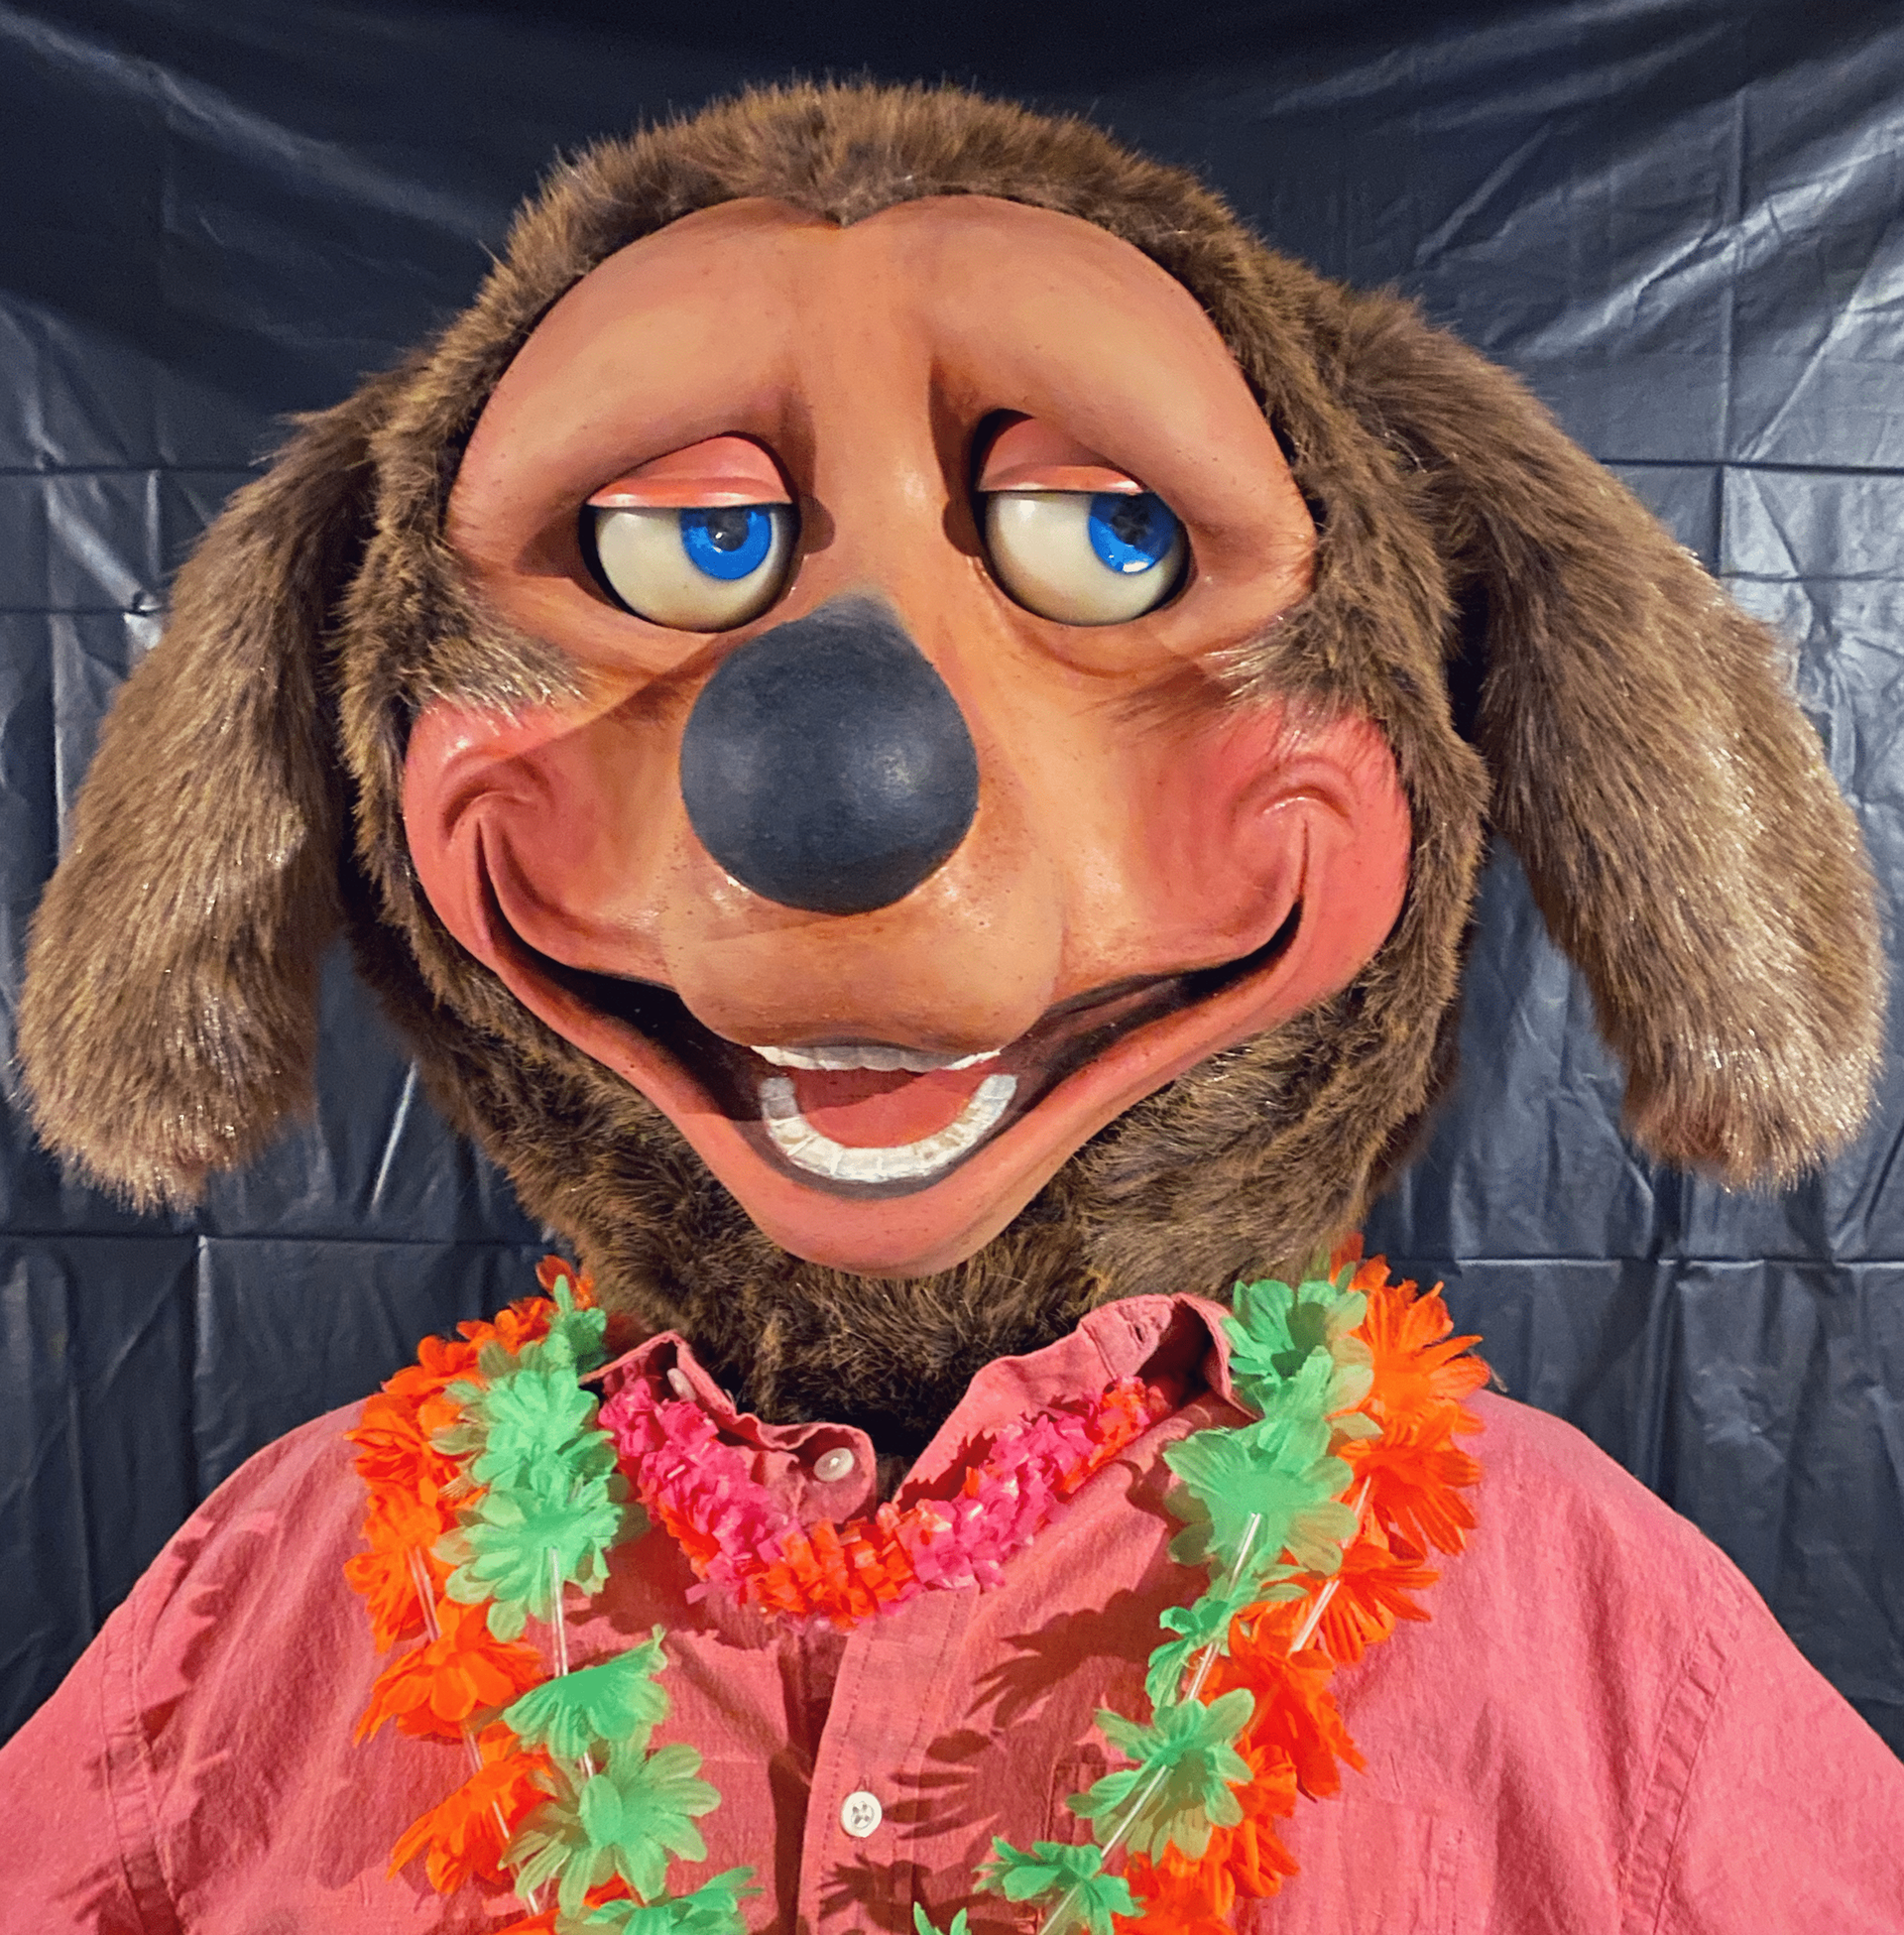
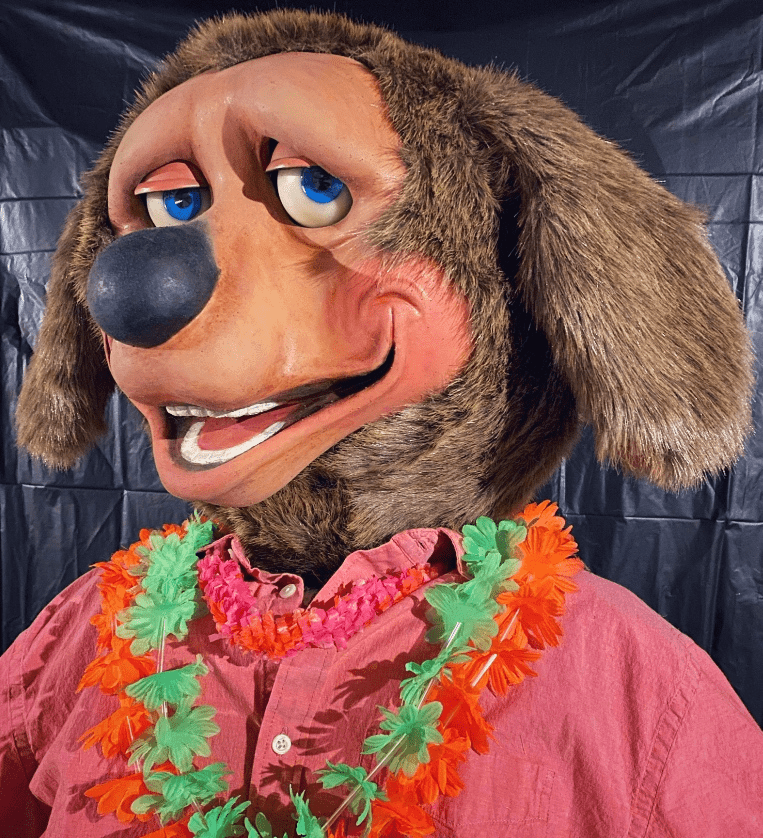
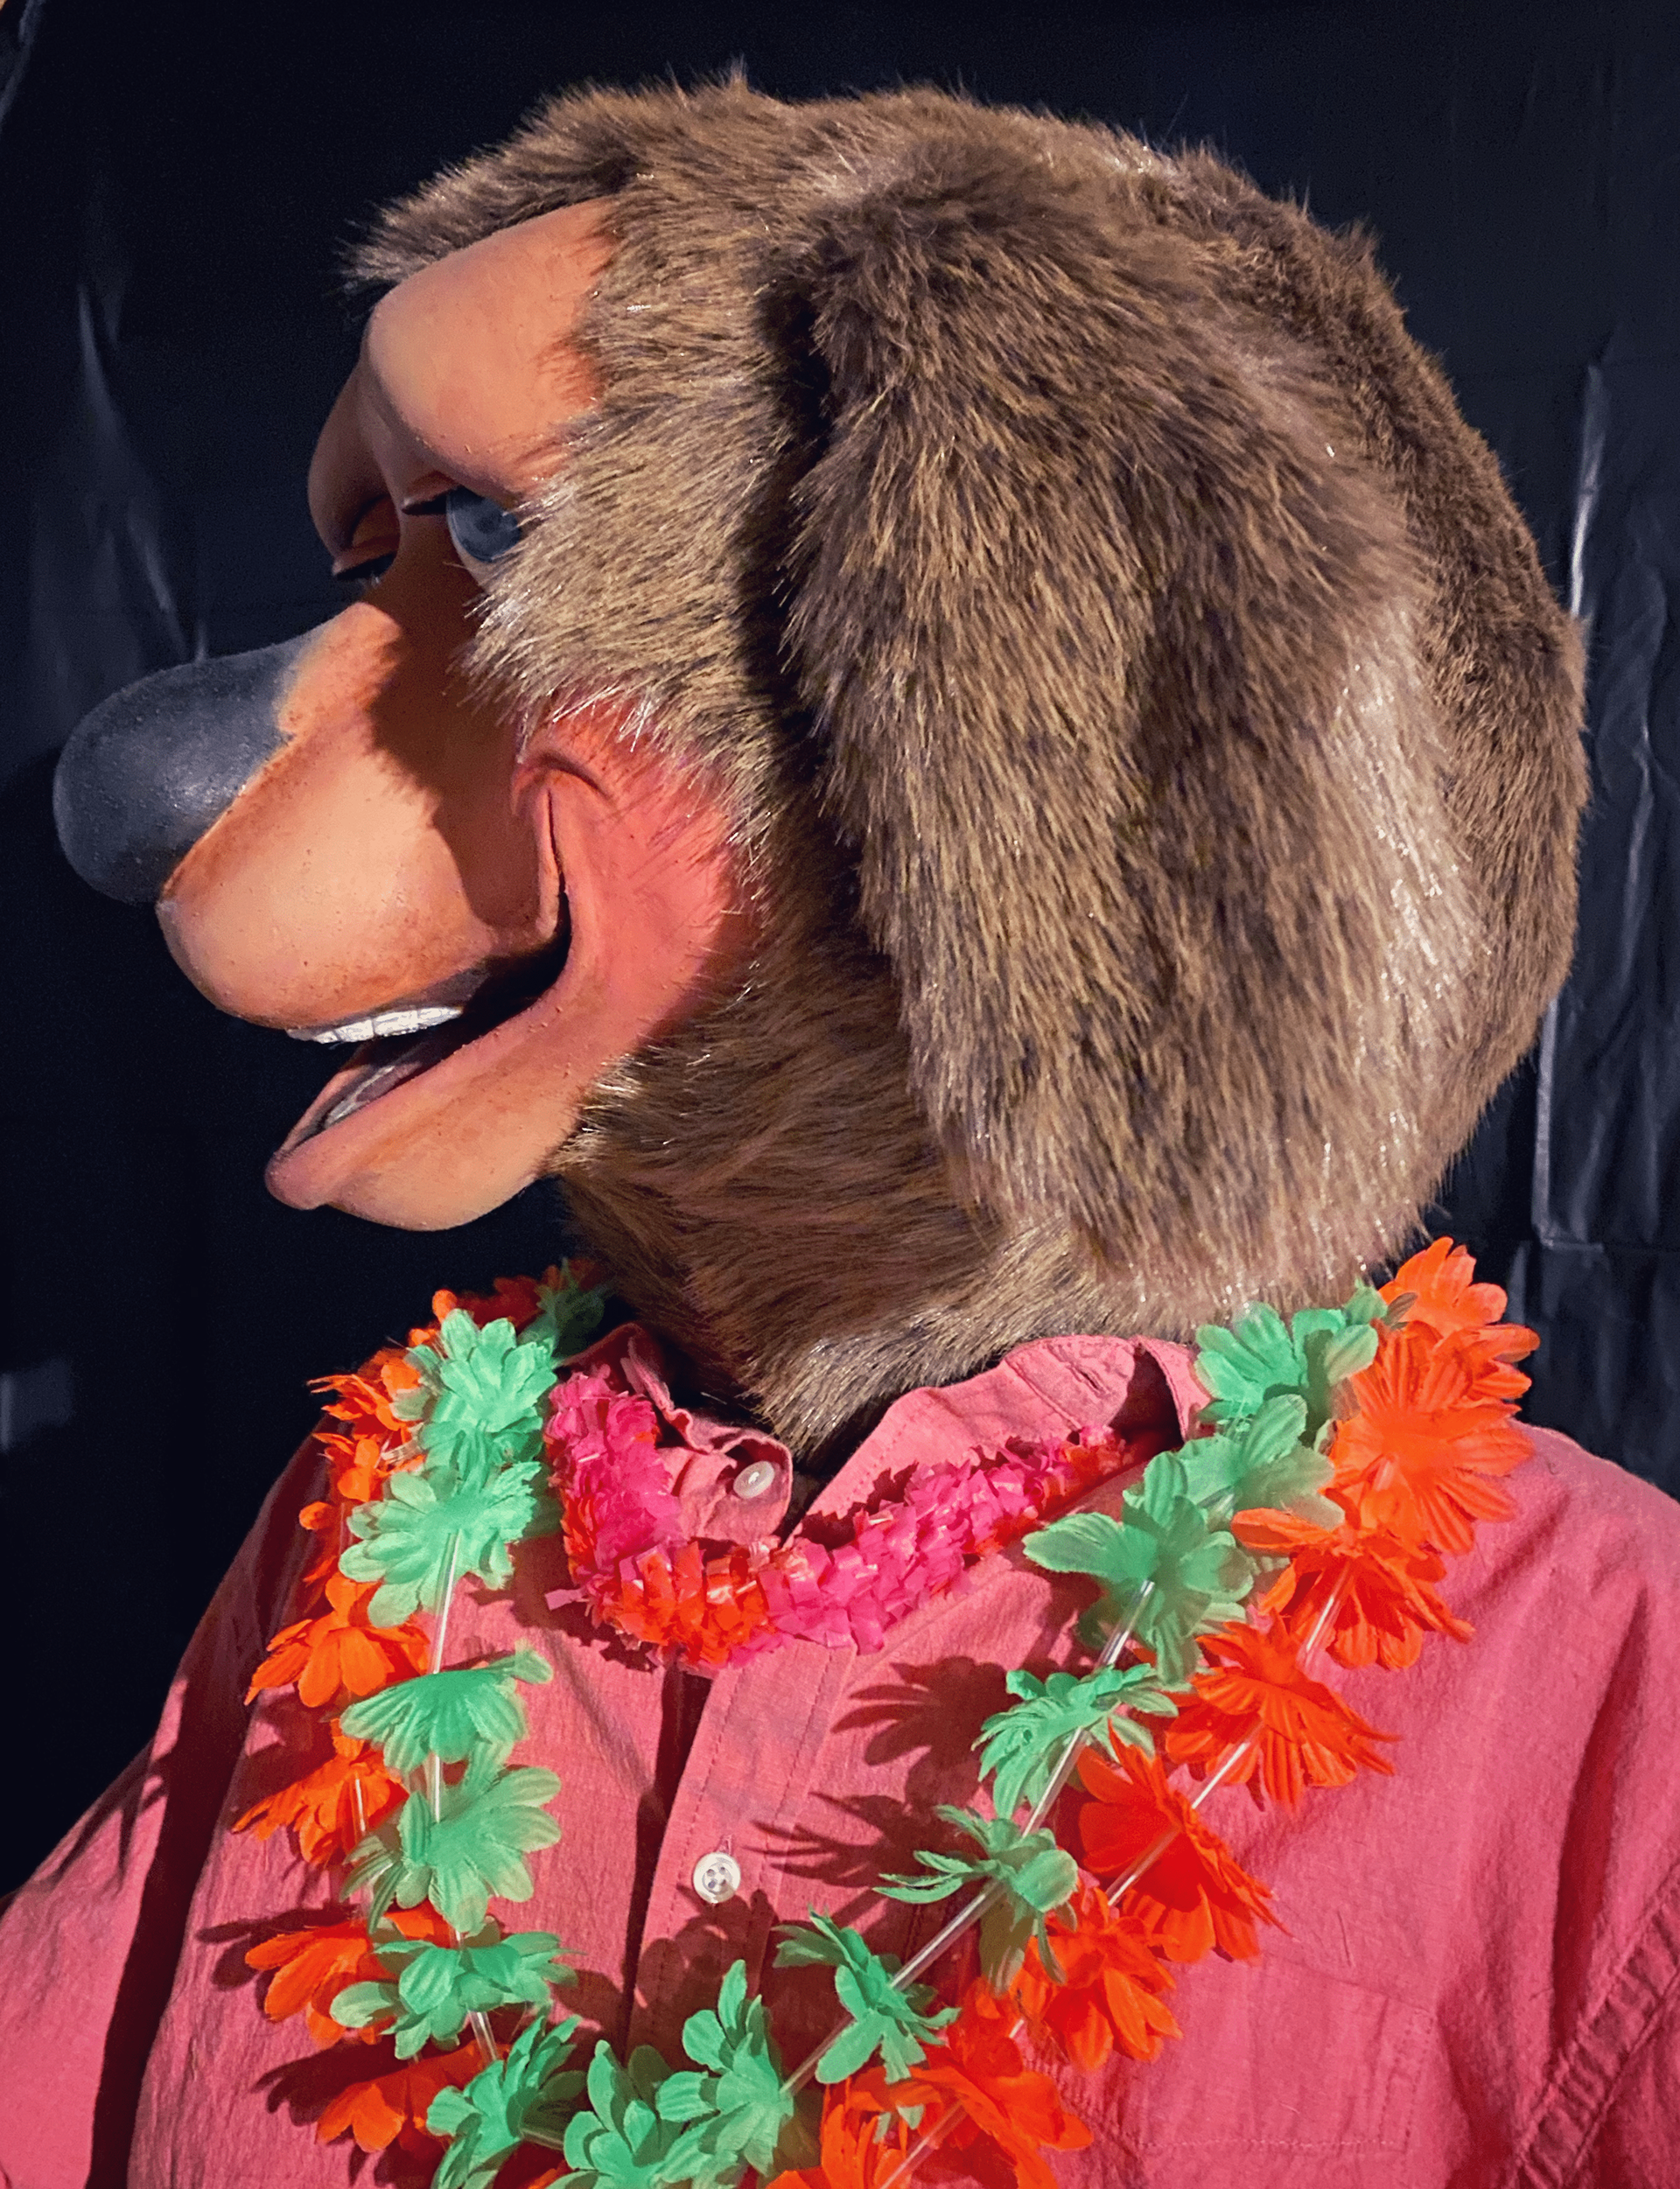
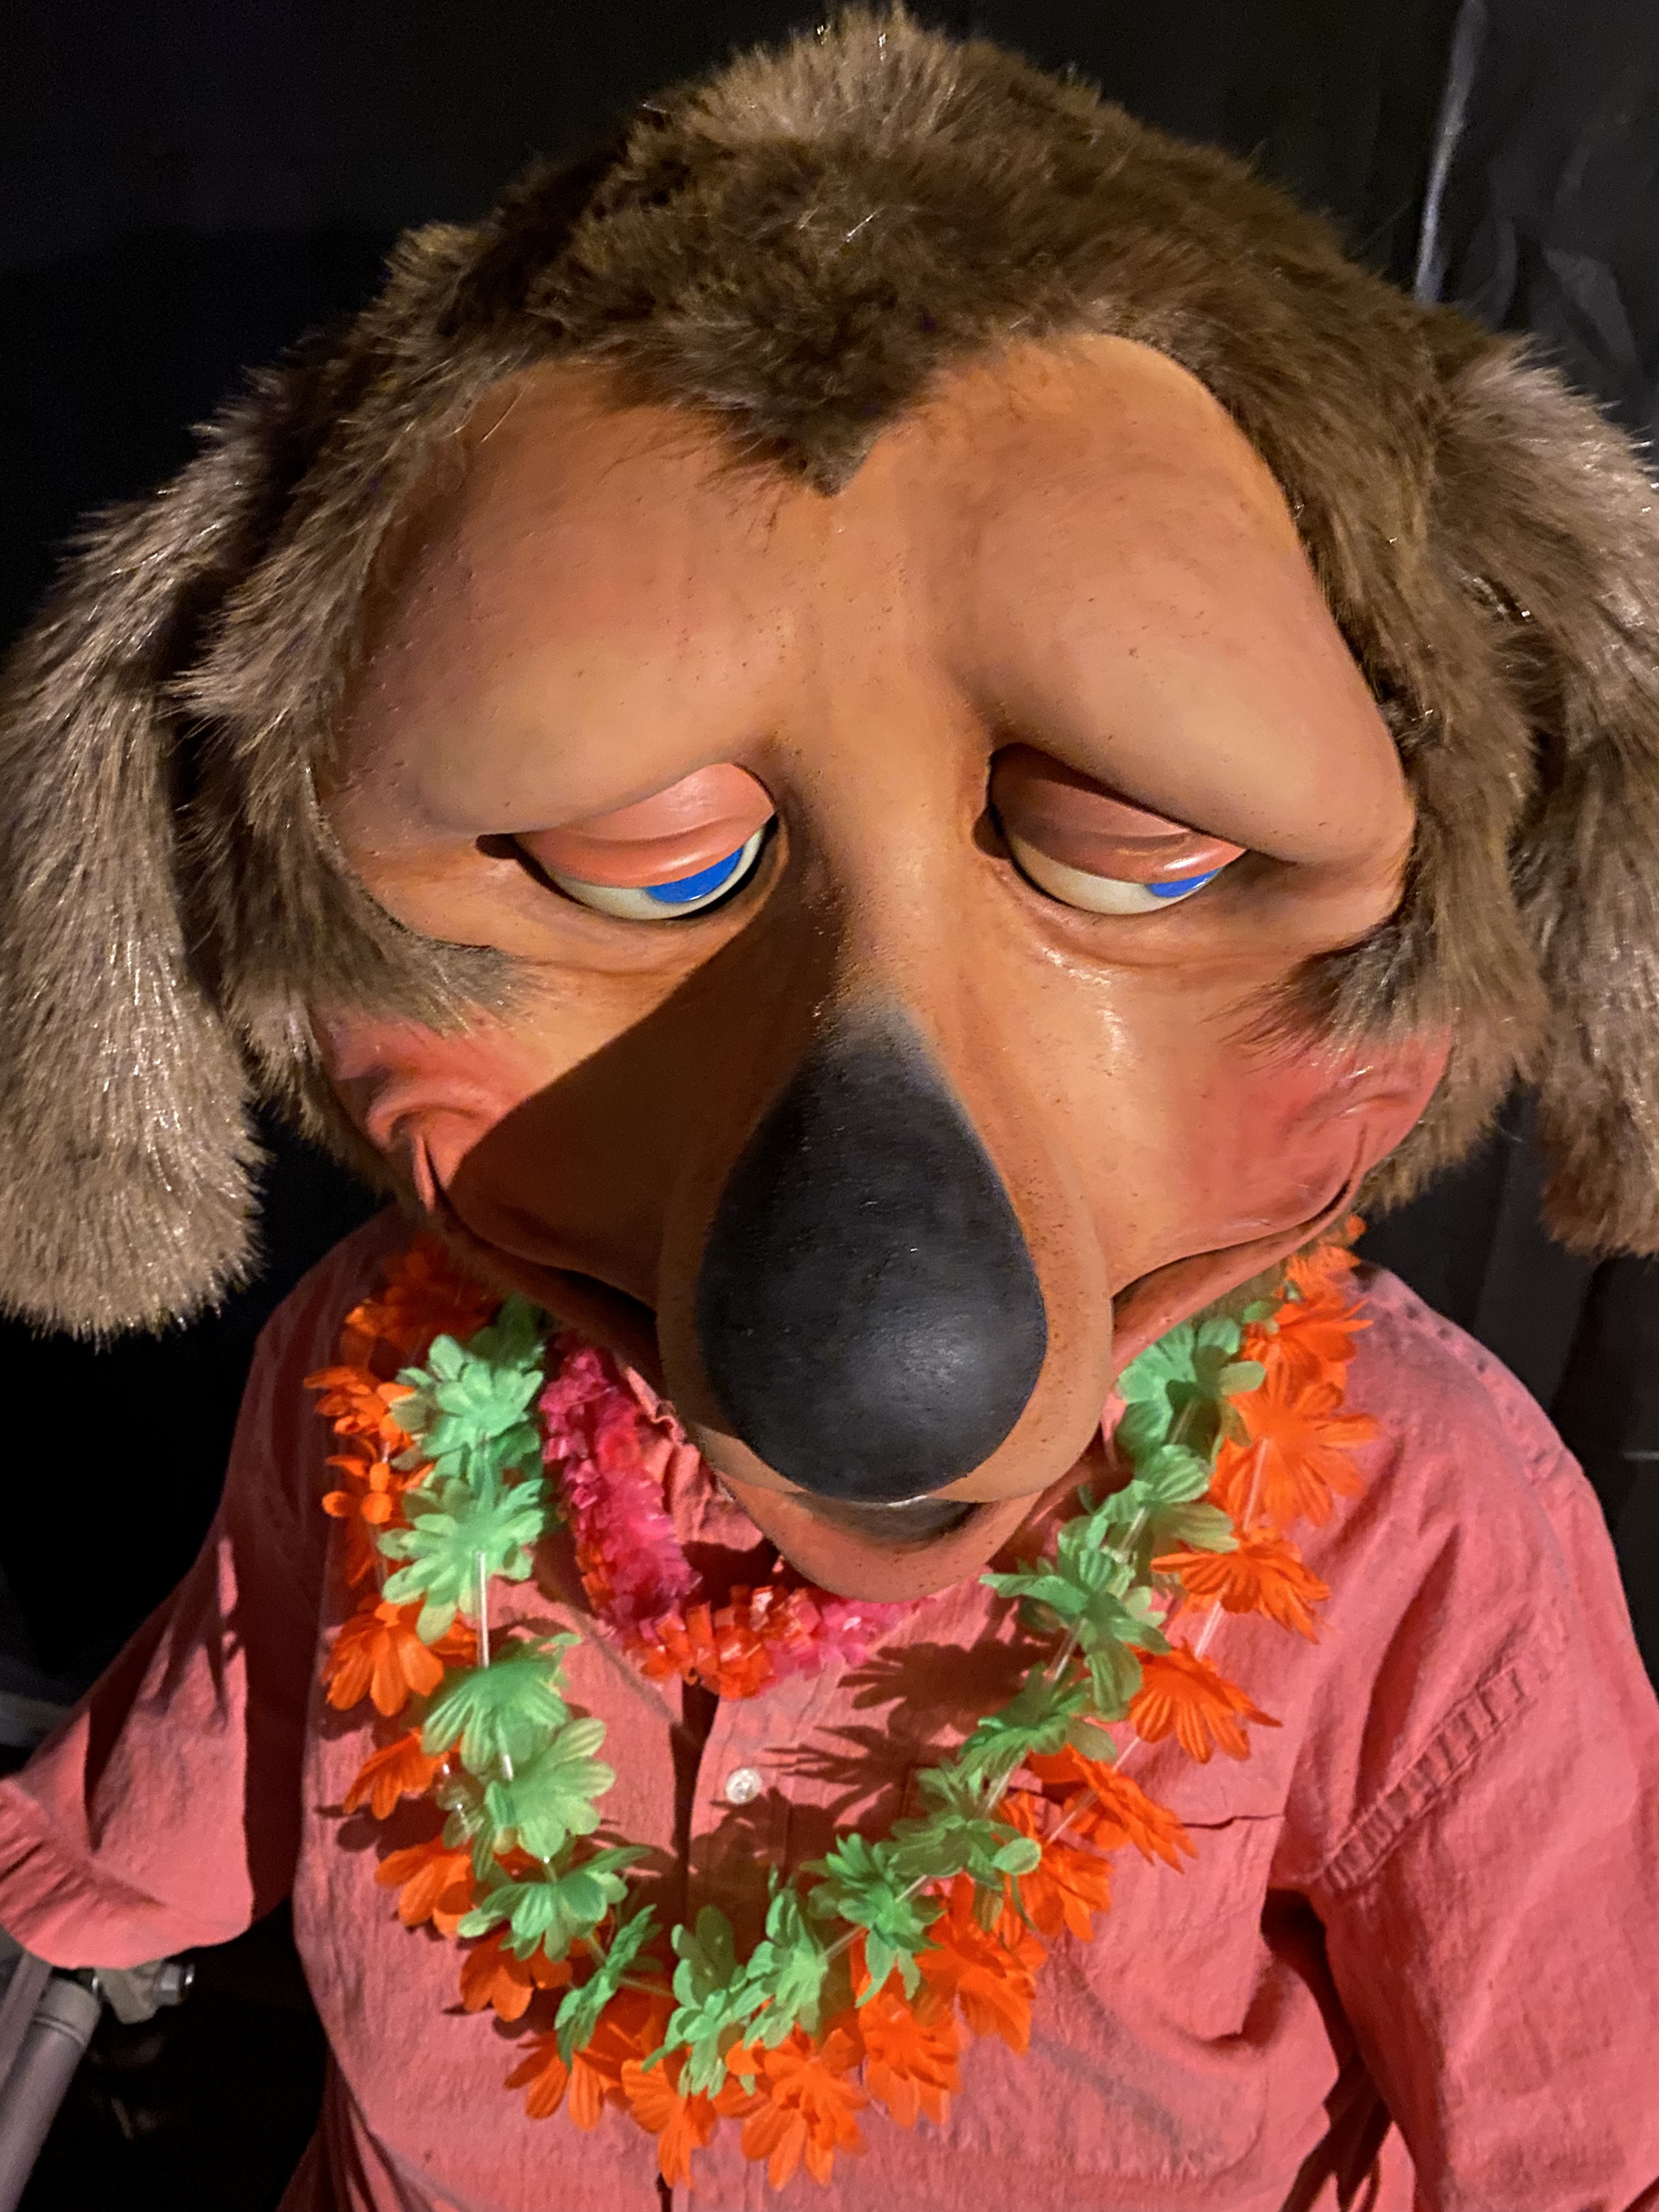
This is the first latex mask that I have painted.
It is hand brushed, but painted in such a way to where it has a smooth, blended surface finish. I was going for a subtle blend in color to make the appearance realistic and less intimidating (as some of these characters' faces are painted in such a way that make them unsettling).
Prior to my experimentation of hand painting this mask, these masks have only been known to be painted successfully via airbrush. I proved to myself, and others, that it is possible to achieve the same high quality look using a hand-brushing technique.
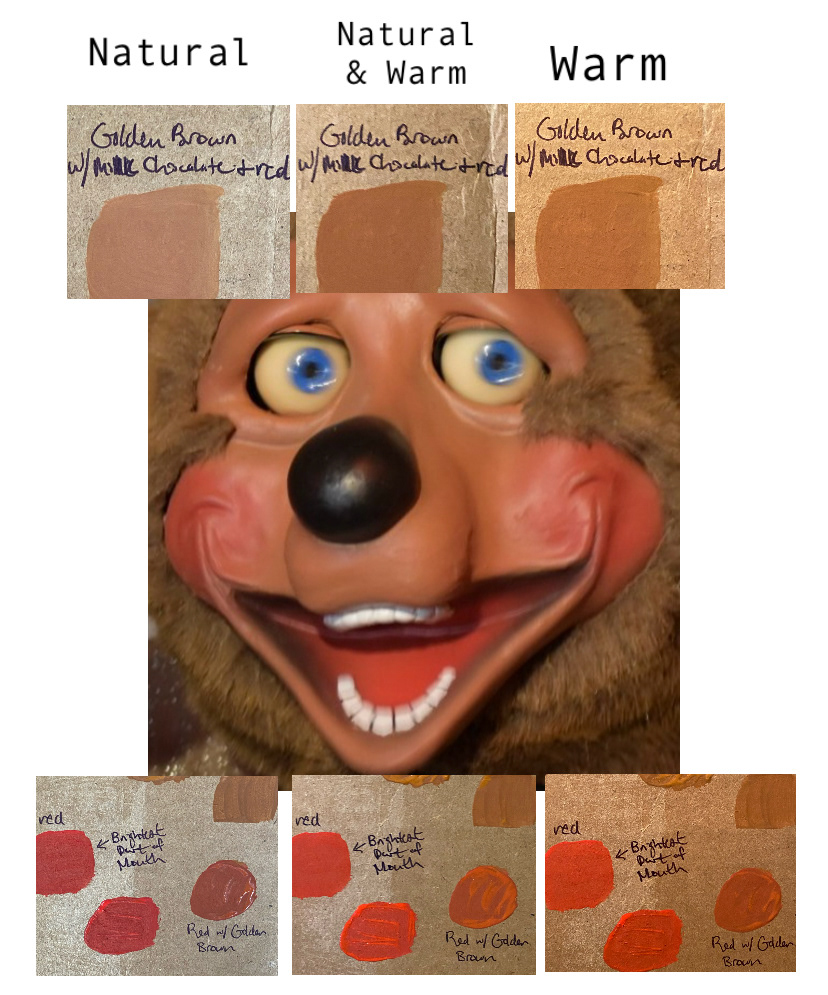
Color Mixing
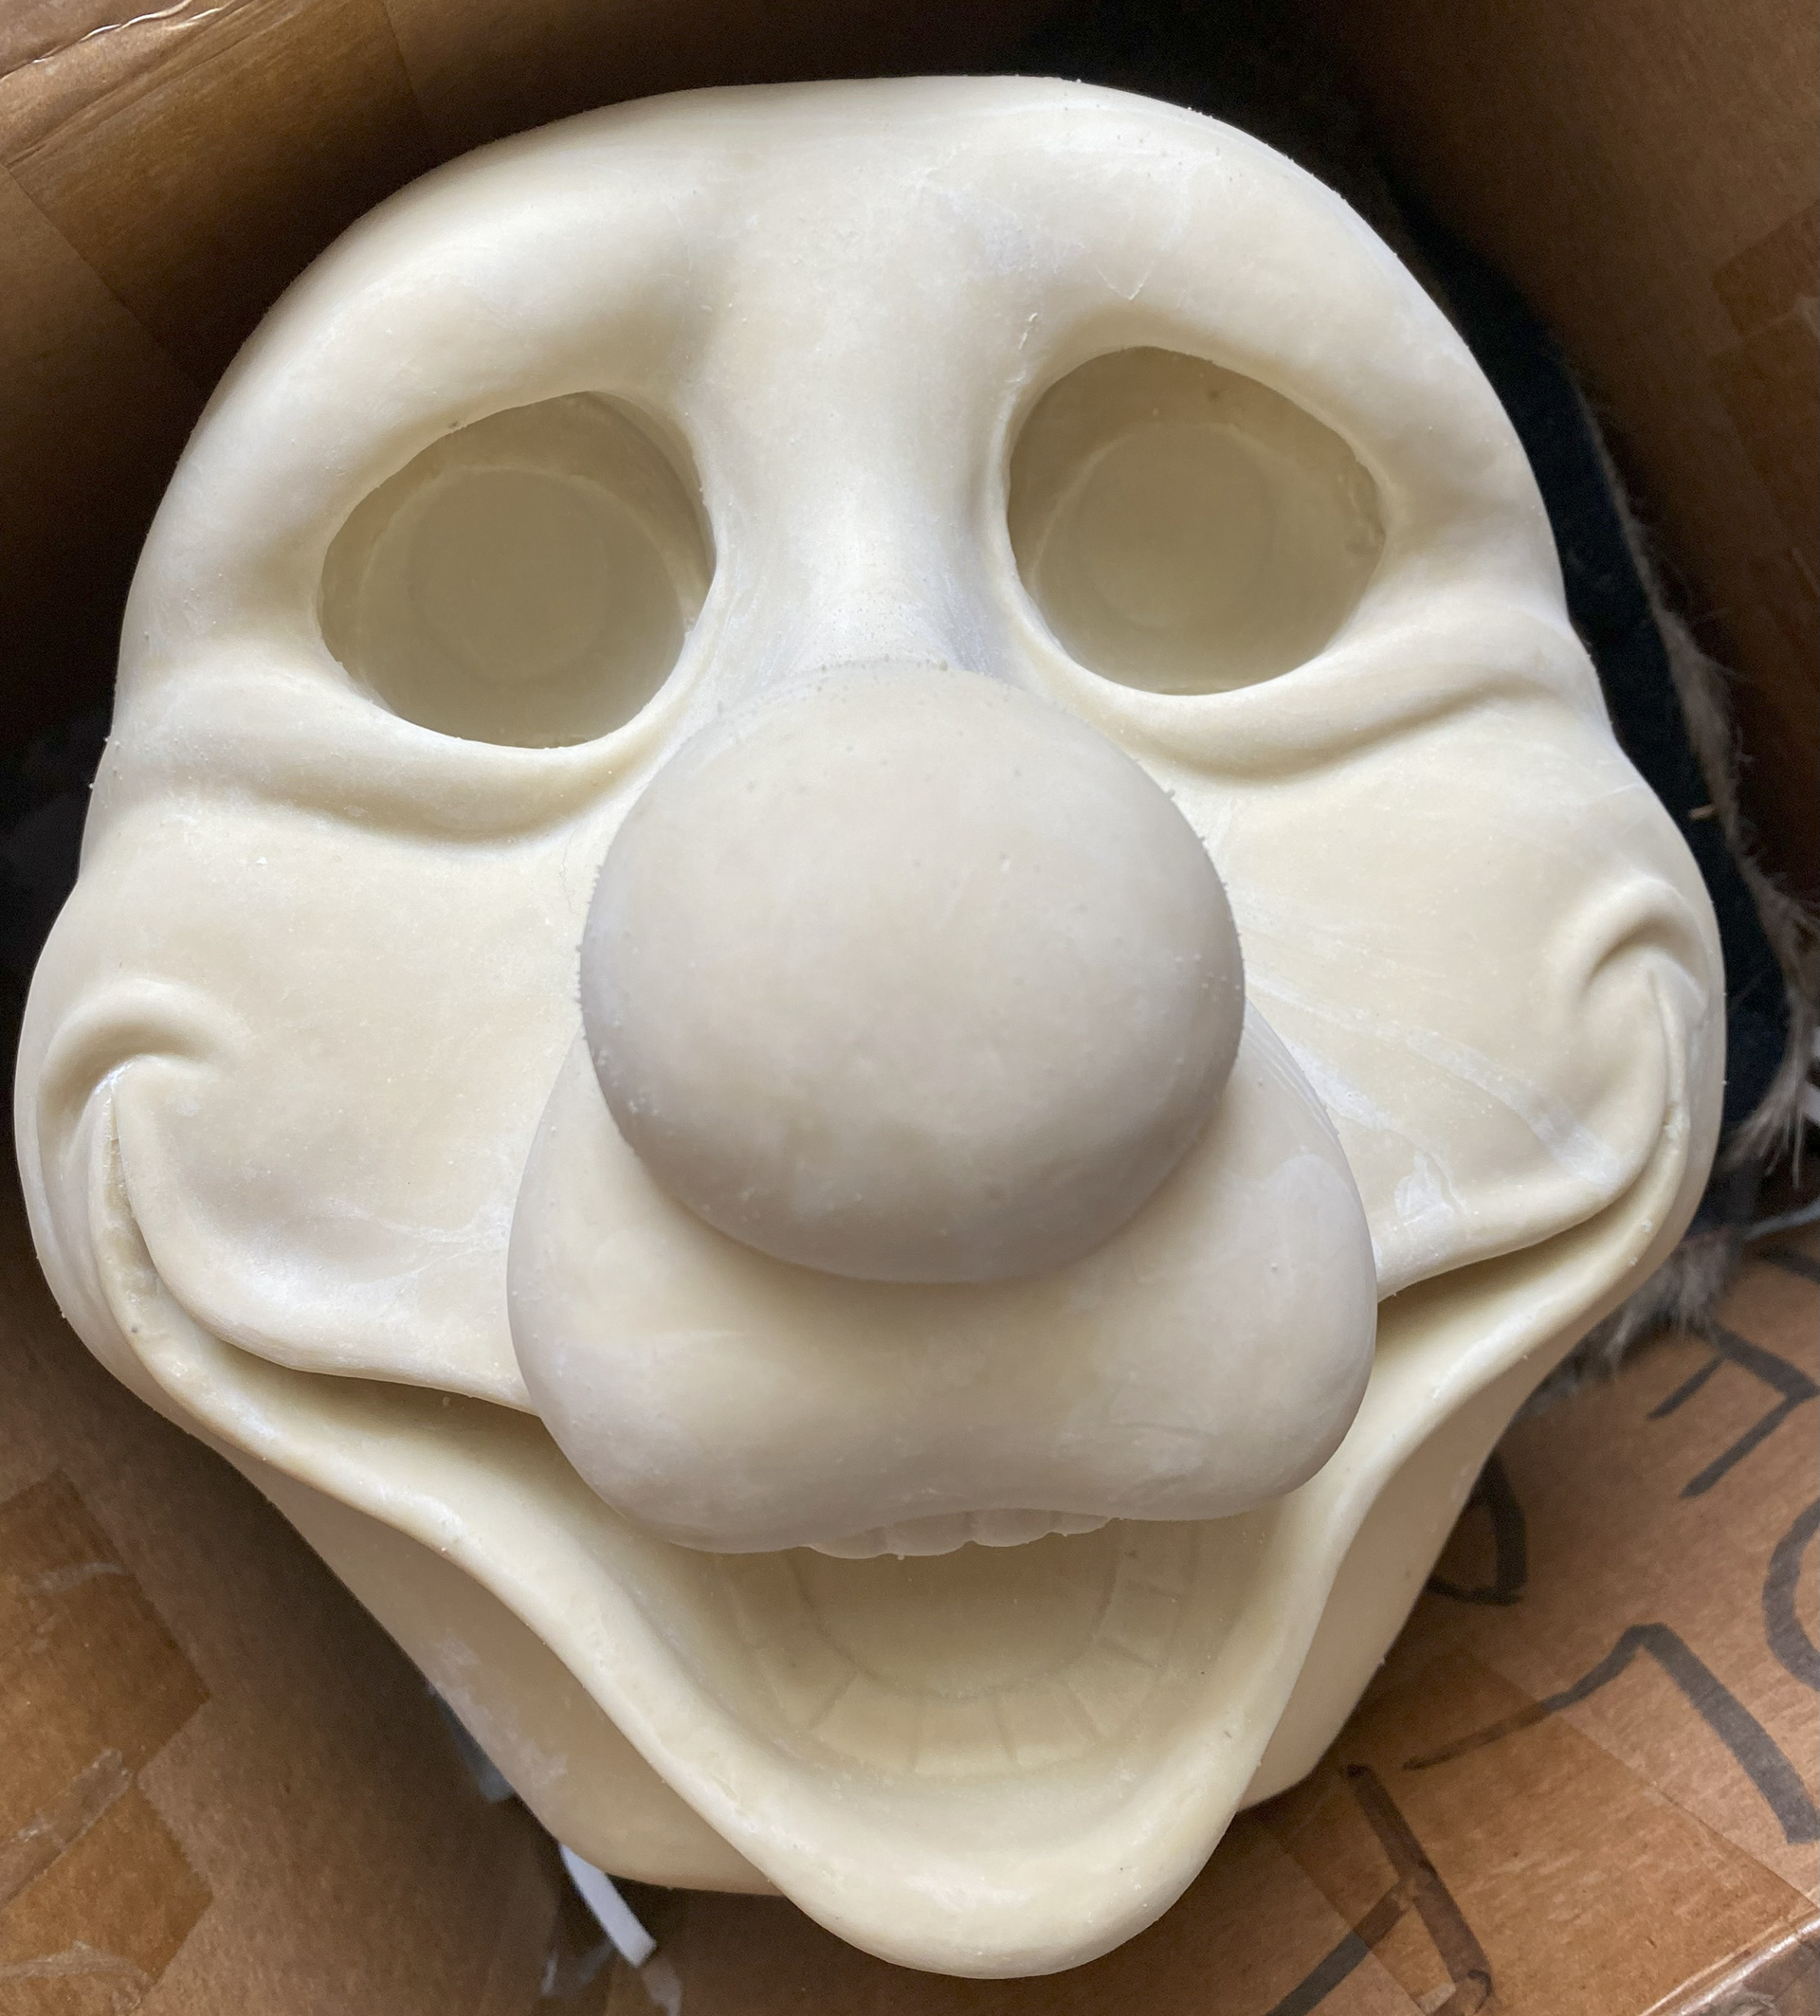
Raw Mask (Uncut)
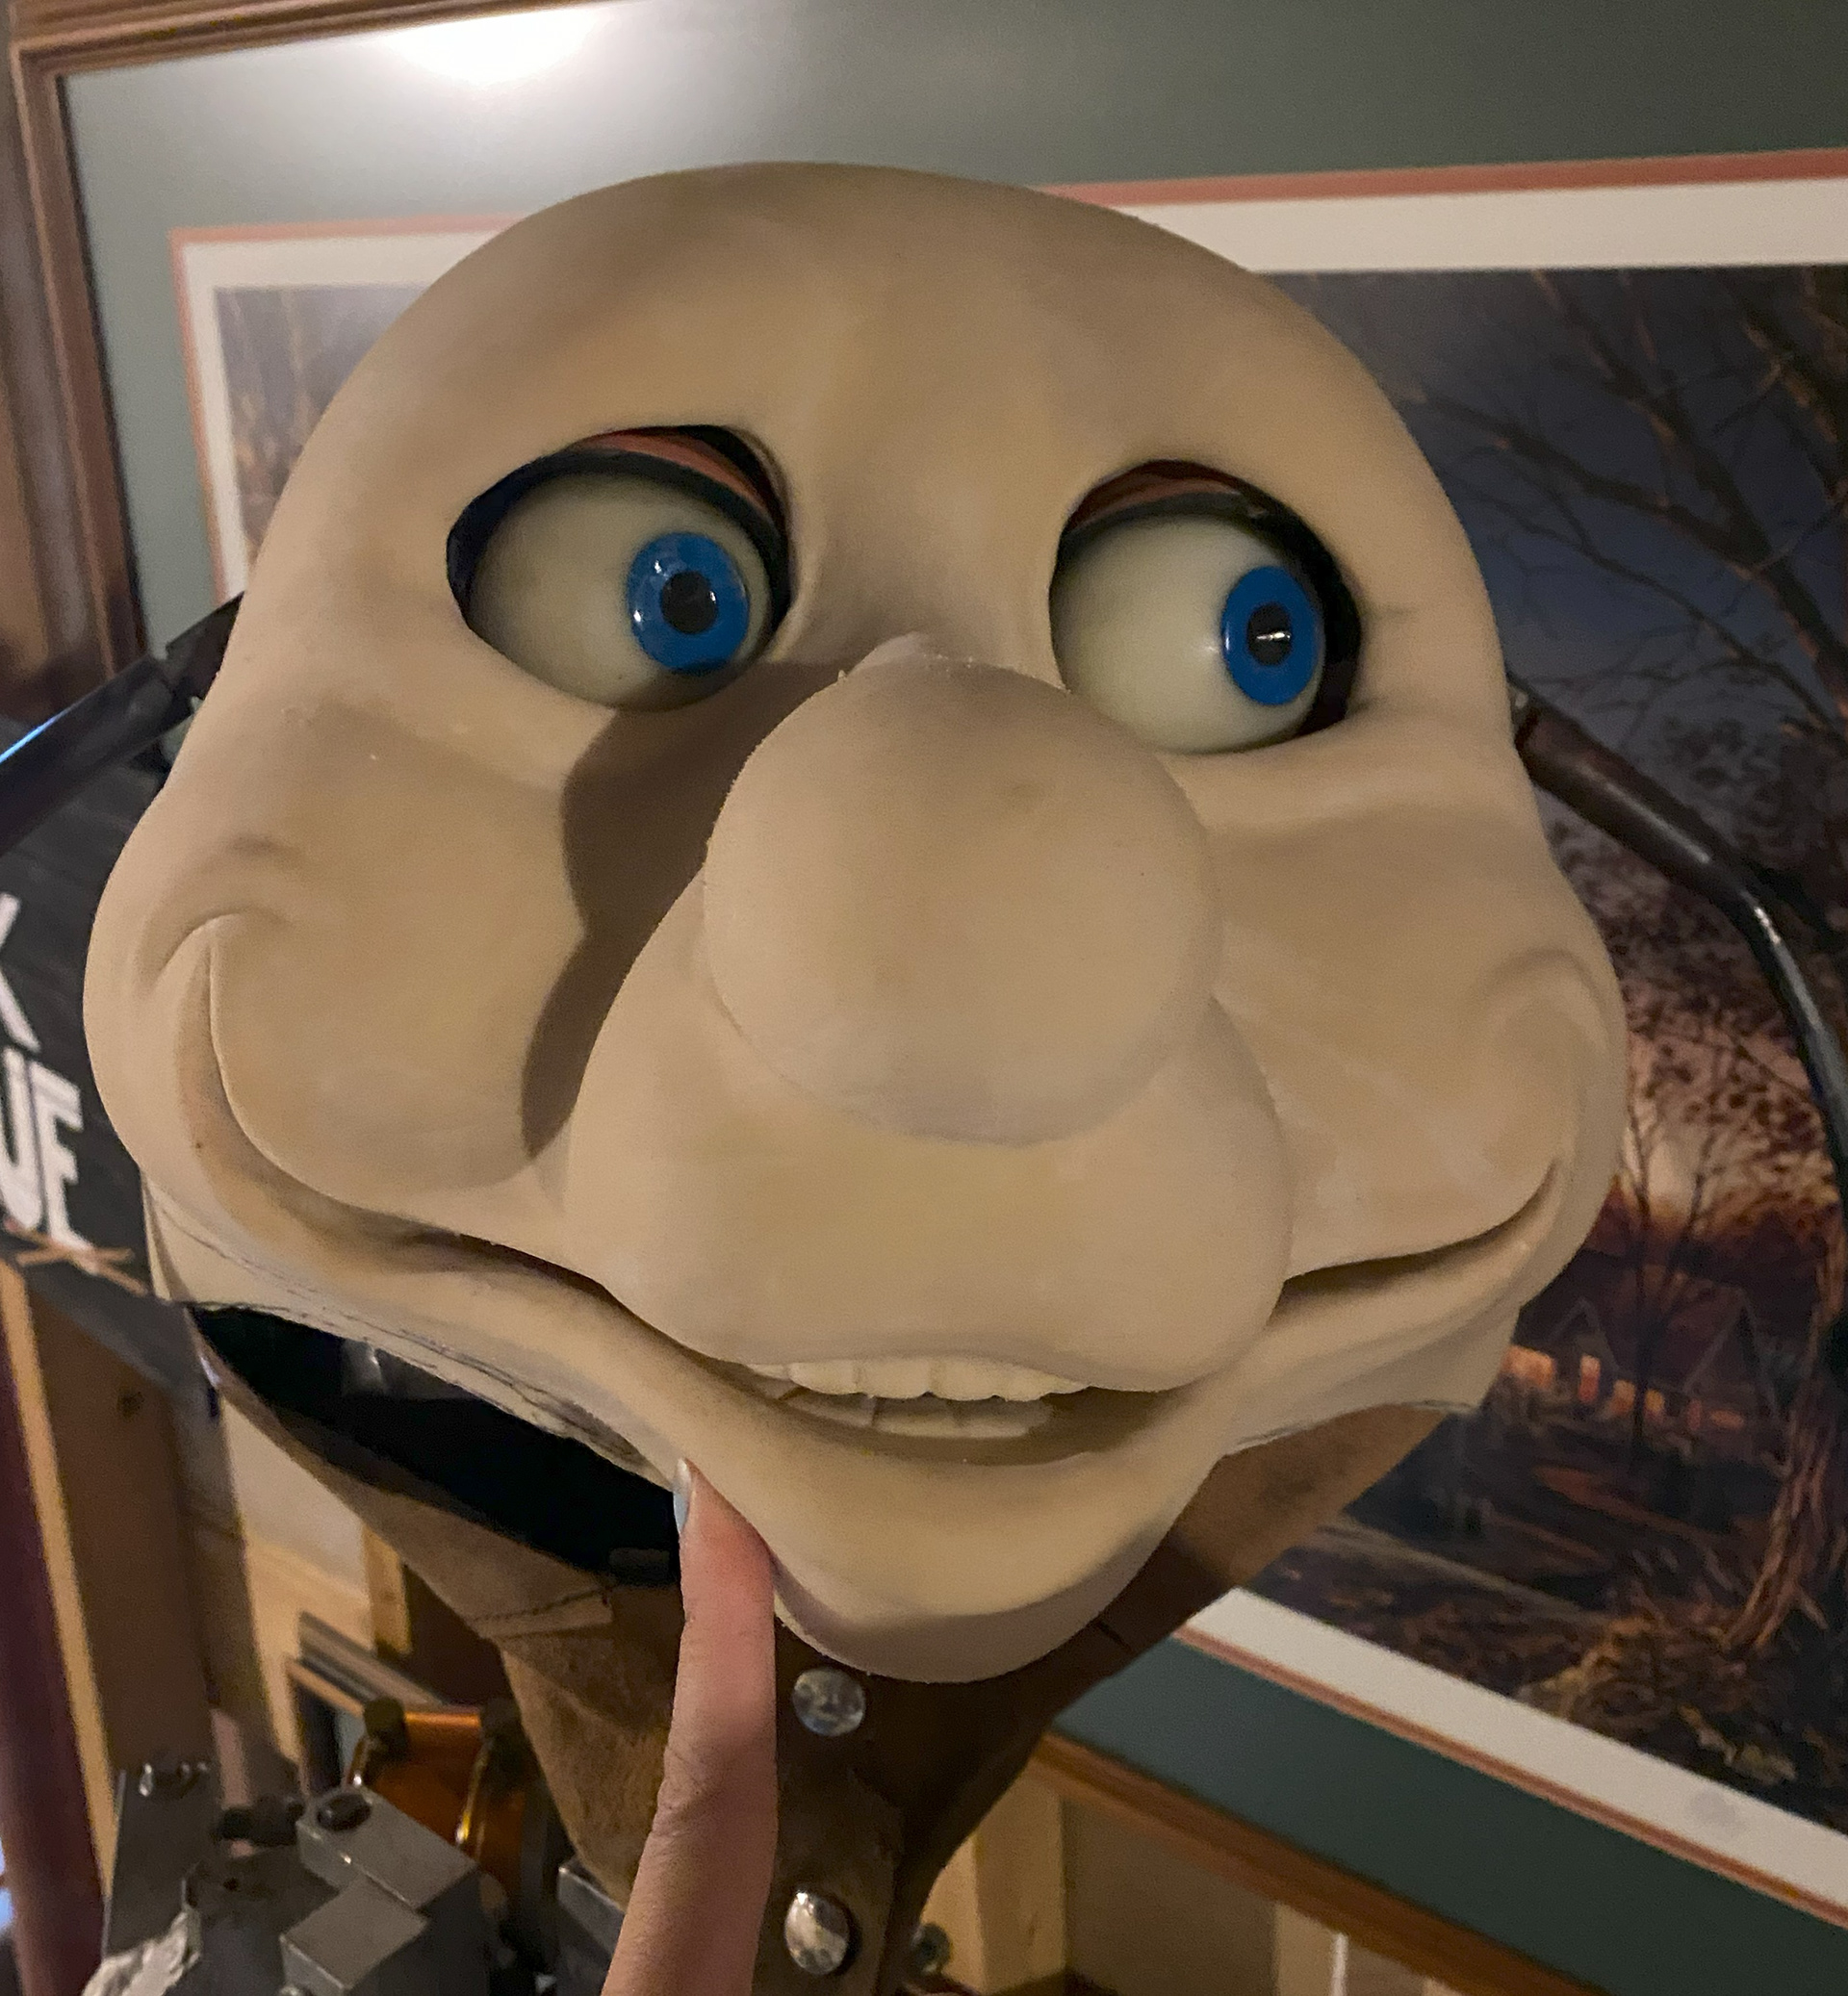
Unpainted Mask
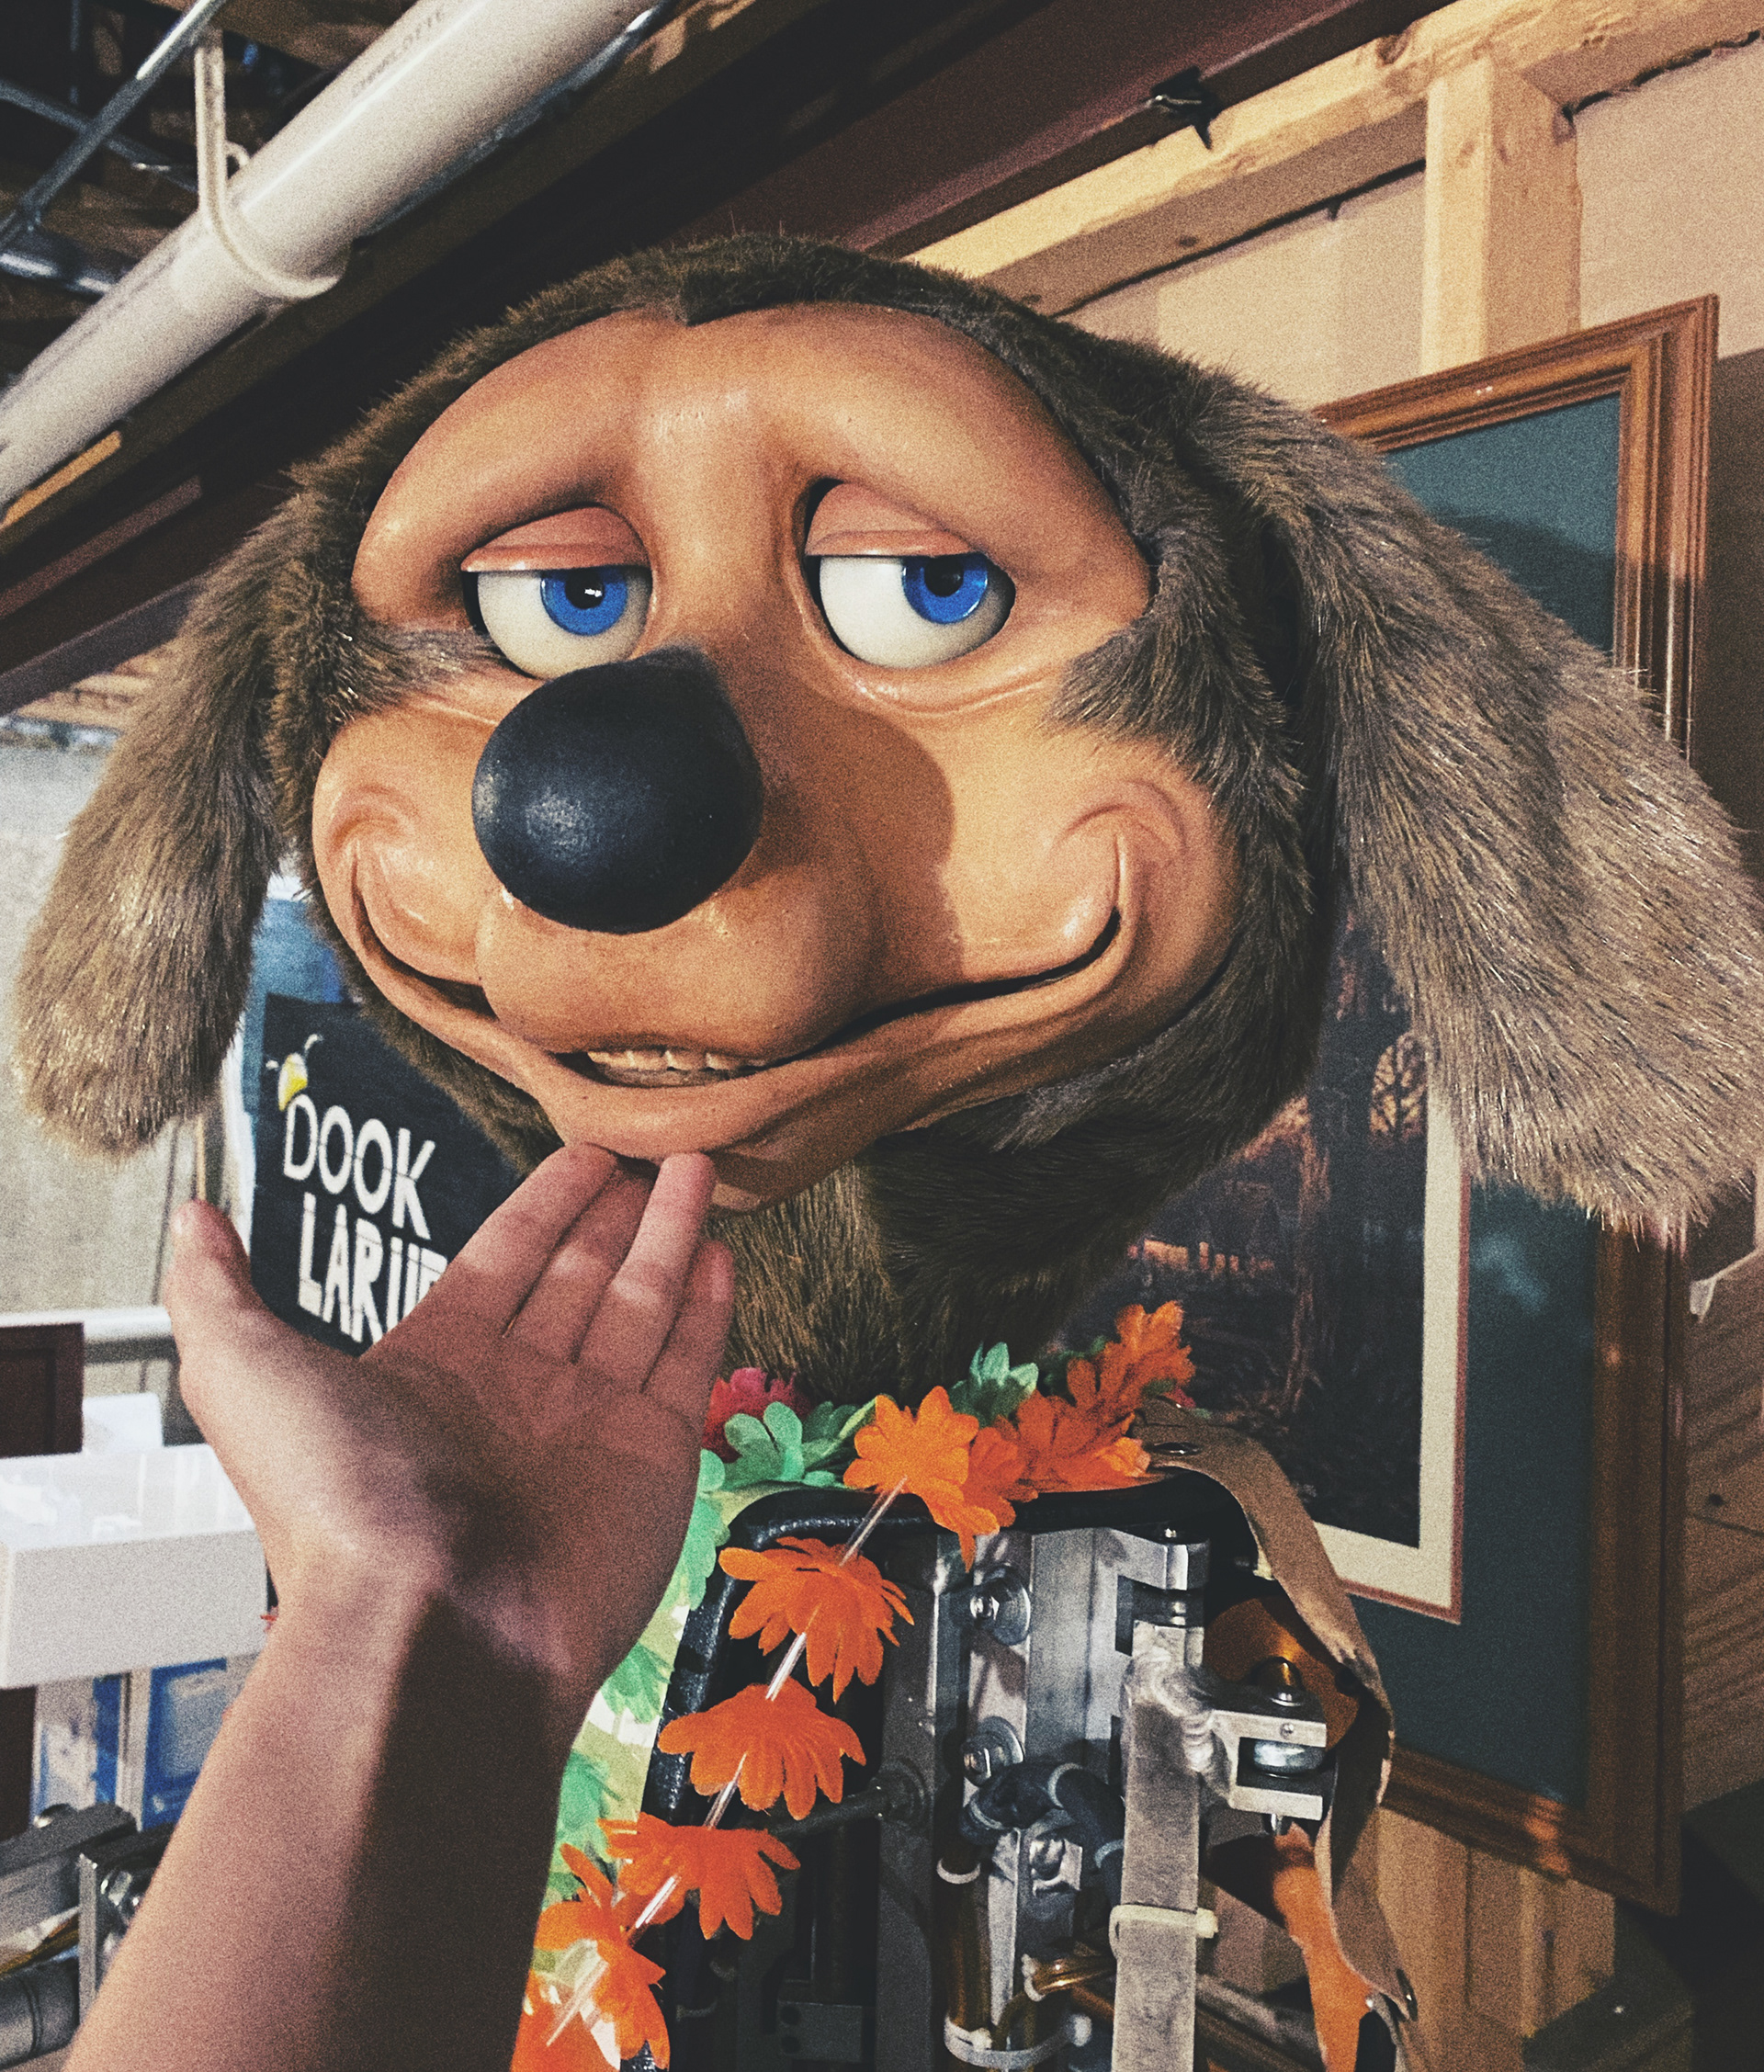
Base Layer of Paint
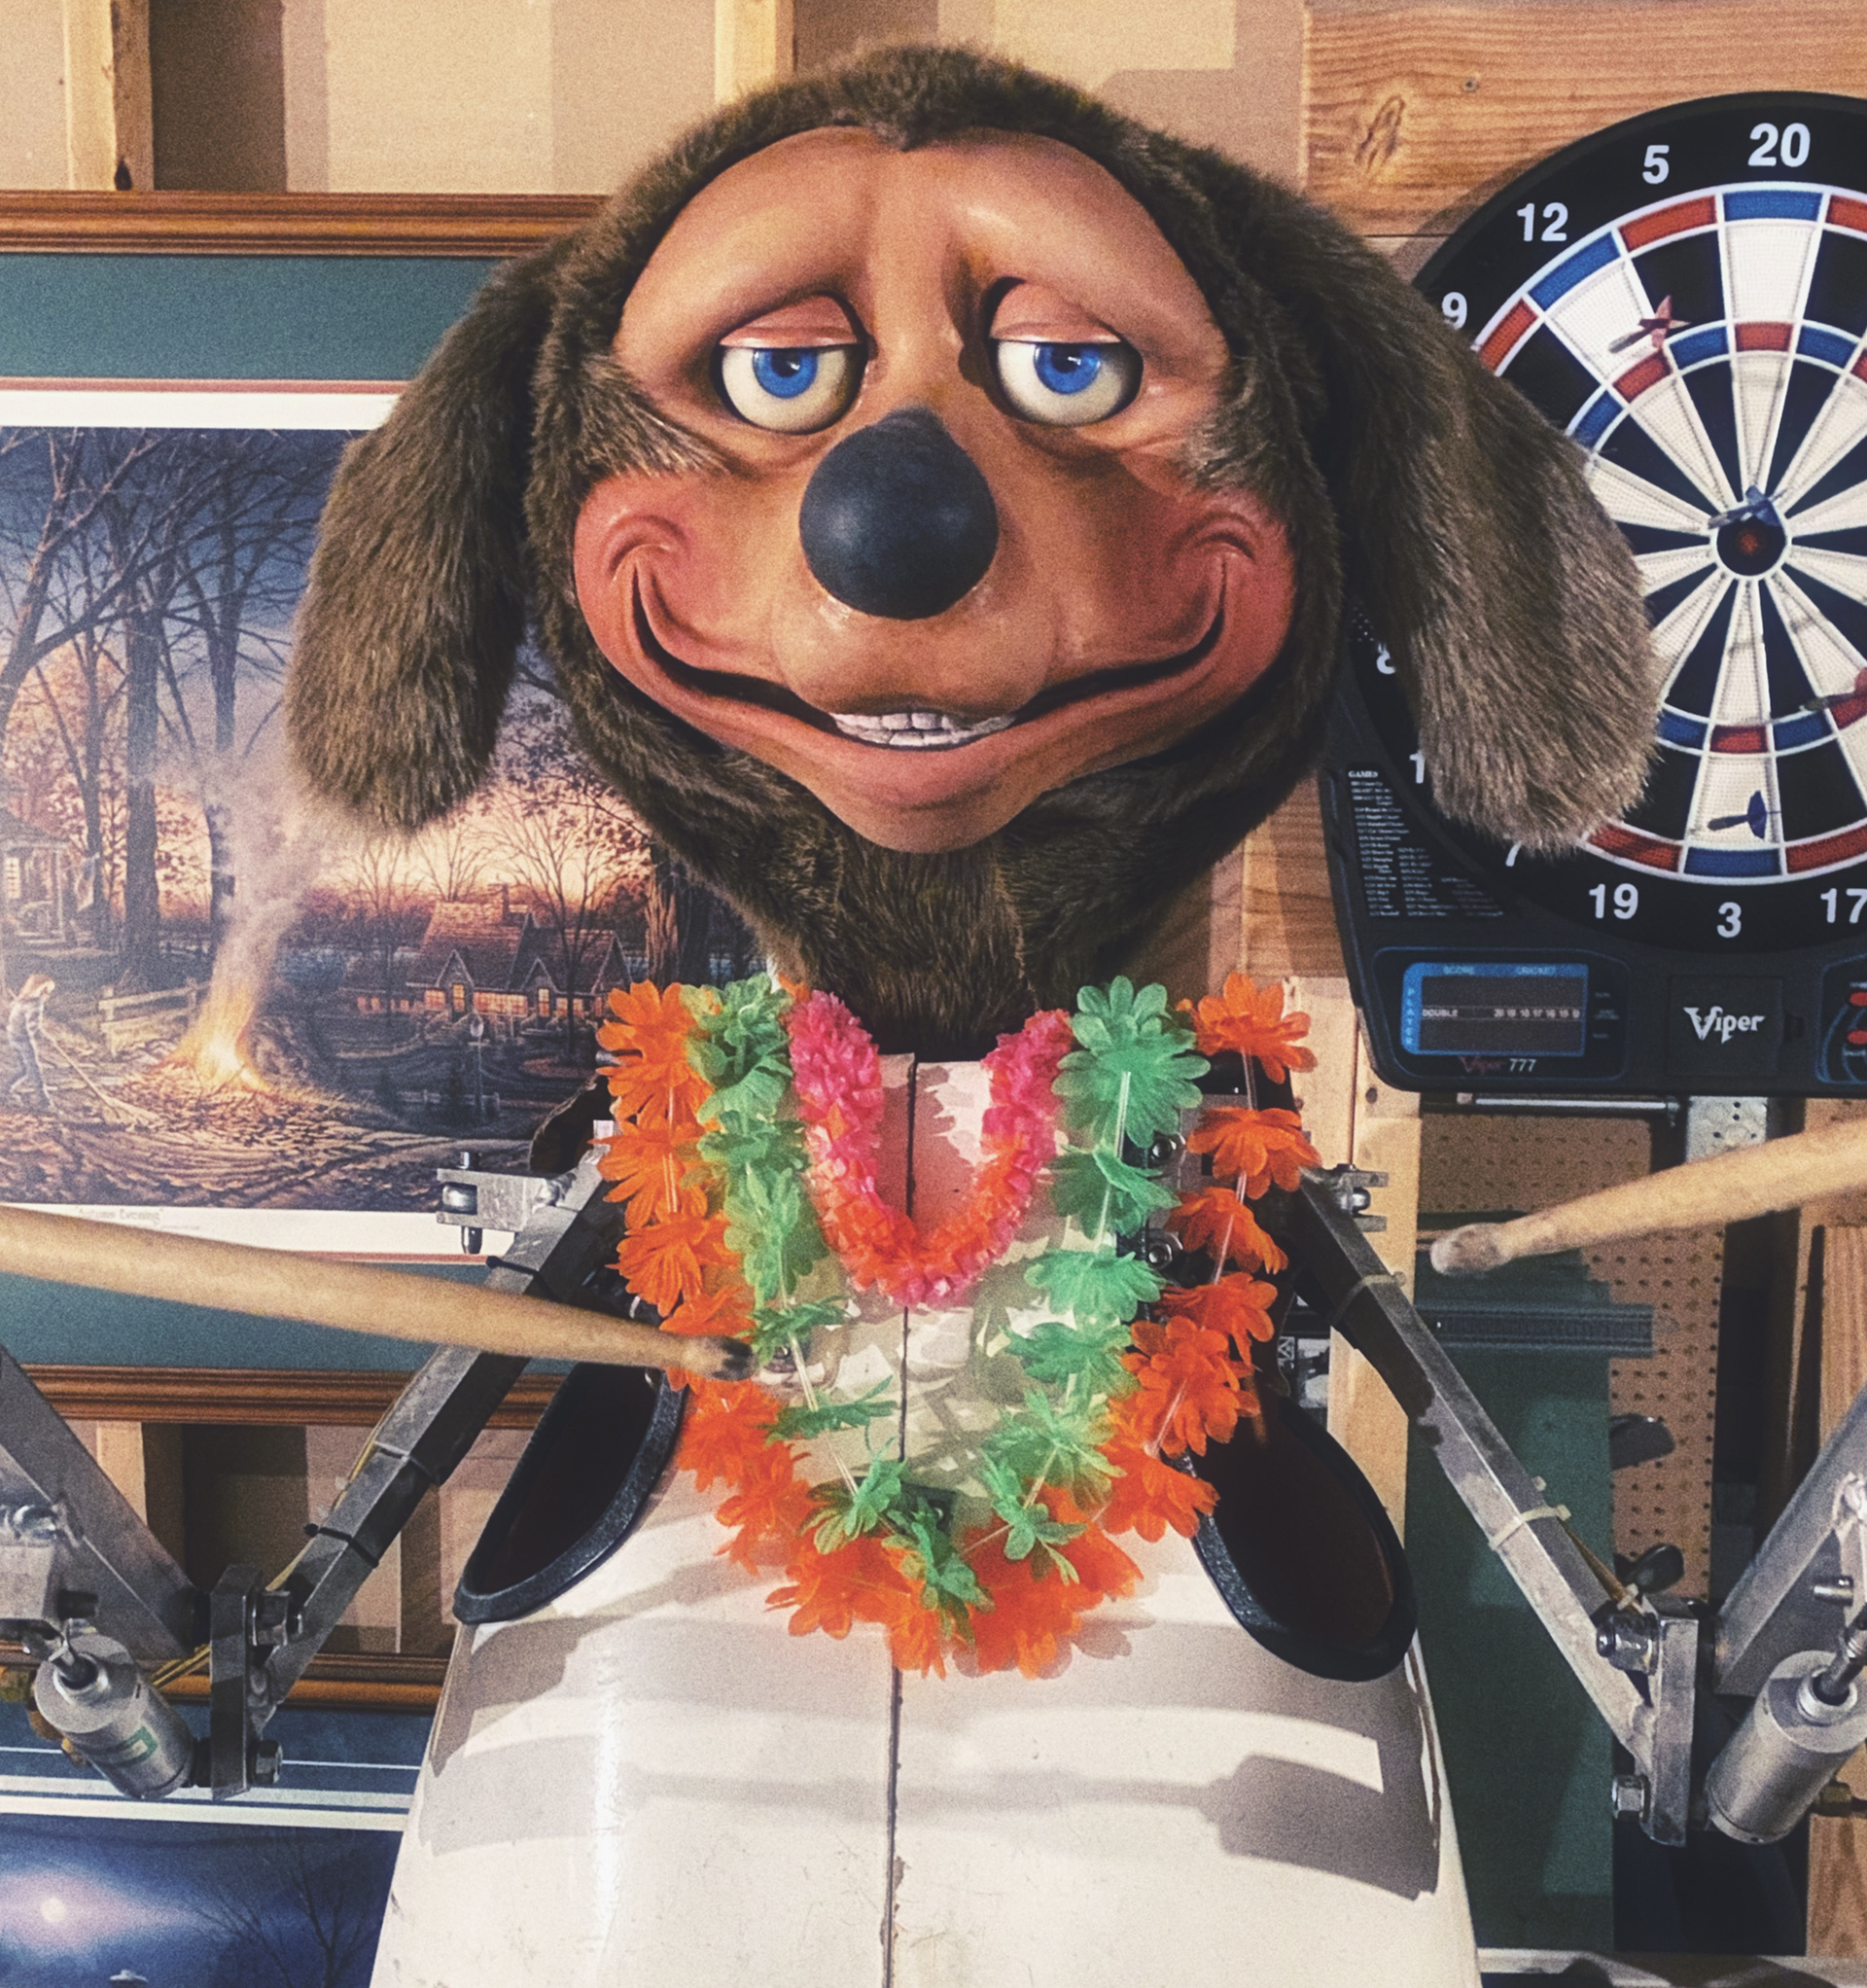
Fully Painted
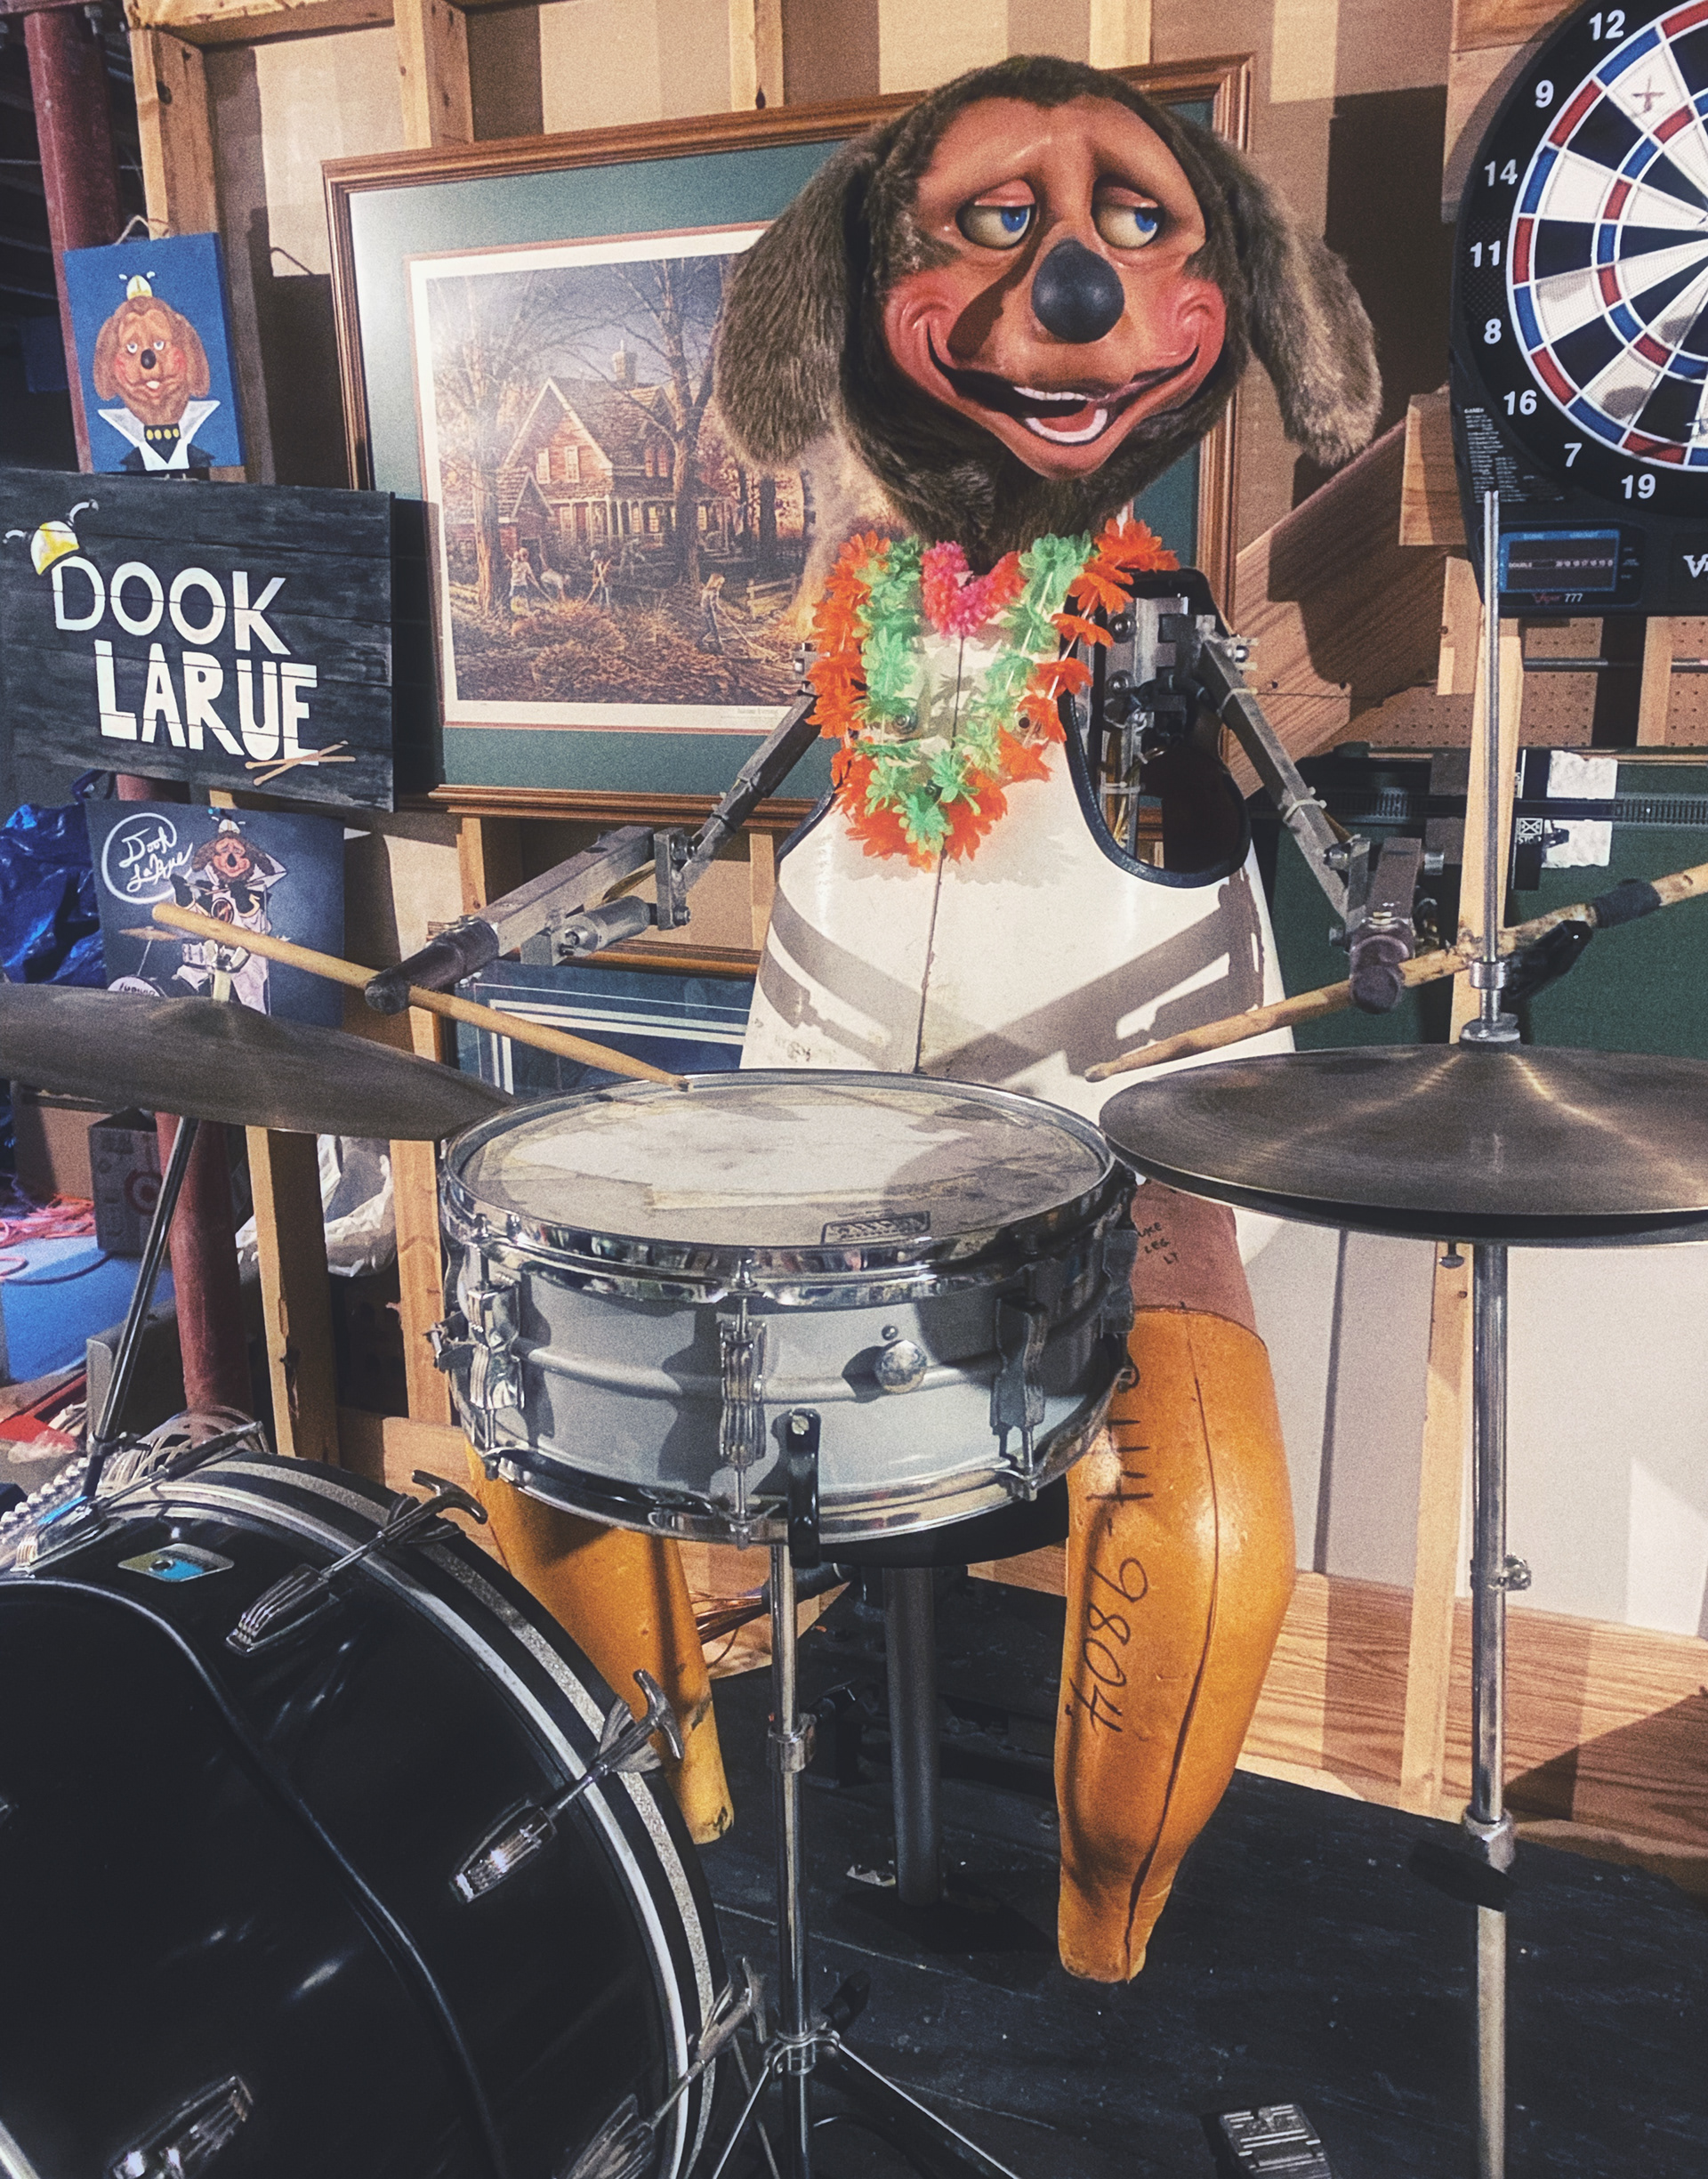
Fully Painted, Bare Mech.

Finished Mask
New Show Location
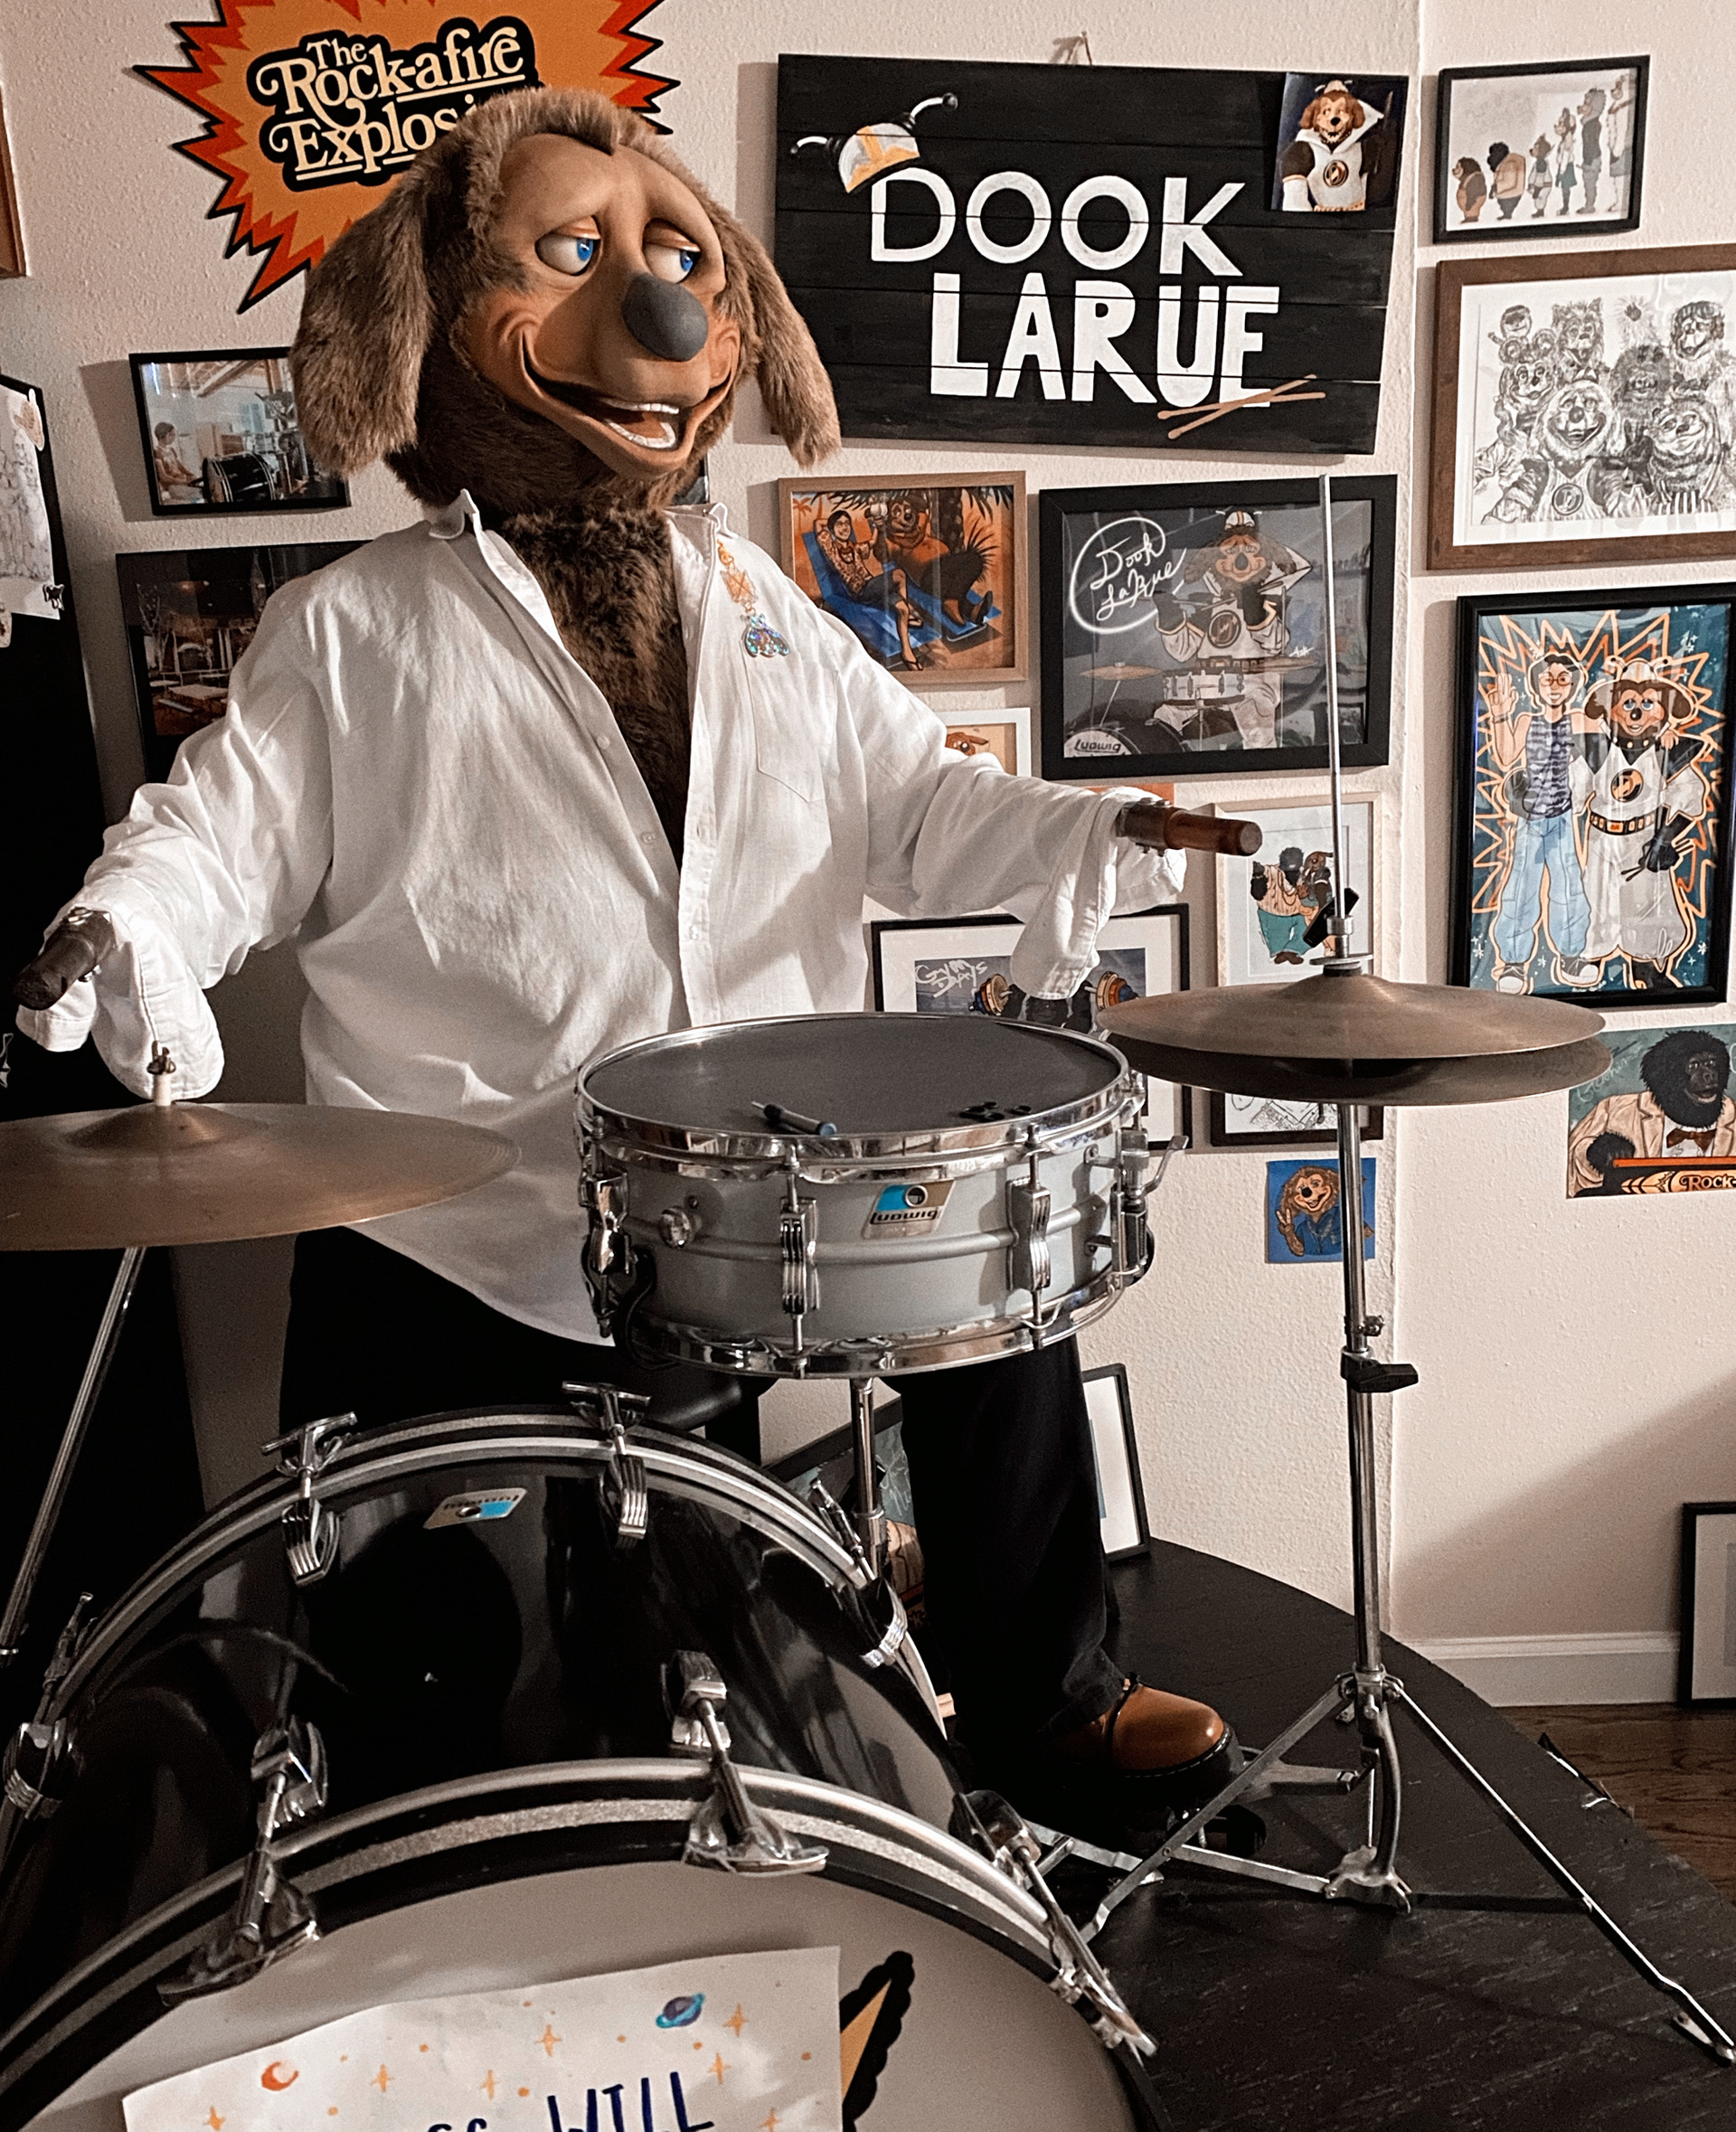
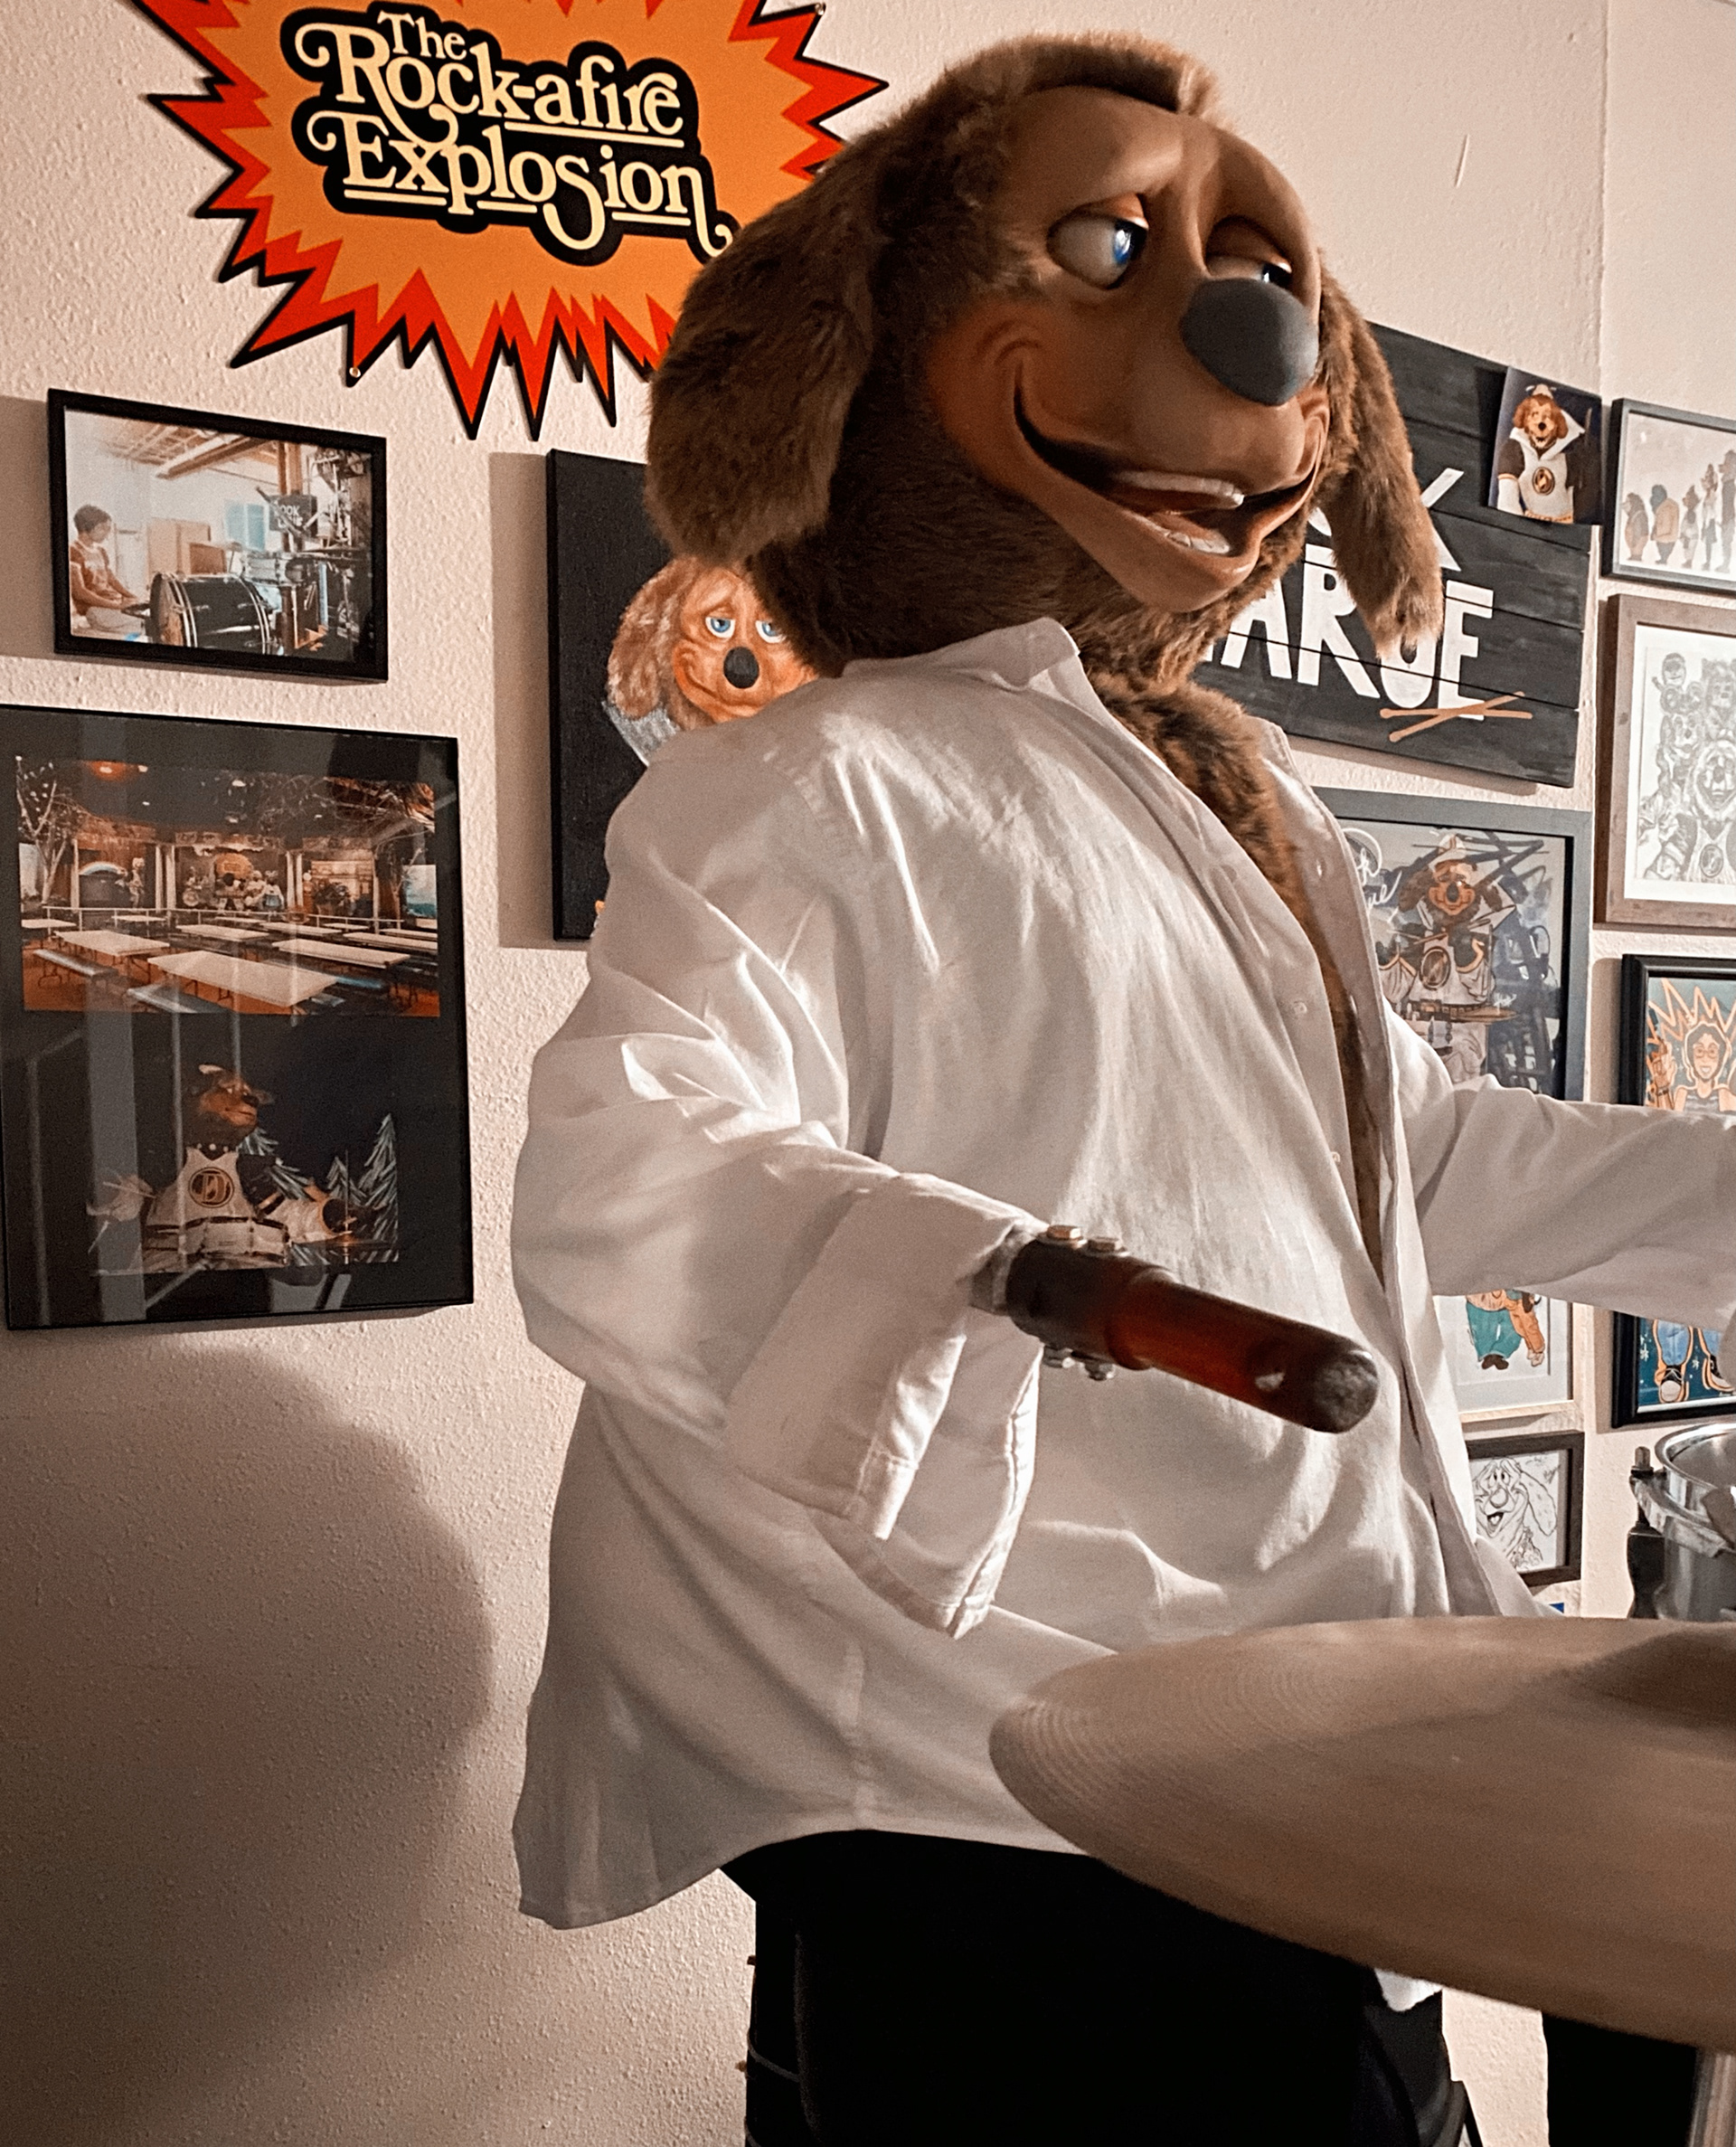
Update:
He and my other characters do not live in my parents' basement anymore. They all moved with me into my own place.
Process
1. The mask needed to be "prepared" before painting. I had to cut the excess latex to size for it fit the head-frame, then I had to add "snaps" to the various parts that allow it to fit snug onto the frame
2. The mask starts out as the color of the latex it was molded in
3. I mixed acrylic paint with liquid latex in order to be able to use acrylic on latex; otherwise, acrylic will just crack off after drying. I also added some water to thin the paint out.
4. I made every color by mixing multiple colors together to get the desired look
5. Before painting the mask, I tested how each color looked when dried on a scrap piece of latex. I compared how the color appeared in multiple types of lighting, to ensure it looked good in all possible scenarios
6. Once I was satisfied with the colors, I began to paint the mask, starting with a base coat
- I have found that it is important to cover the entire base layer fast, to avoid anything drying and leaving a "parting line" similar to that of watercolor
7. After the base layer, I added shadows by brushing the color onto the surface, then taking a sponge and patting it to eliminate any brush strokes. I also used my fingers to do the same thing
8. I added the rosy cheeks as the last layer, building up the color slowly, careful not to make it too extreme looking. The goal was to just make it barely noticeable as a slight color difference
9. I painted the inside of the mouth with a pinkish-red tone that faded out into an almost black color
Commissions
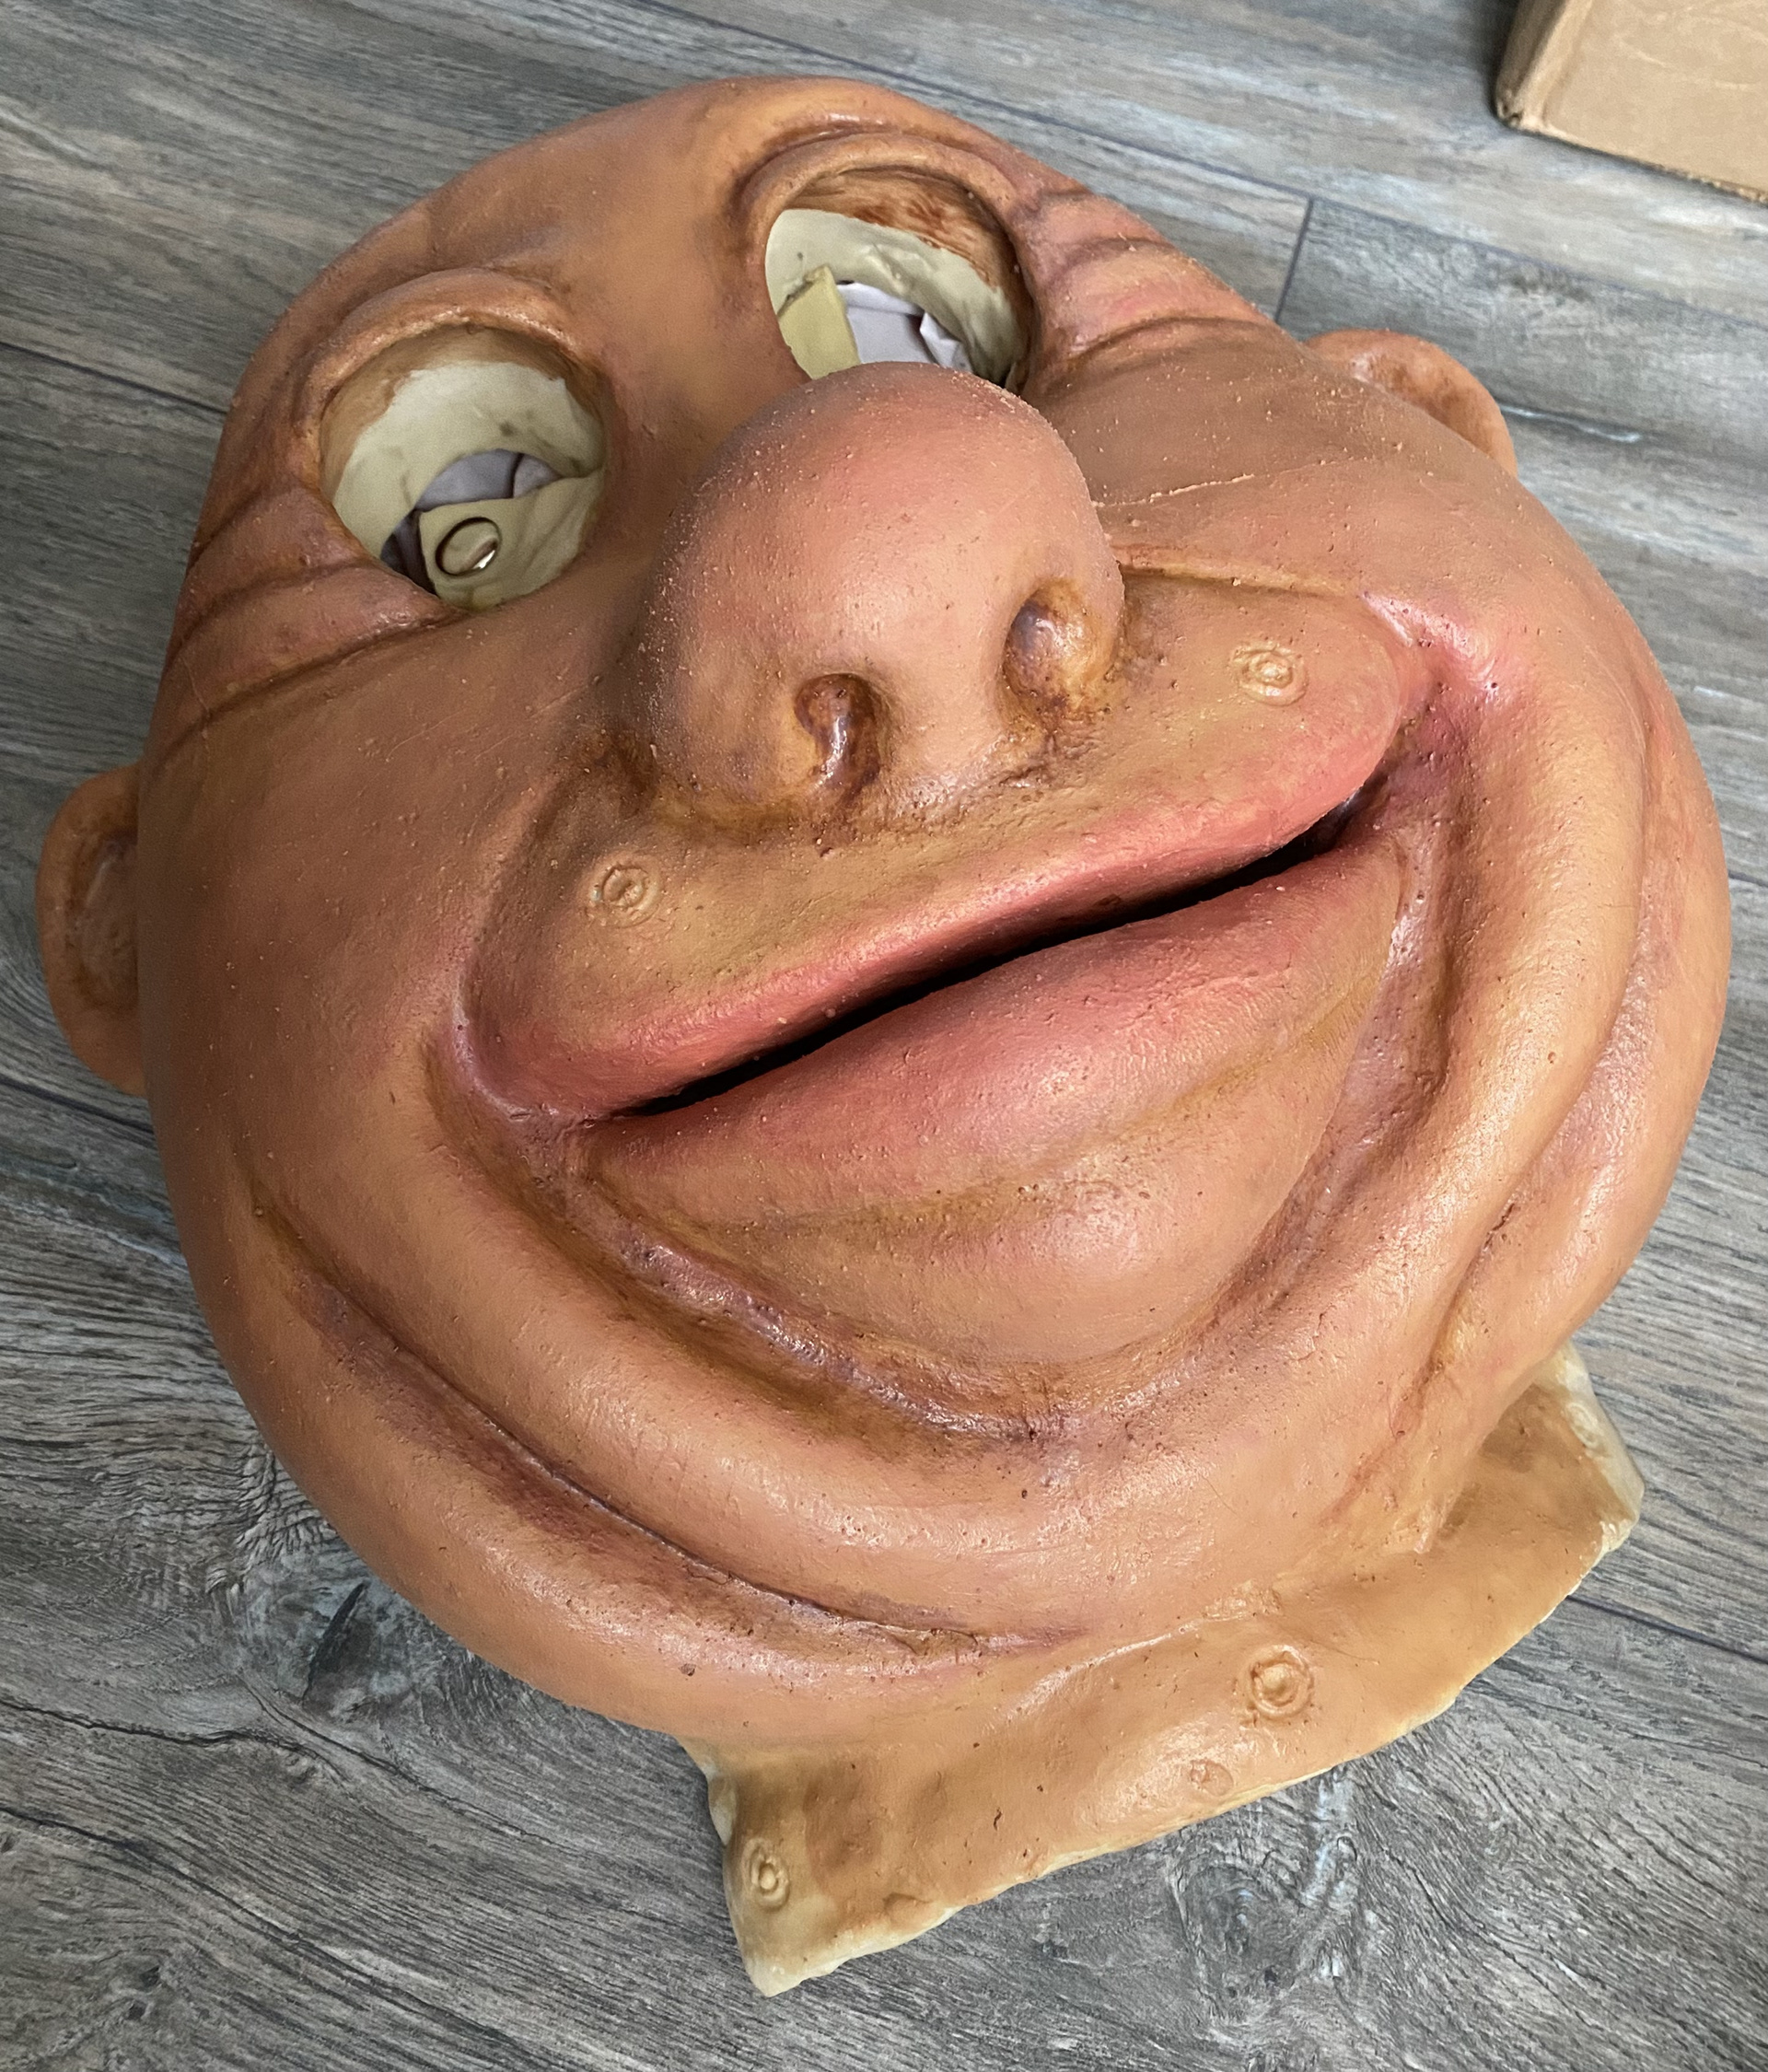
Pasqually Mask
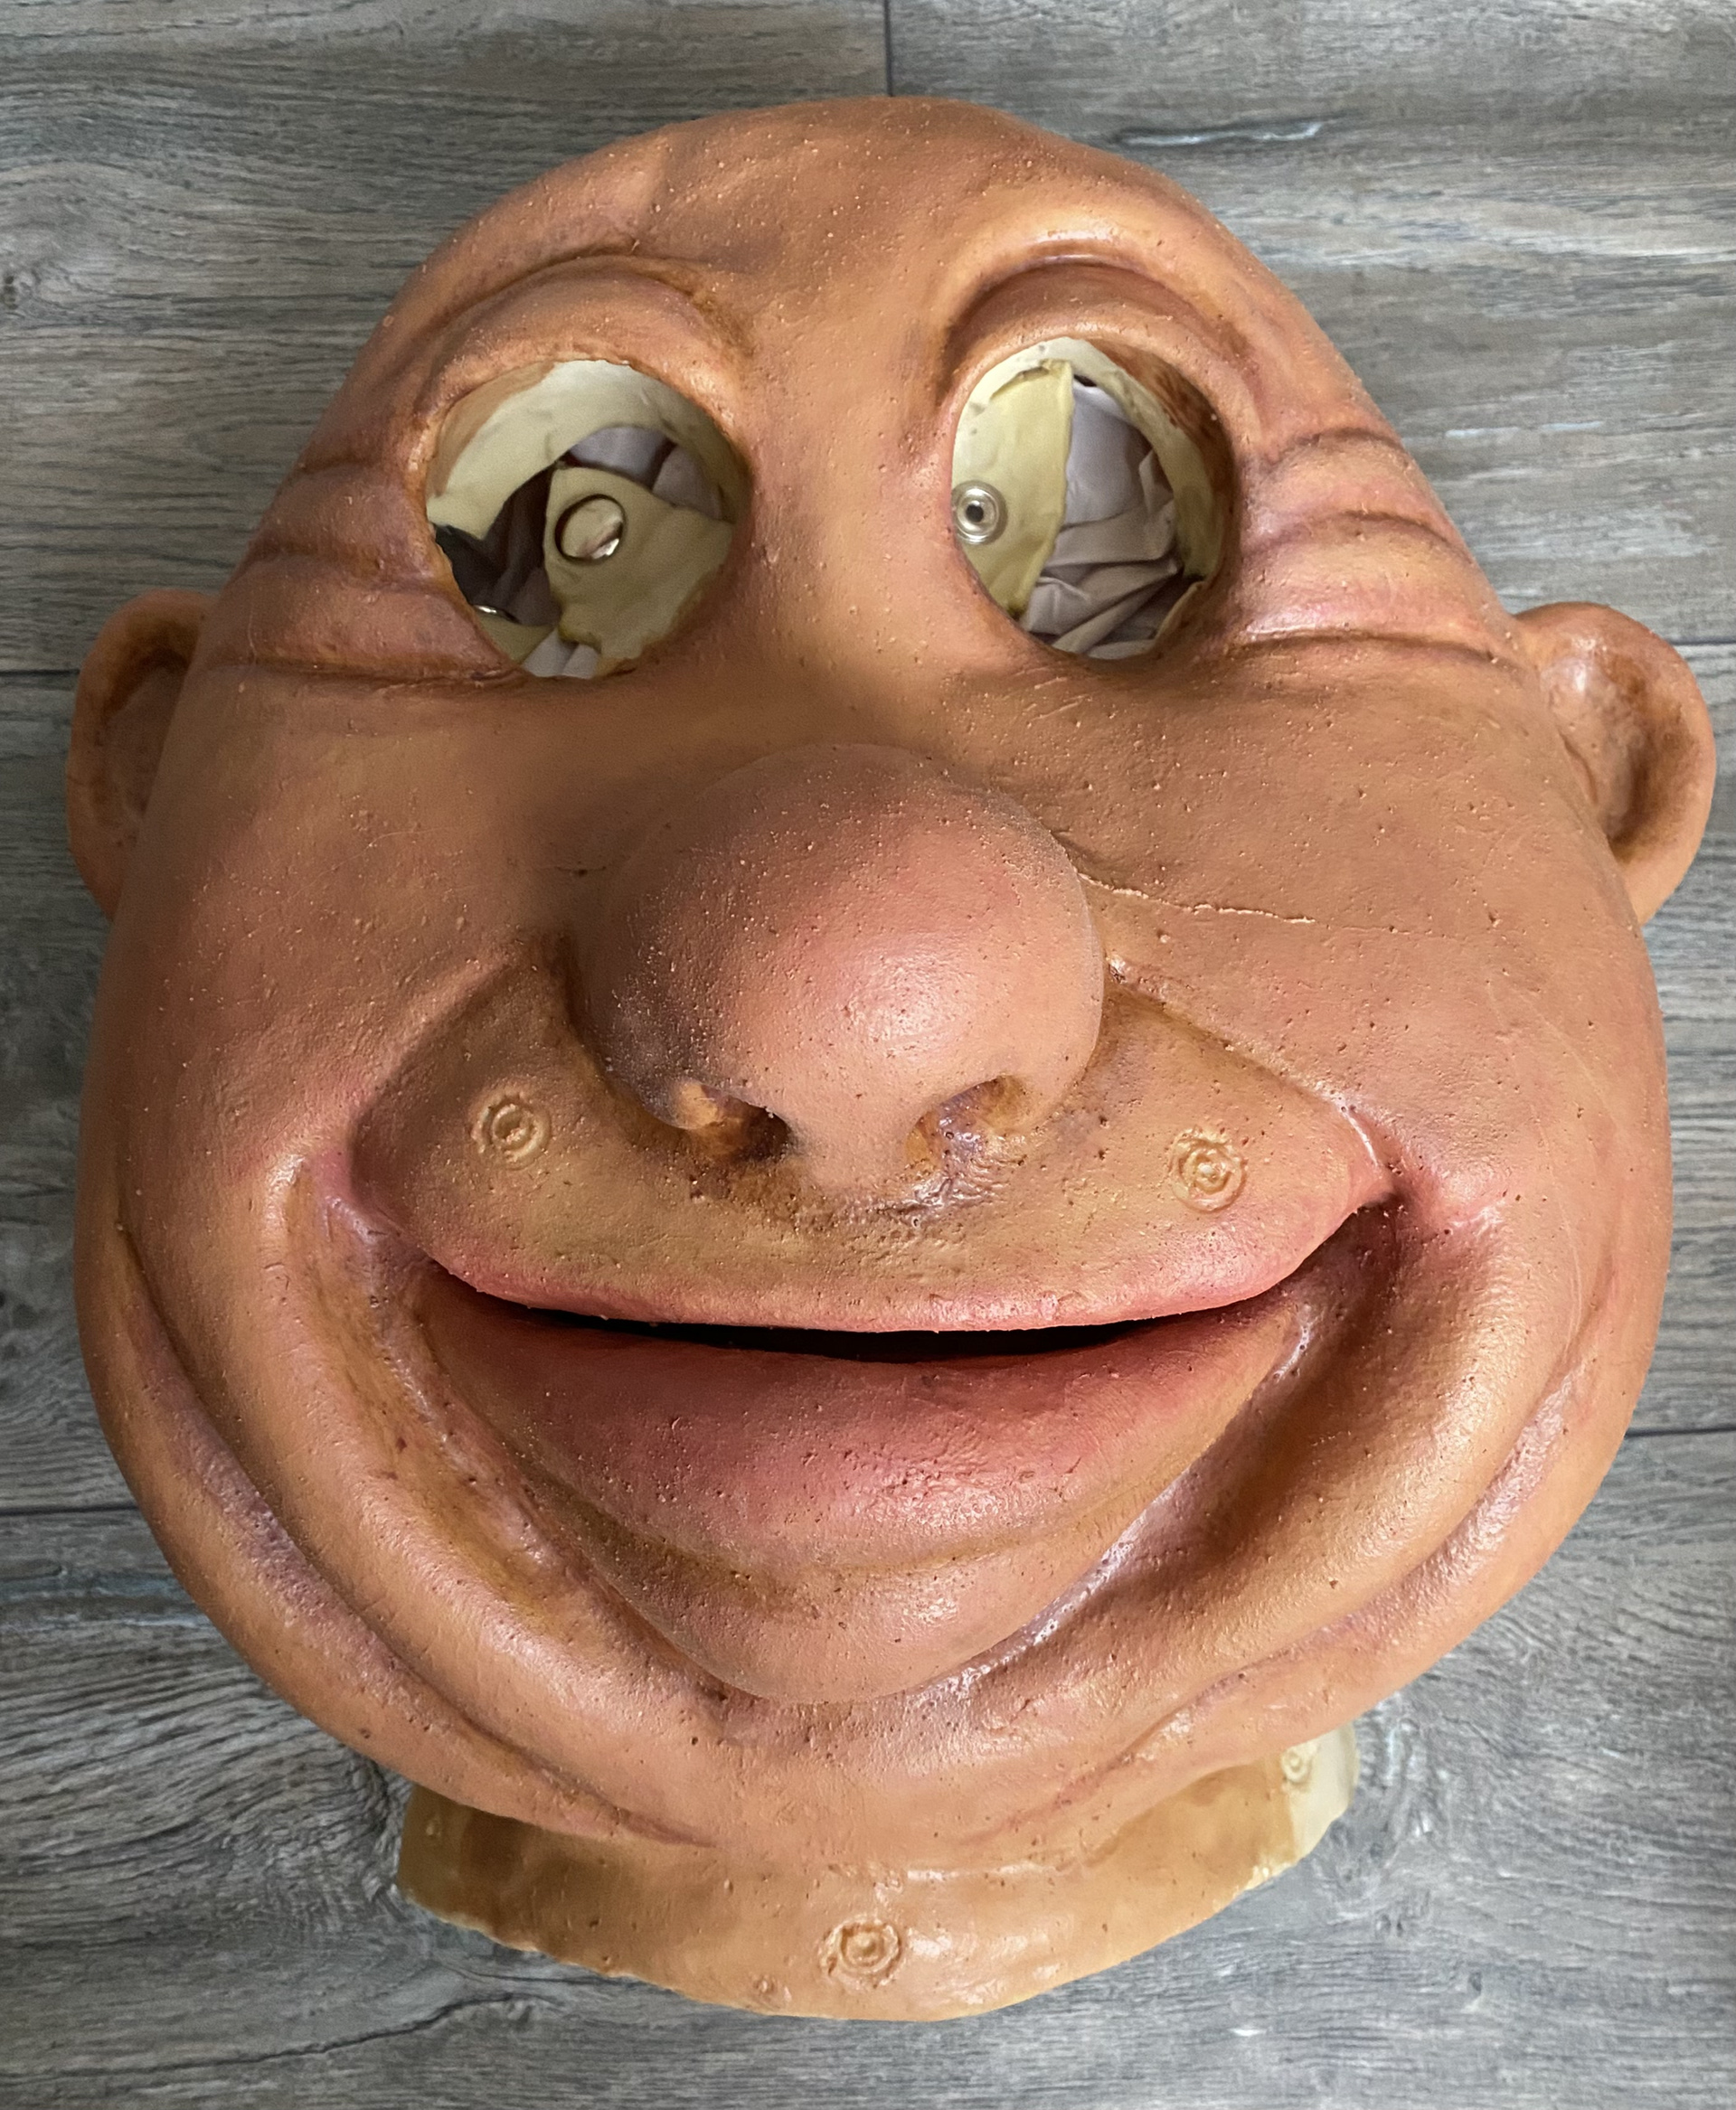
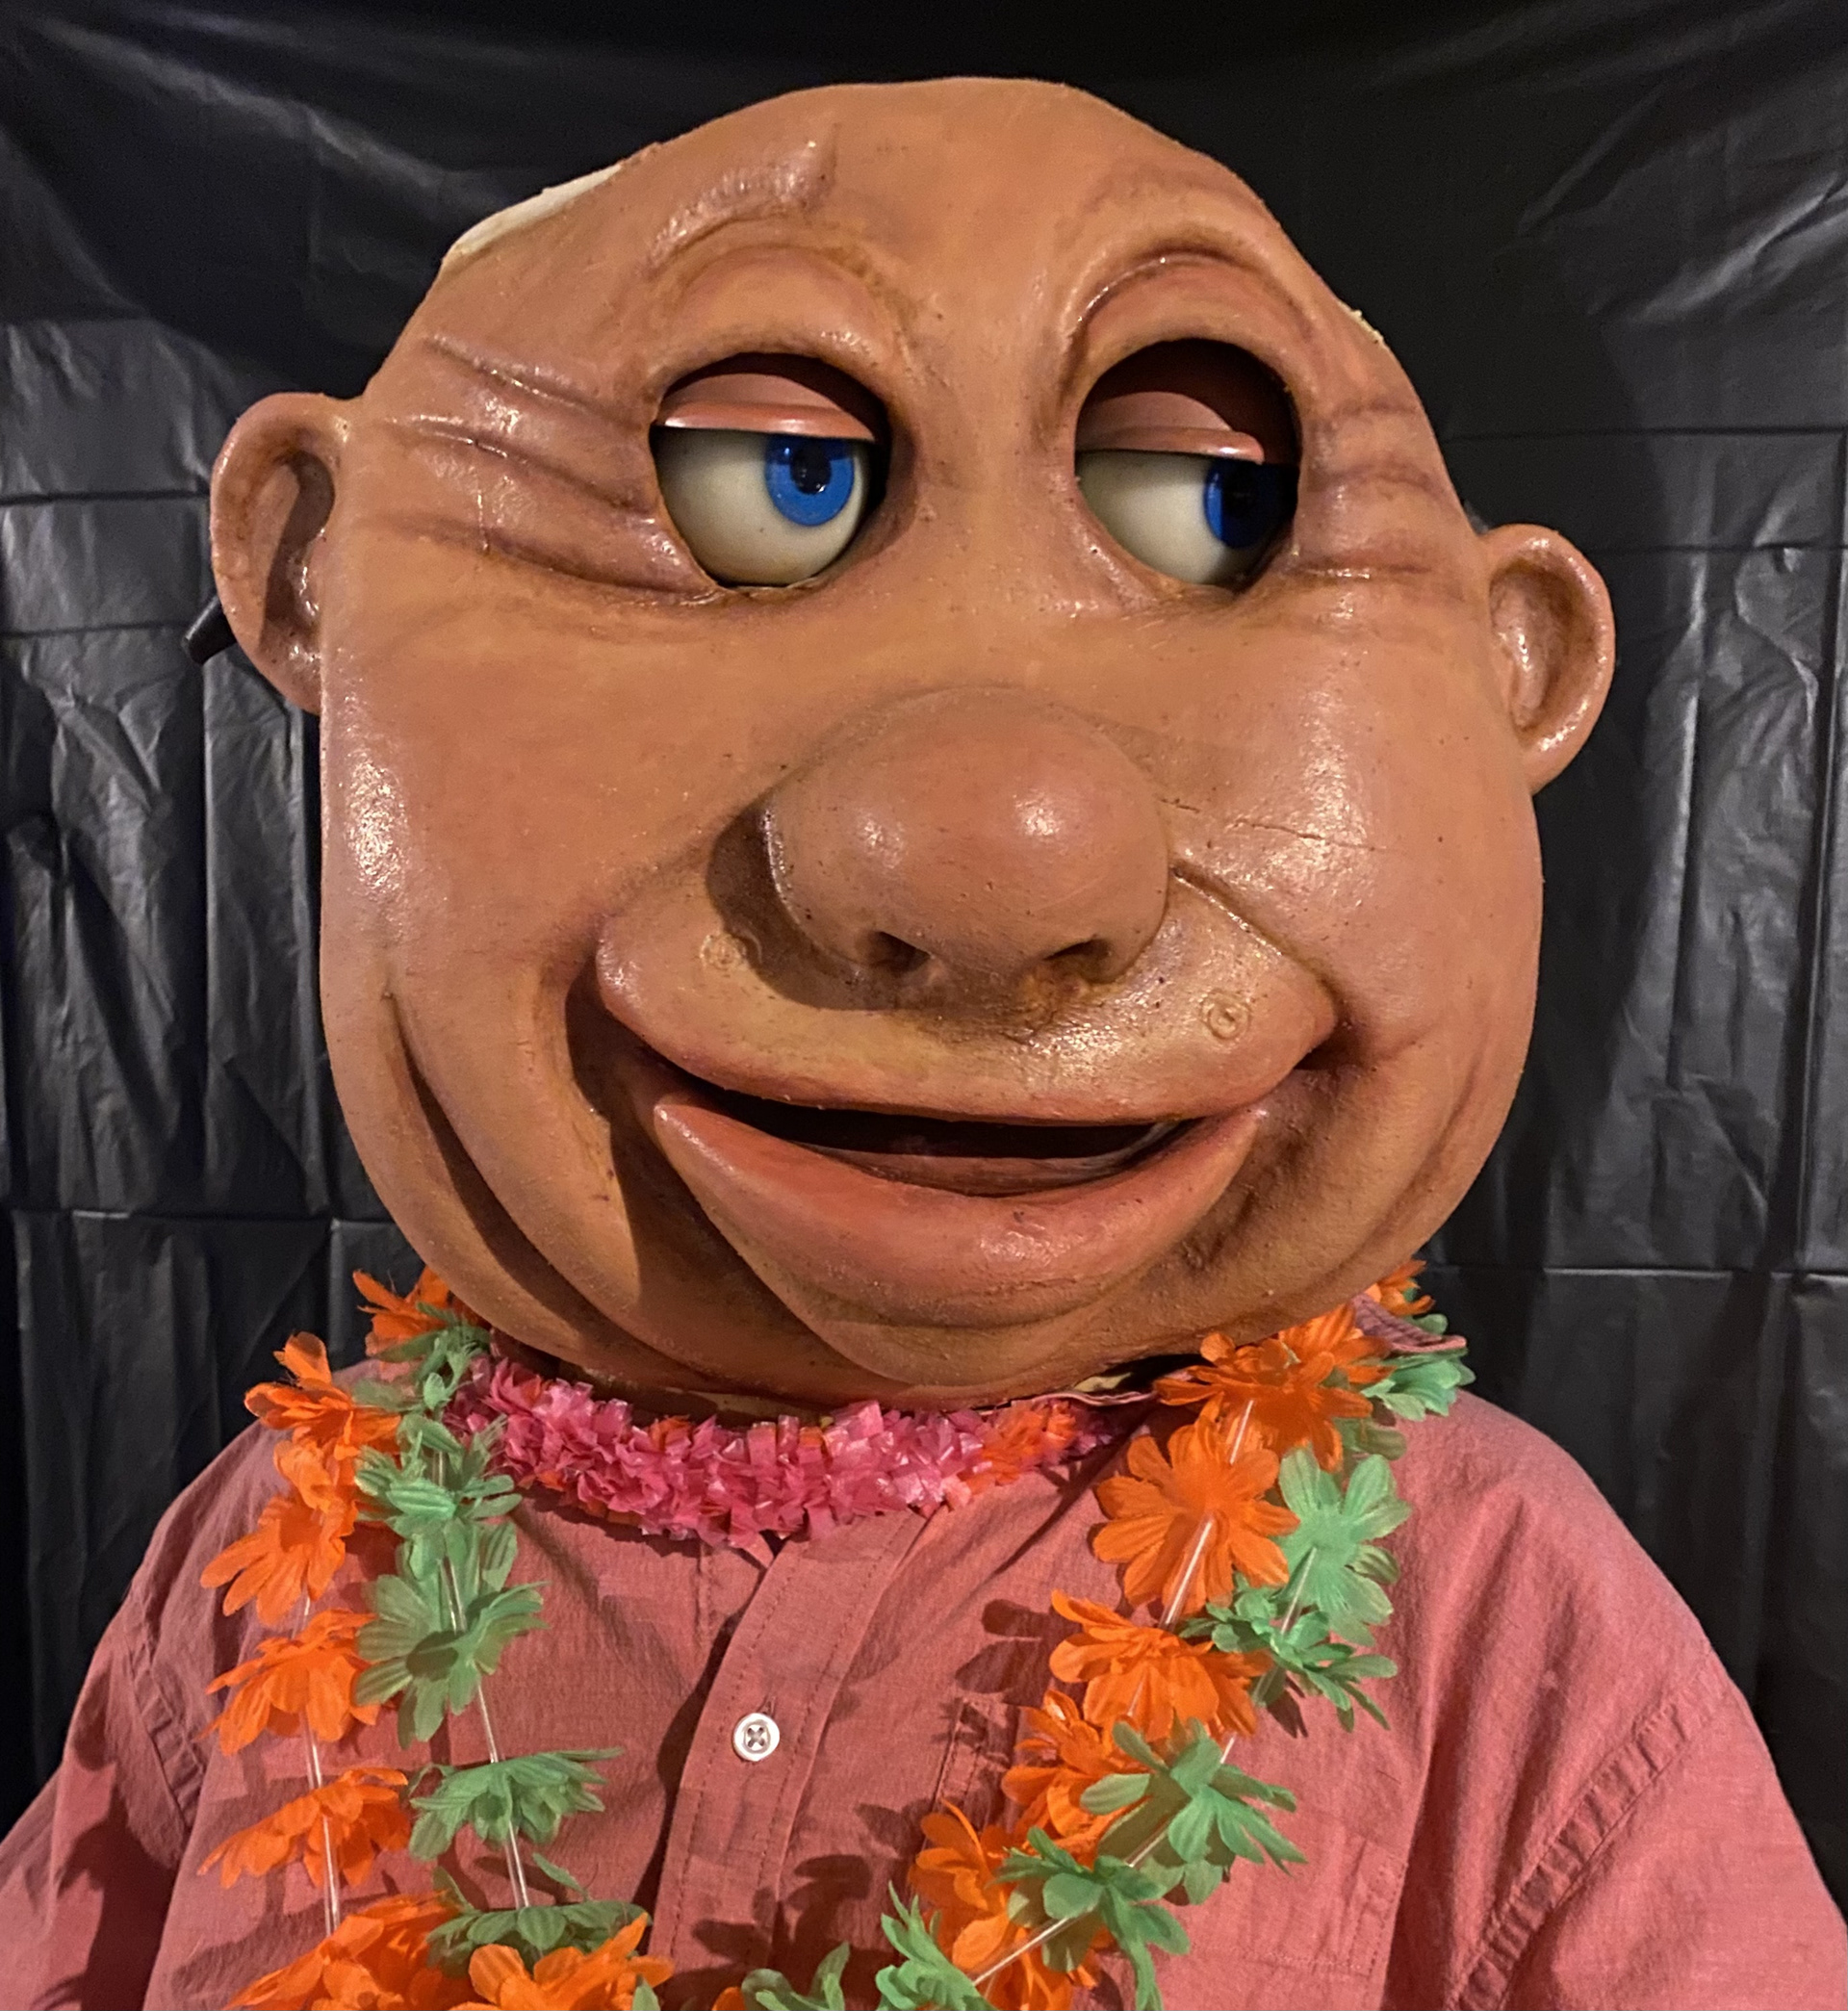
This is a latex mask that I was commissioned to paint by a collector (Yes, I also think it is quite scary looking, you're not alone in that).
I approached the painting of this mask in the same way as I did the first time around, completely hand-brushed and custom mixed paints.
I did not mold the mask, I only painted it; any imperfections to the mold is not my doing.